Ok every one... I got bored on Sunday and thought I should do some exploring. It is one of my goals to create a in depth How To section as there is for the kj. If you have a how to please submit it so we can build the knowledge base
First, Pop the two retaining clips for the lower kick panel by using either a flat head screwdriver or a panel removal tool such as this one

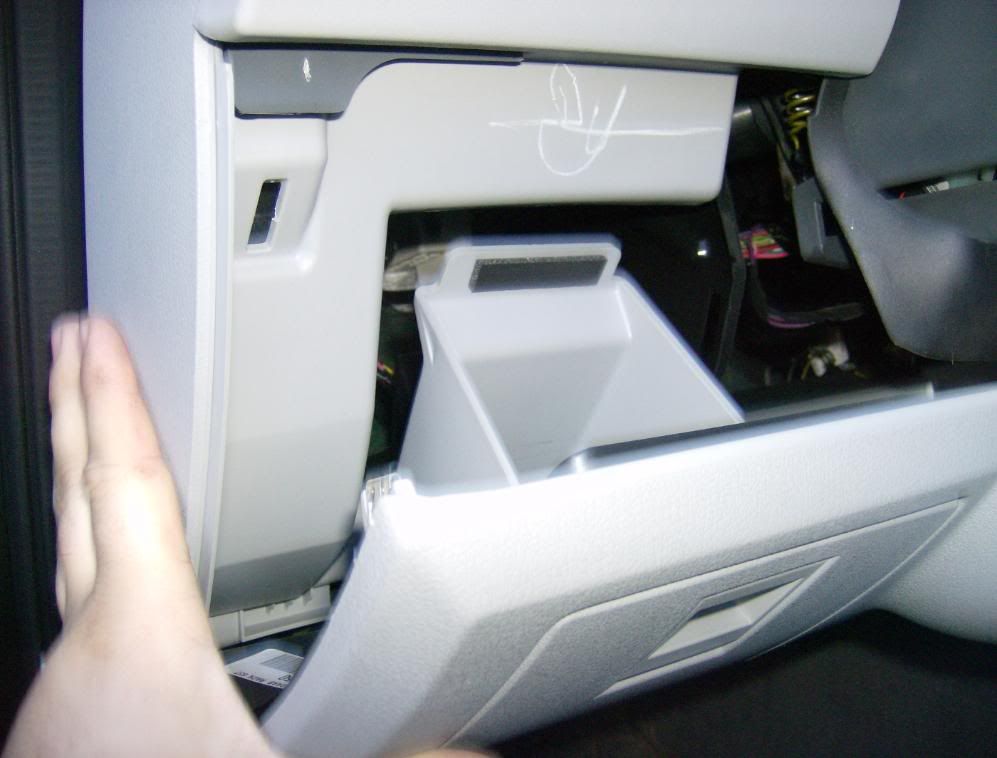
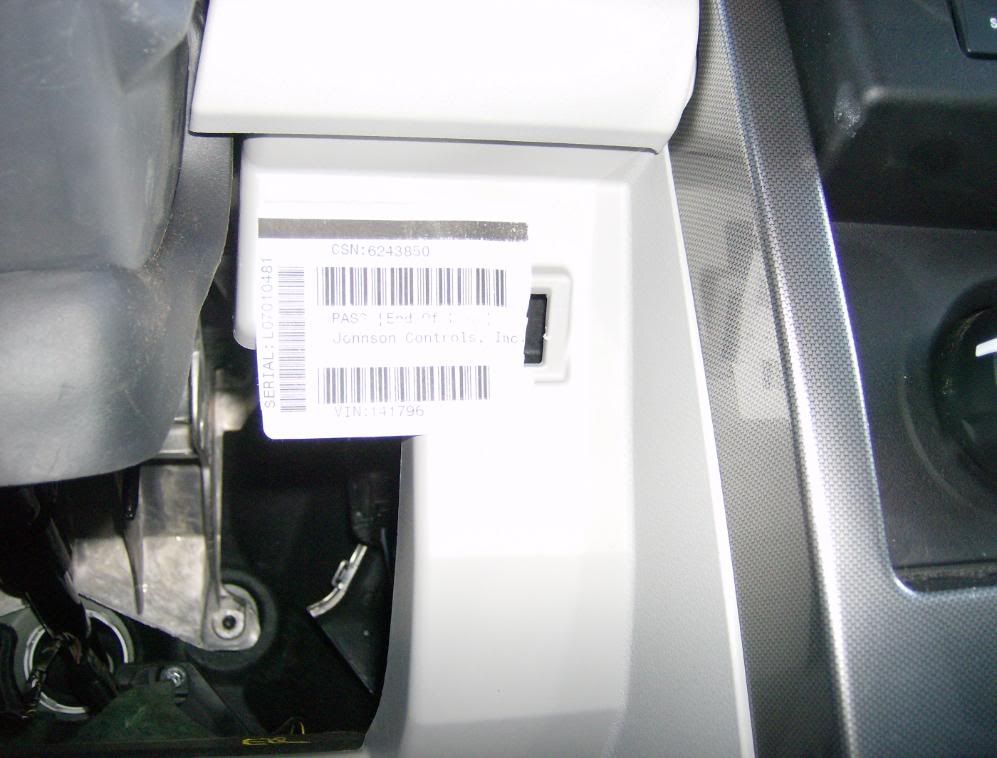
Next, grasp and pull the panel towards you to unlock it out of its track. This uses the same track system as the glove box
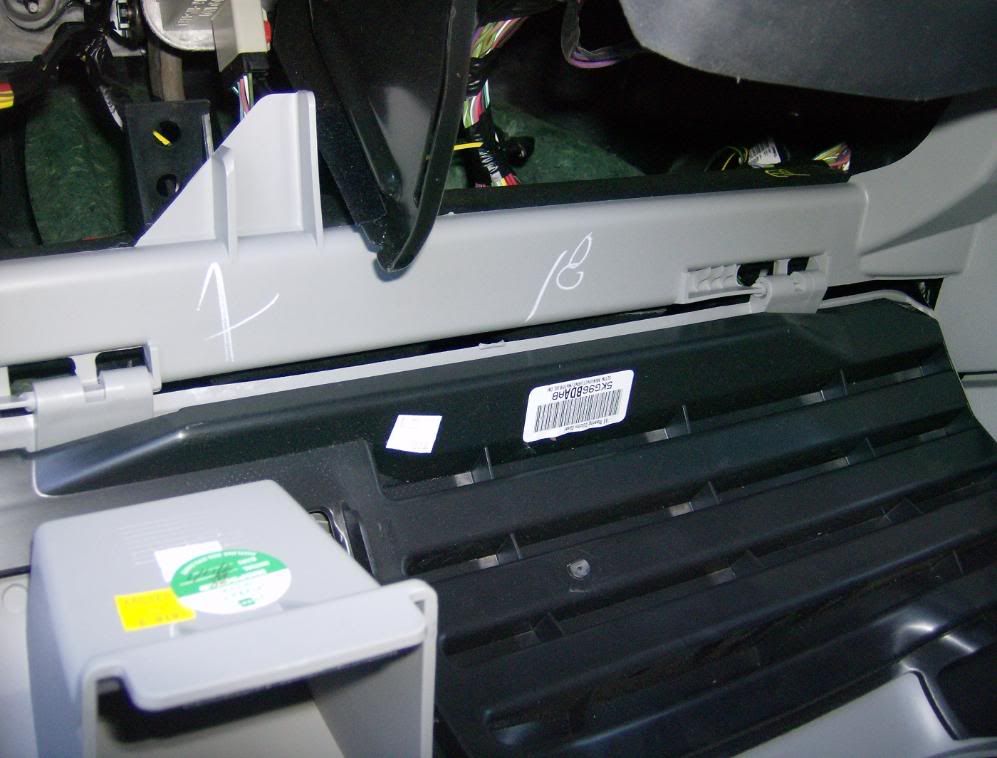
Next, use your prying tool and pop the trim piece that faces the door. Once that is done, pull the panel toward the rear of the vehicle to get it out from behind the rubber door seal.
Now move your attention to the radio dash bezel. Carefulley, apply slight pressure on the underside of each of the carbon fiber looking strips. Next move down to about the radio face and use your tool to pry out the bezel on both sides.
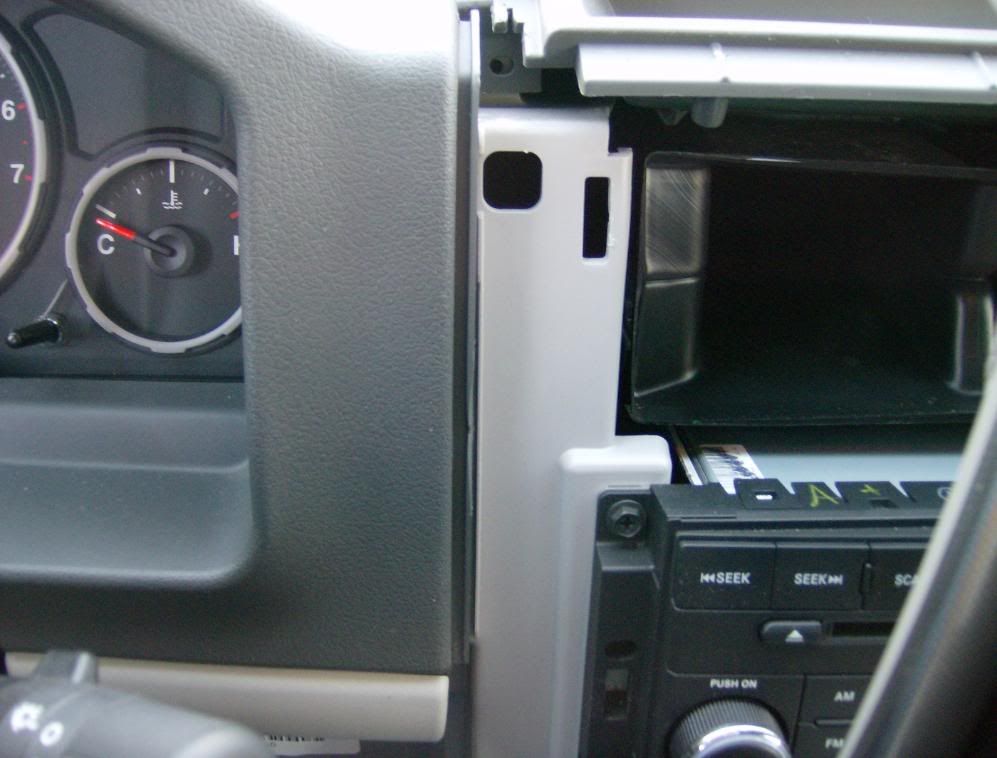
At this point, you can turn back to the IC bezel
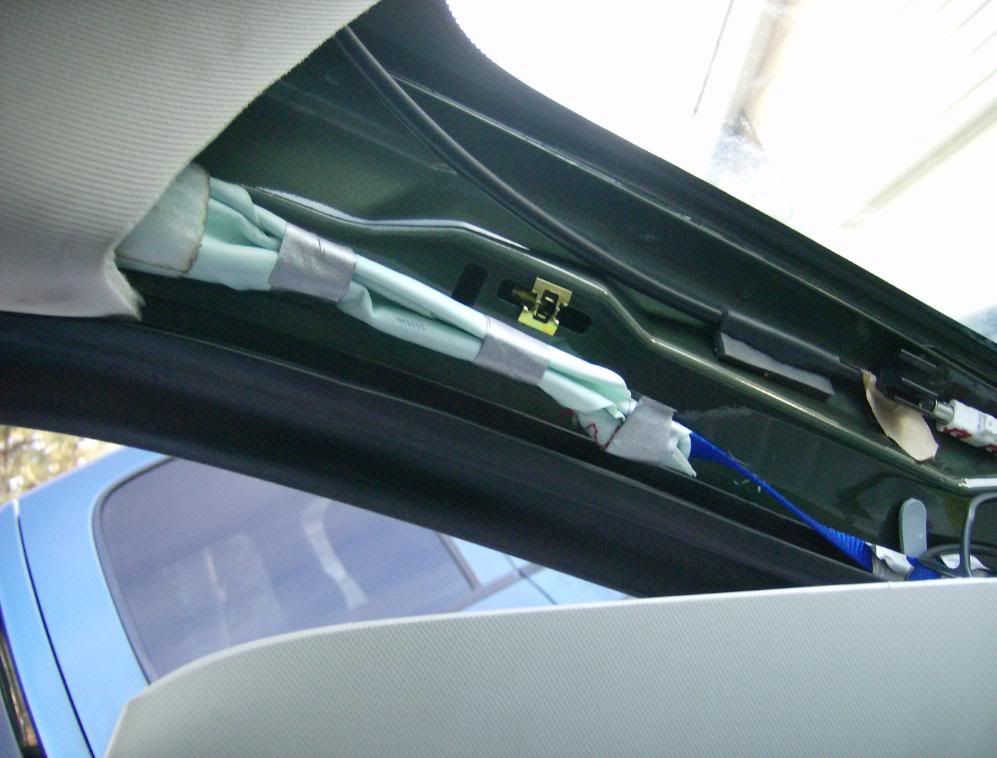
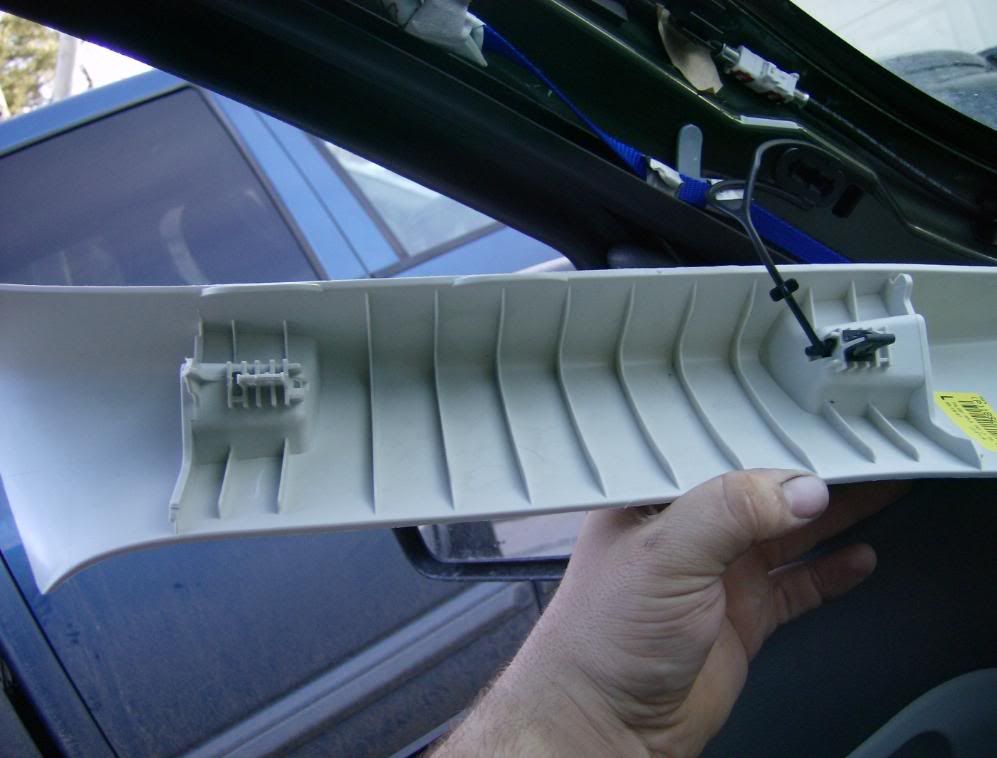
First start by working your fingers or pry tool behind the a pillar trim. Be careful as the side curtain air bags and radio antenna are behind this trim
Move over towards the HVAC defroster trim. Once the two clips are dislodged, pull the trim towards you to pull the tab out of the main dash bezel. This piece is removed by popping up the front face and then pushing the trim toward the window and pulling up.
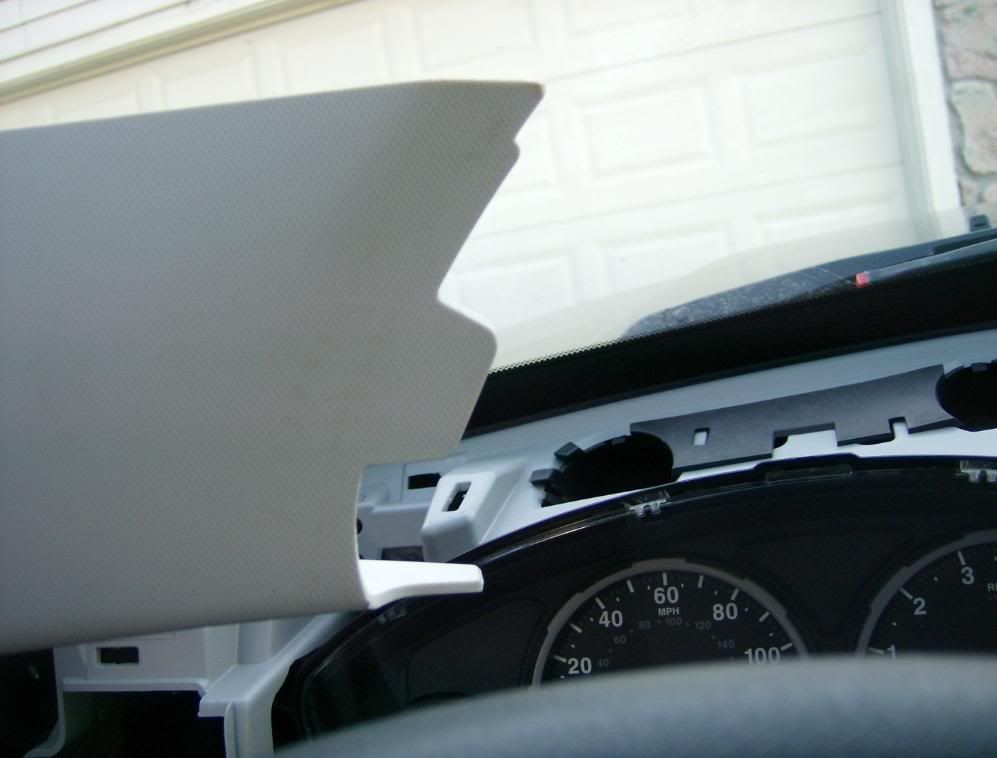
Now, adjust the steering wheel all the way down and and grasp the under side of the gauage bezel buy your knees and pull up. There are 4 clips in total and then the plastic clips things that hold the top part of the bezel to the dash.
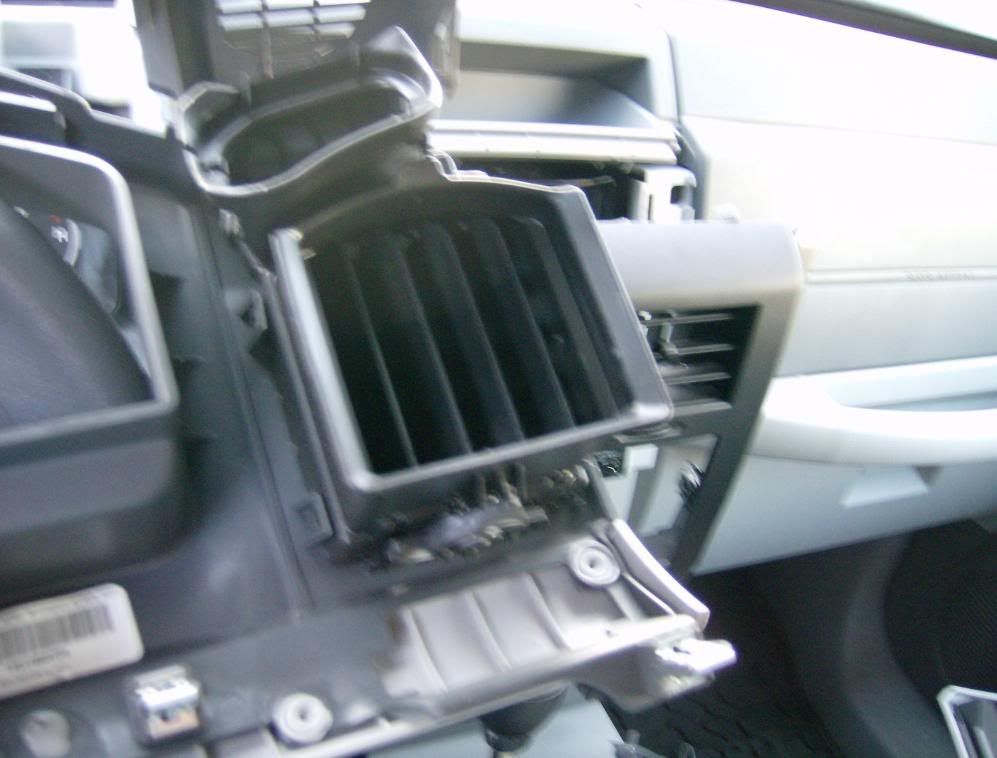
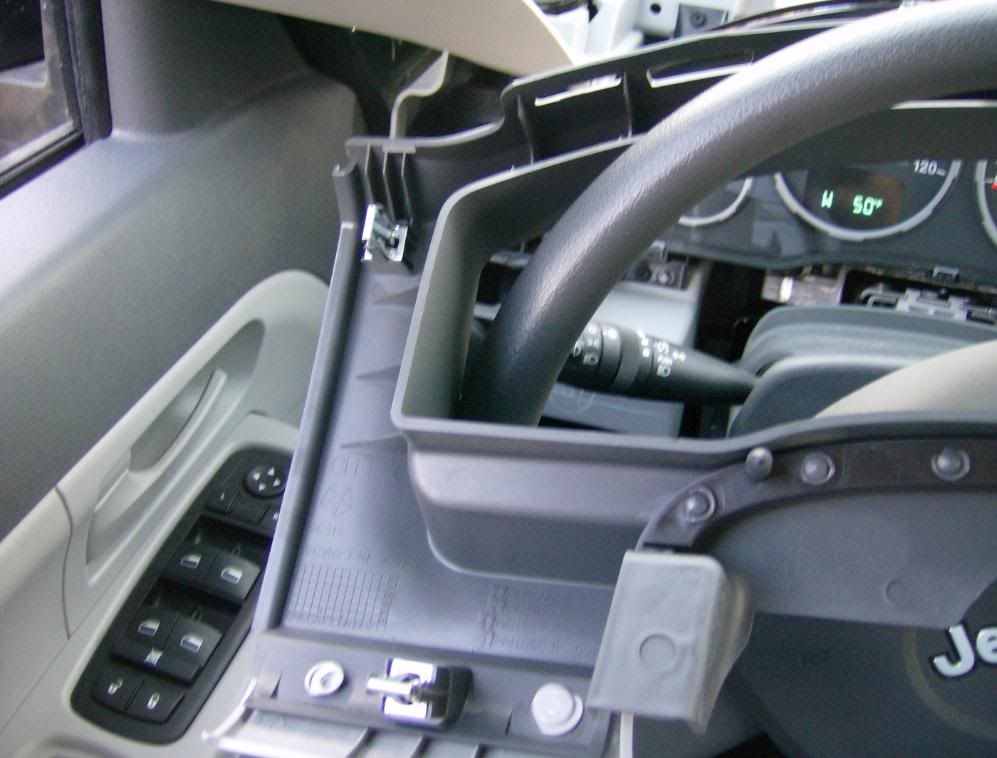
Remove the screw that is attached to the dash bezel by the speaker. Best thing to use is a 9/32" socket and a 1/4" drive ratchet. After this, just grasp the dash peice and pull up to remove it.
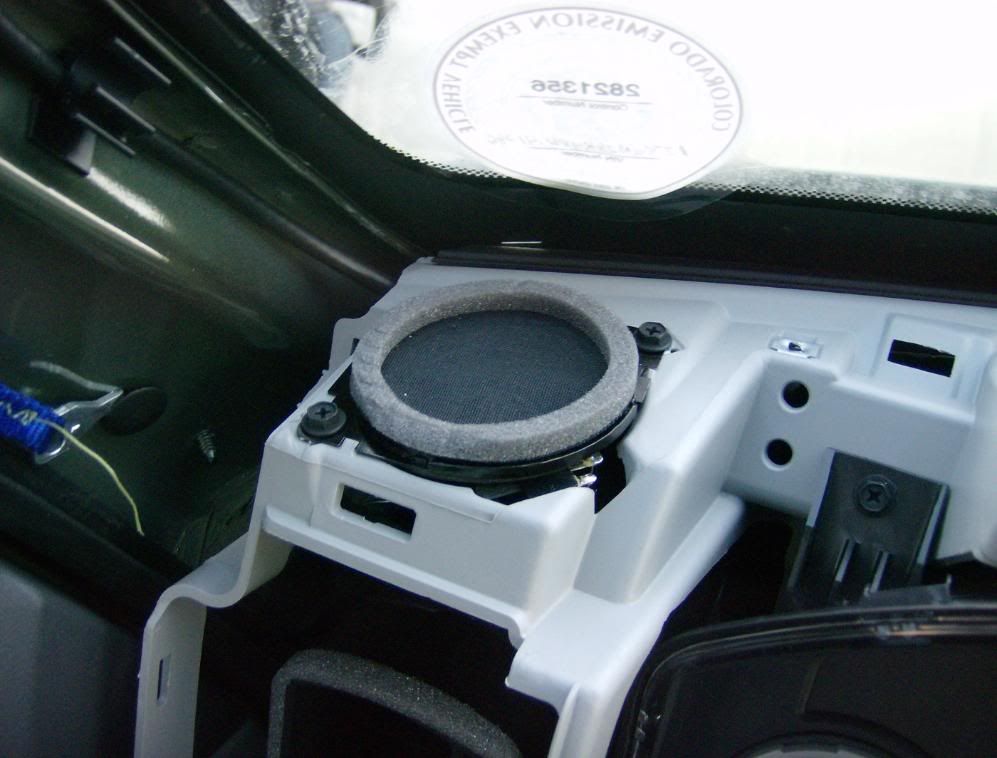
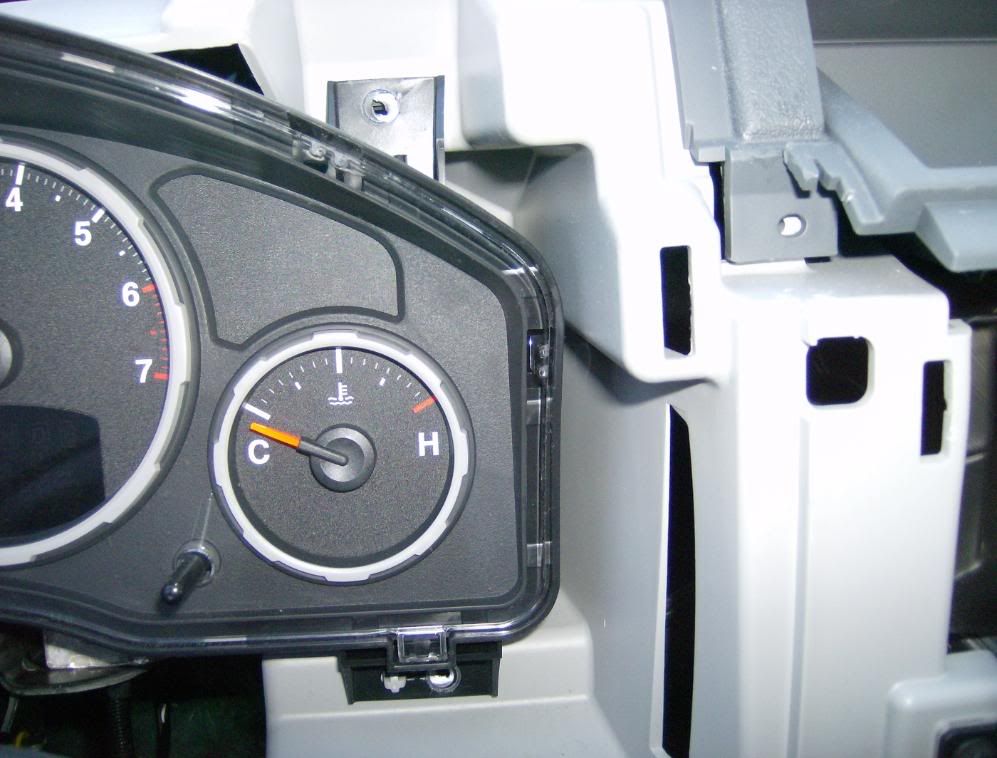
At this point, now all that is left is the 4 screws that hold the Instrument cluster in place
there are 4 electrical connection to the back of the dash head.
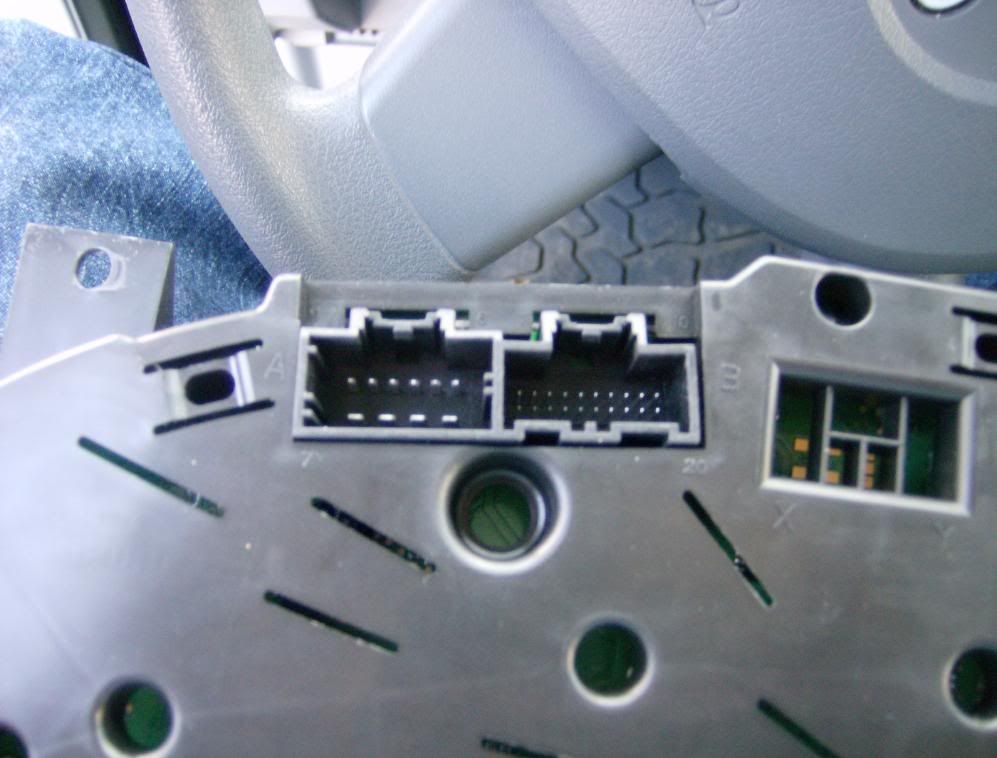
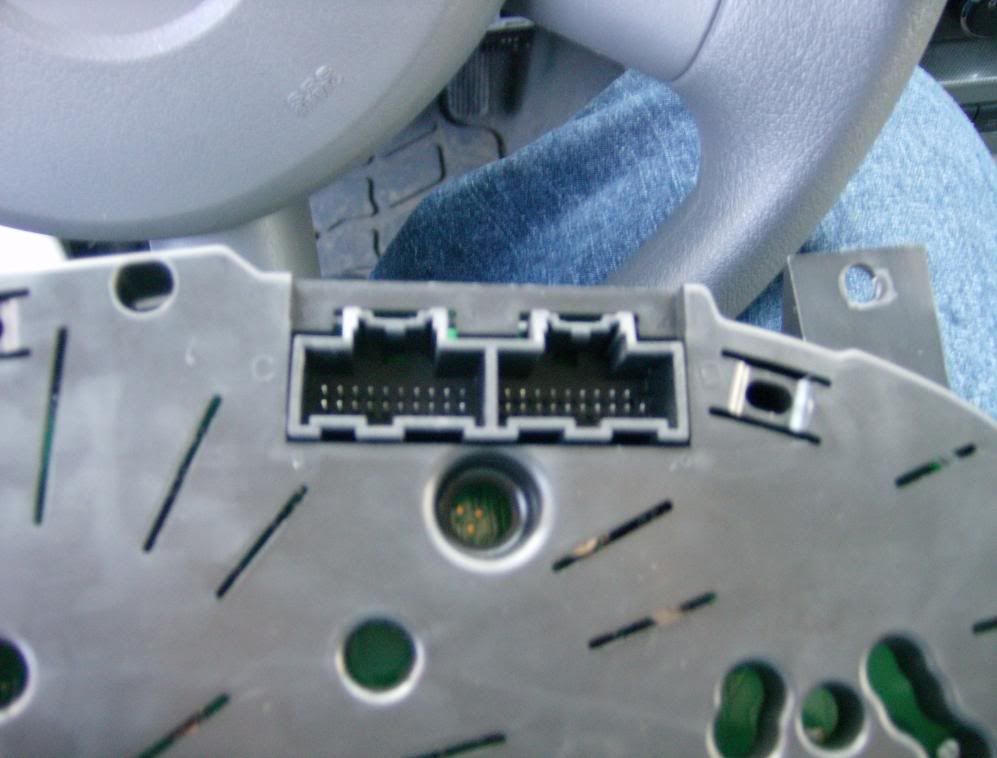
Slots A,B,C are used on my dash head
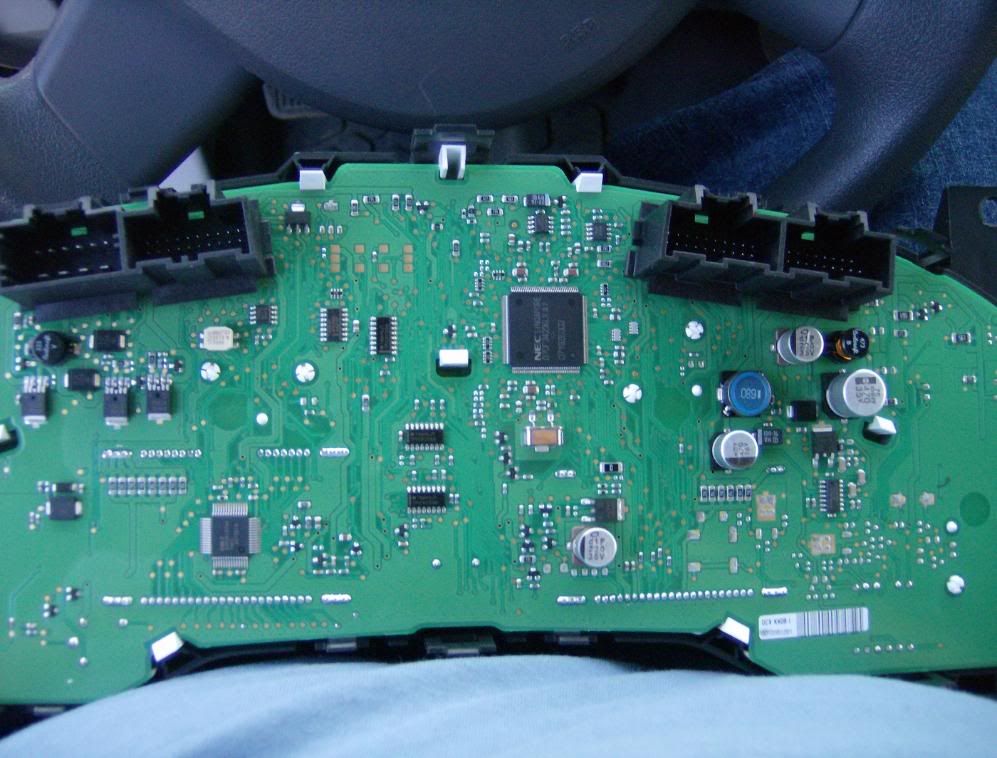
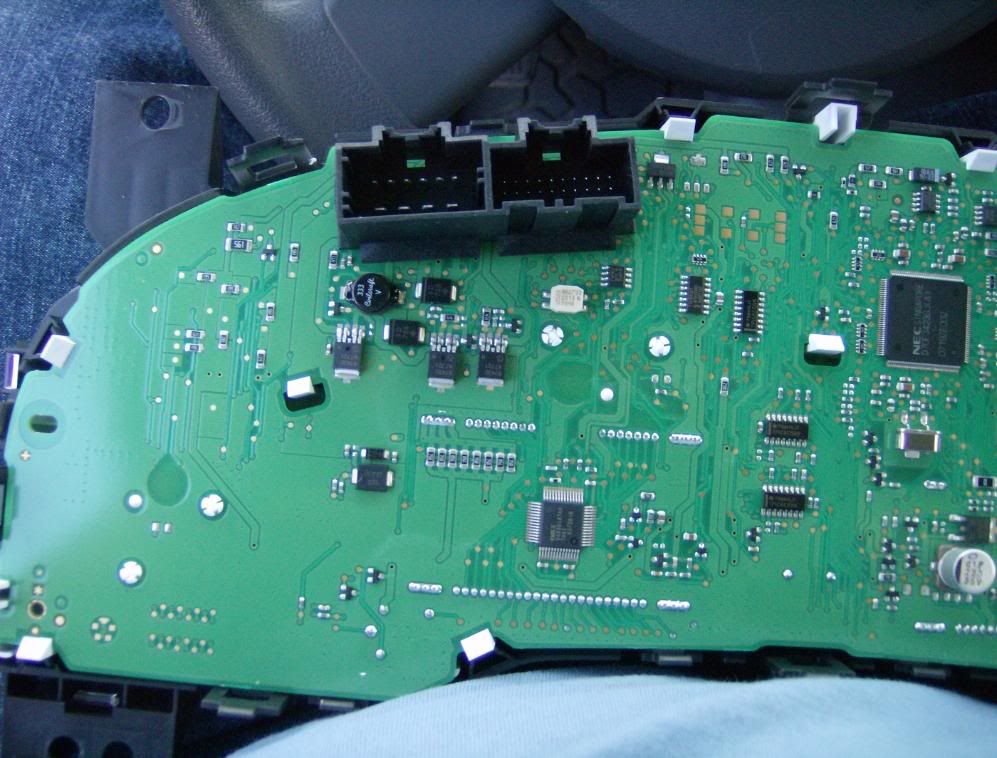
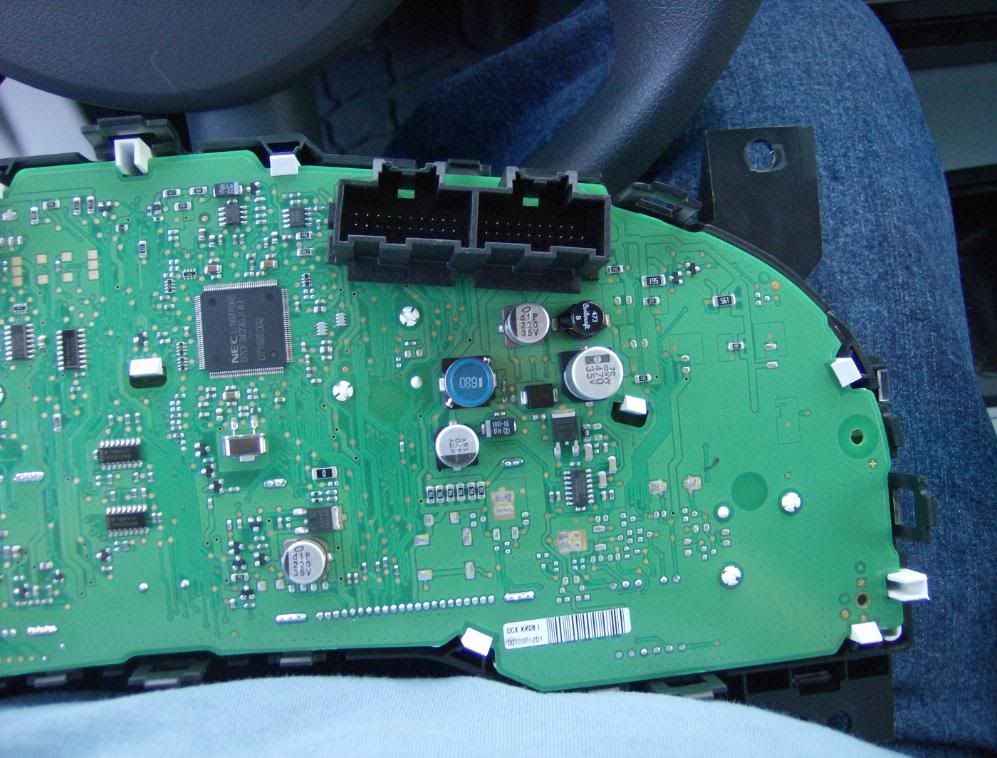
Installation is just the reverse
Should you have any more questions just let me know.
Next to come, FRONT GRILL AND HEAD LIGHT REMOVAL