Installing a
gas tank skid plate is much more involved than what is shown in the instructions which you can find at
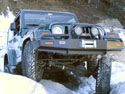
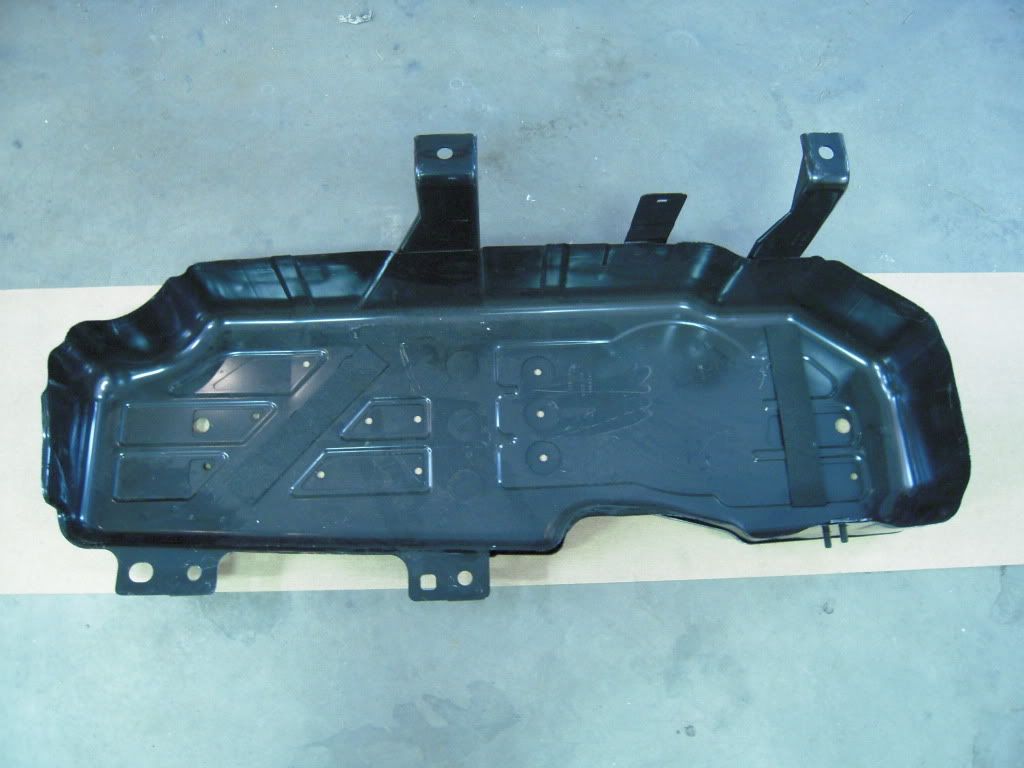
http://moparestore.trademotion.com/moparimages/accessory%20catalog/images/isheets/K6860238.pdfHere is what it looks like before you start.
The instructions imply that you just slip the
skid plate over the existing
gas tank and fasten it with 5 bolts, a bracket and 2 nuts. In reality, you need to remove the existing support structure that holds the
gas tank in place and then install the
skid plate which then holds the
gas tank in place. So, the fairly obvious first step is to get the
gas tank as empty as you can (
gas weighs roughly 6 lbs per gallon so a full
tank with 19.5 gallons weighs about 117 lbs plus the weight of the
tank). Don't even think of doing this with a full
tank, you could be seriously injured or worse!

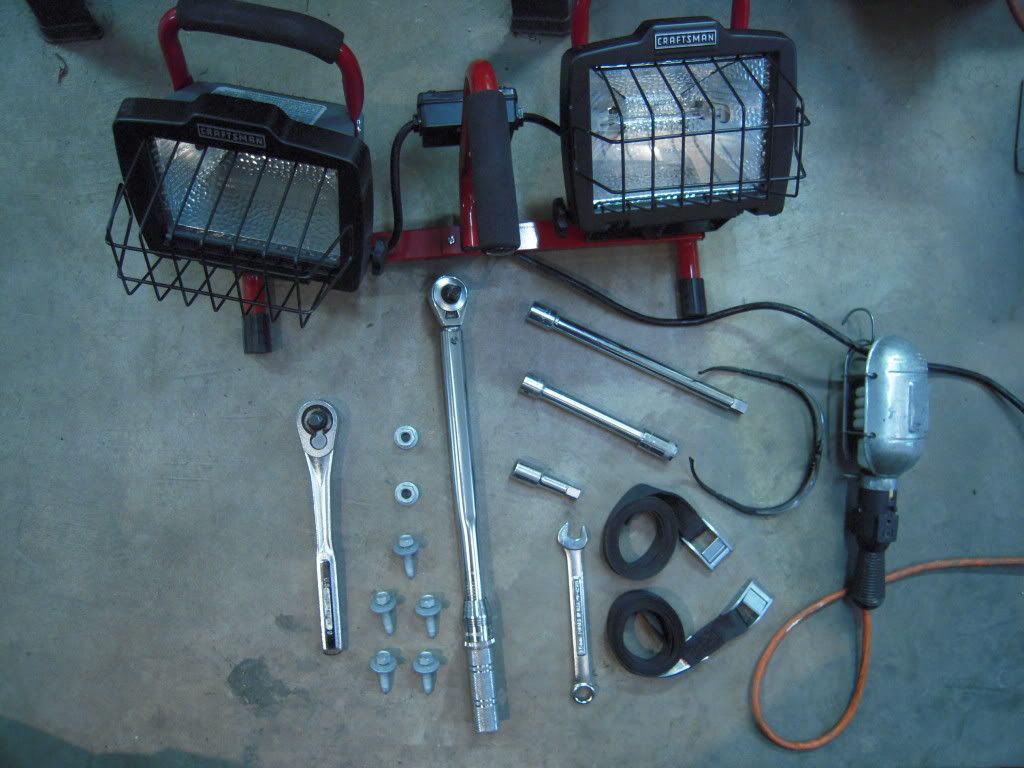
Here is what I used to do the installation (I forgot to take a picture of the bracket that attaches to the
skid plate with two nuts as shown in the instructions):

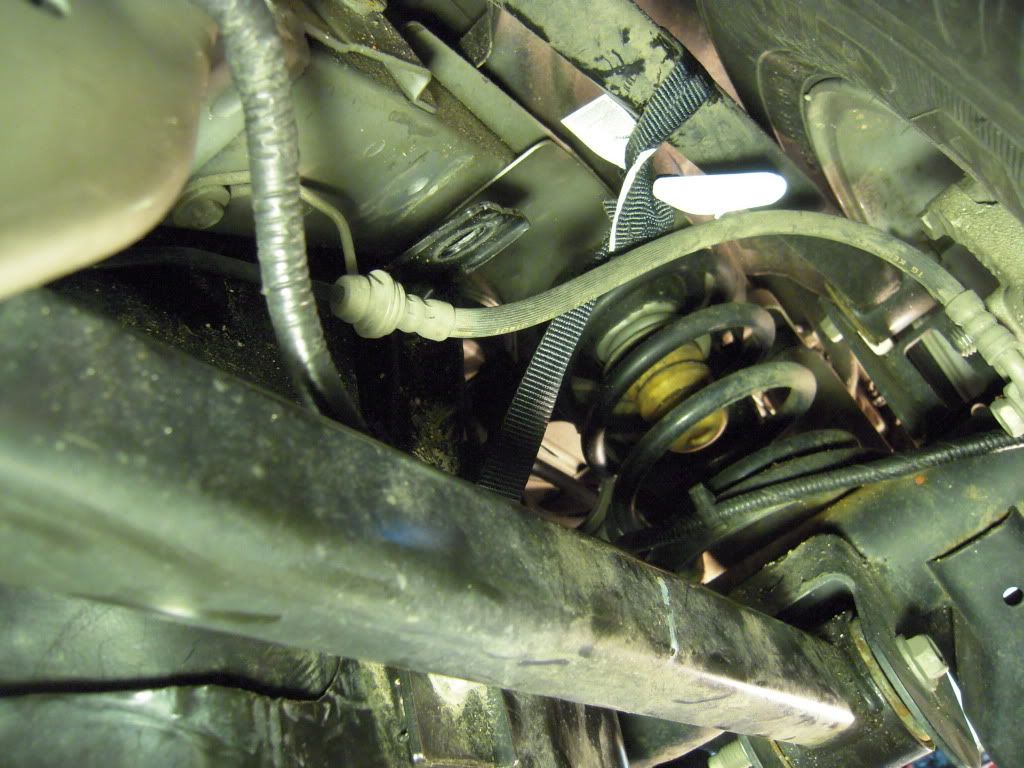
Since there are a lot of hoses connected to the
gas tank, I decided to strap it in place so I could remove the support without disconnecting the hoses. The hoses might have been strong enough to hold up the empty
tank but there was no way I was going to count on that. Here are some of the hoses connected to the
tank.

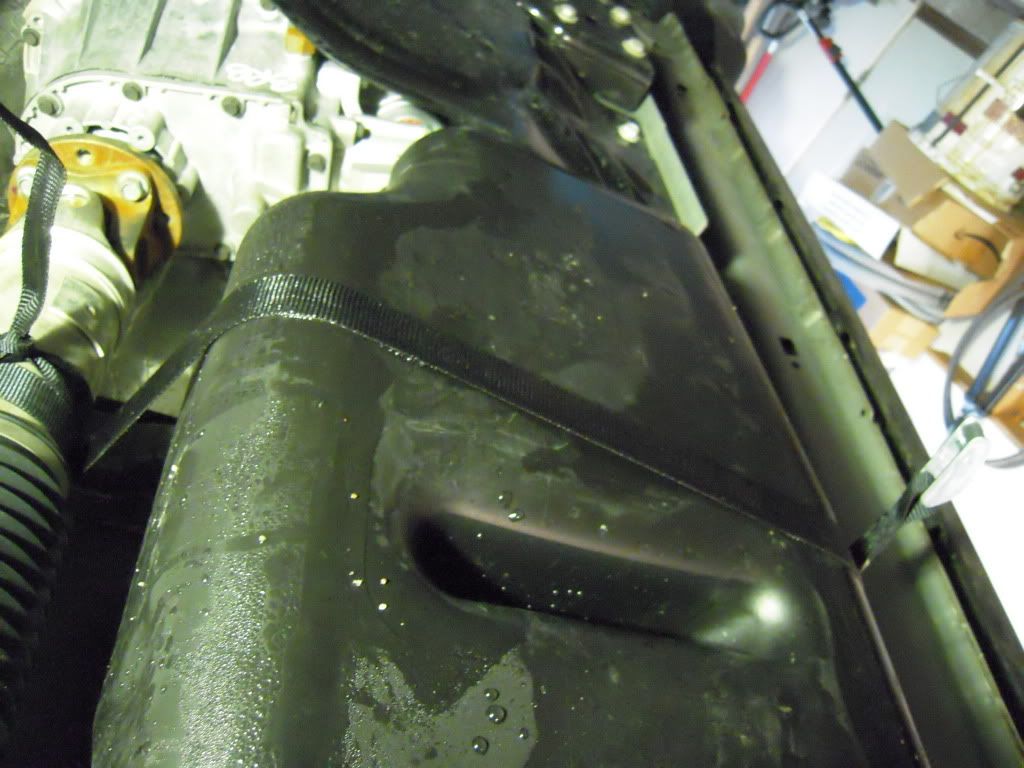
Getting straps in place takes some patience. You have to thread the straps between the
tank and the support. In order to do this, you need to loosen all of the bolts holding the
tank up to create a little space to lift the
tank up to get the straps under it. The way I did this was to fish the strap down between the
tank and the support on each end. To make this easier, I removed the two closest bolts to whichever end I was working on and lifted the
tank up with one hand while fishing the strap down with the other. Once you get the strap to the bottom, there are holes in the original support that allow you to grab the strap and direct it back up the other side. When you finish getting the strap through on one end, reinsert the bolts and thread them in most of the way. Then repeat the process on the other end. Getting the straps through on each end is tedious. It is much easier said than done.

Once you have both straps fished through, tie them off to convenient tie points on the underside of the Jeep. Here are some photos showing the straps in place.
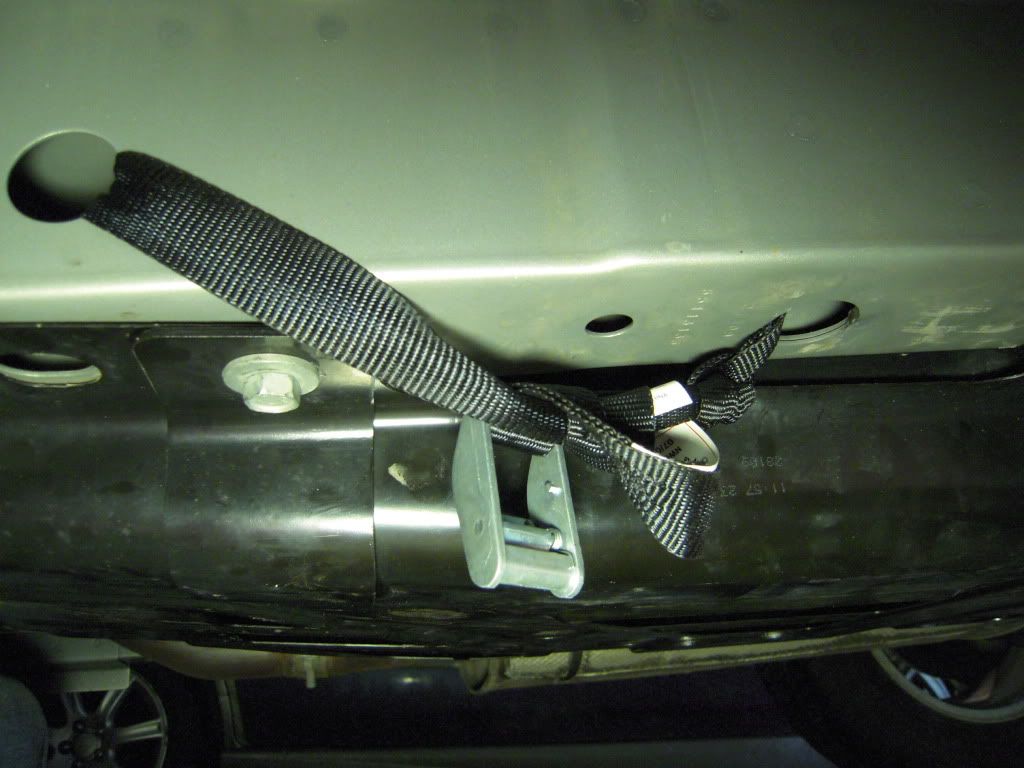
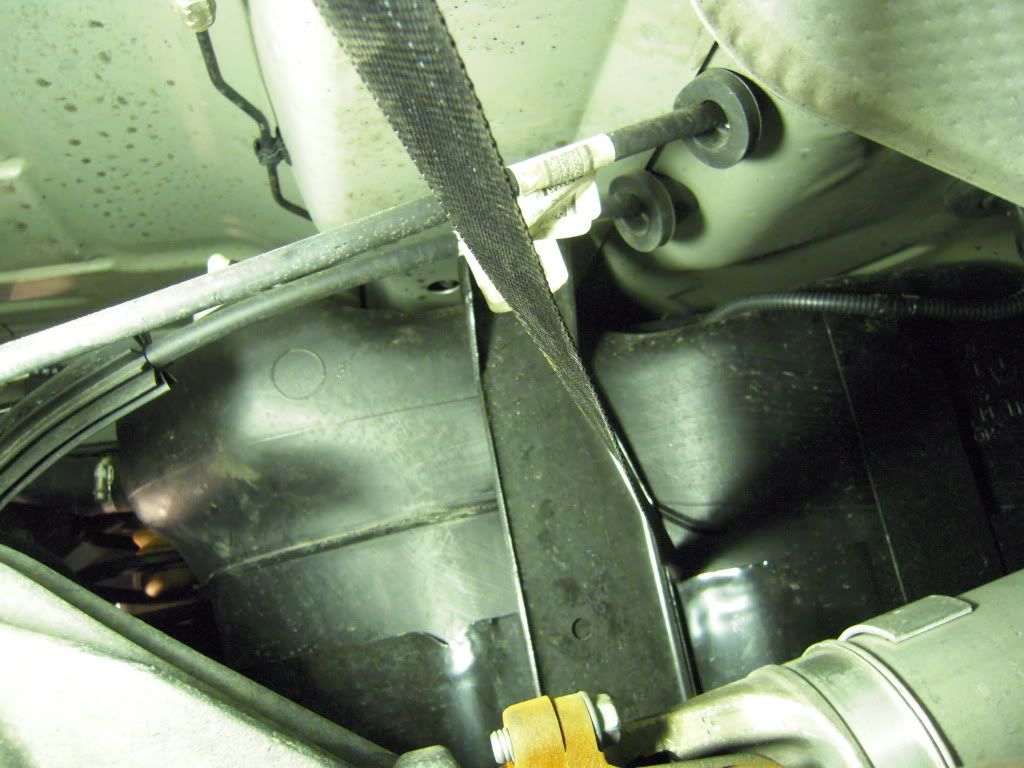
Tie the straps off in a way where it will be easy to tighten them further if needed when you remove and lower the support. I had to do this to prevent strain on the hose connections to the
tank.
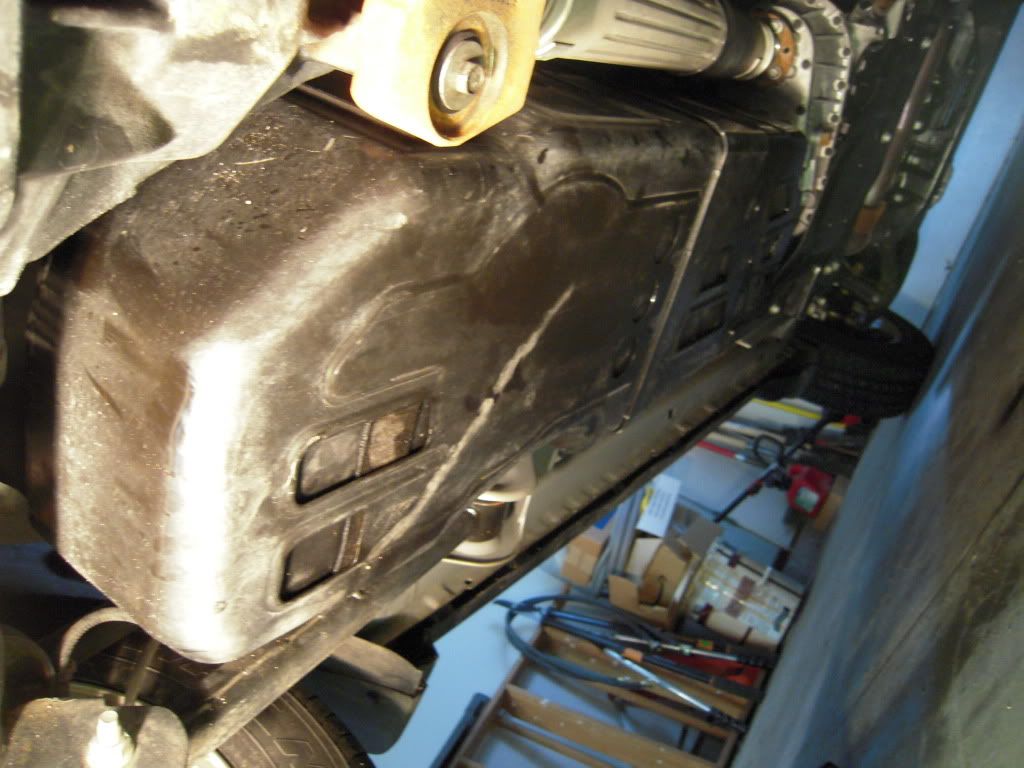
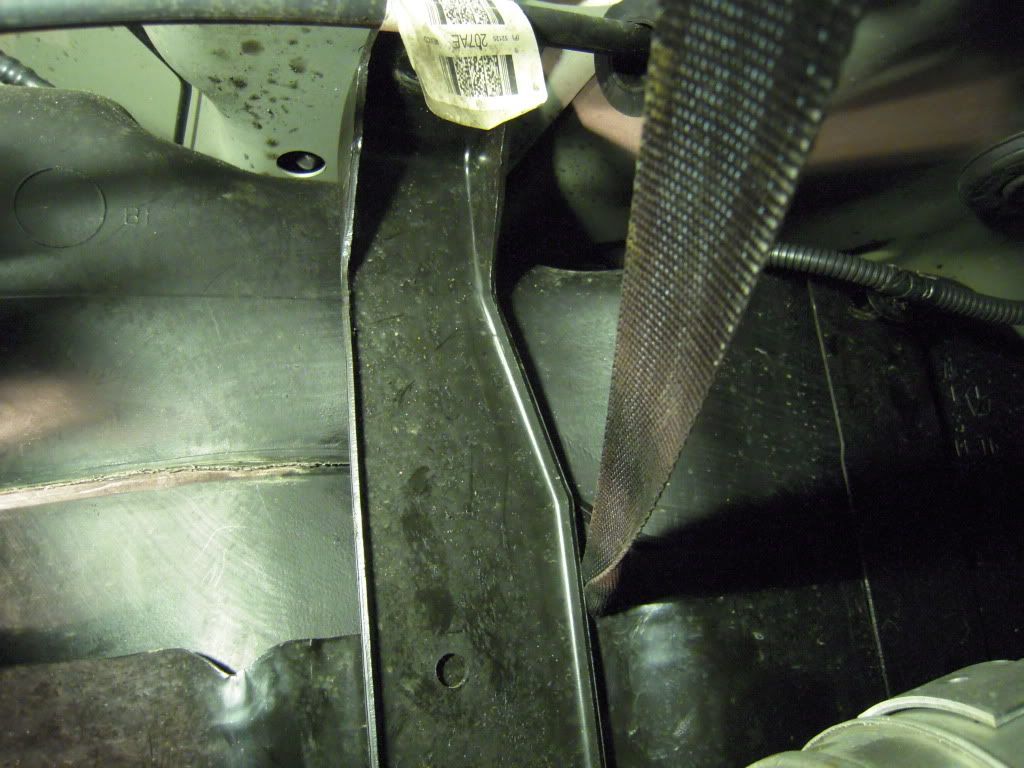
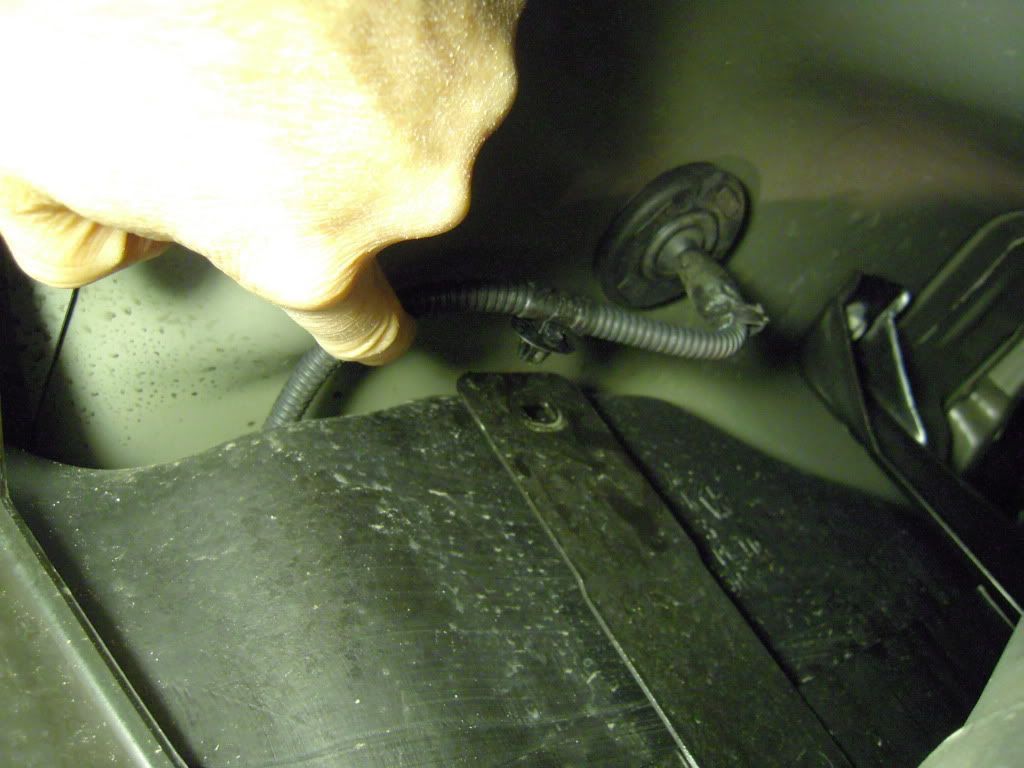
On the inboard side of the
tank, near the middle, there is a plastic flexible conduit attached to the
gas tank support structure. You need to disconnect this prior to lowering the support. To do this, push the plastic tie-down out of the hole in the support by pushing from the backside. Here is what it looks like.
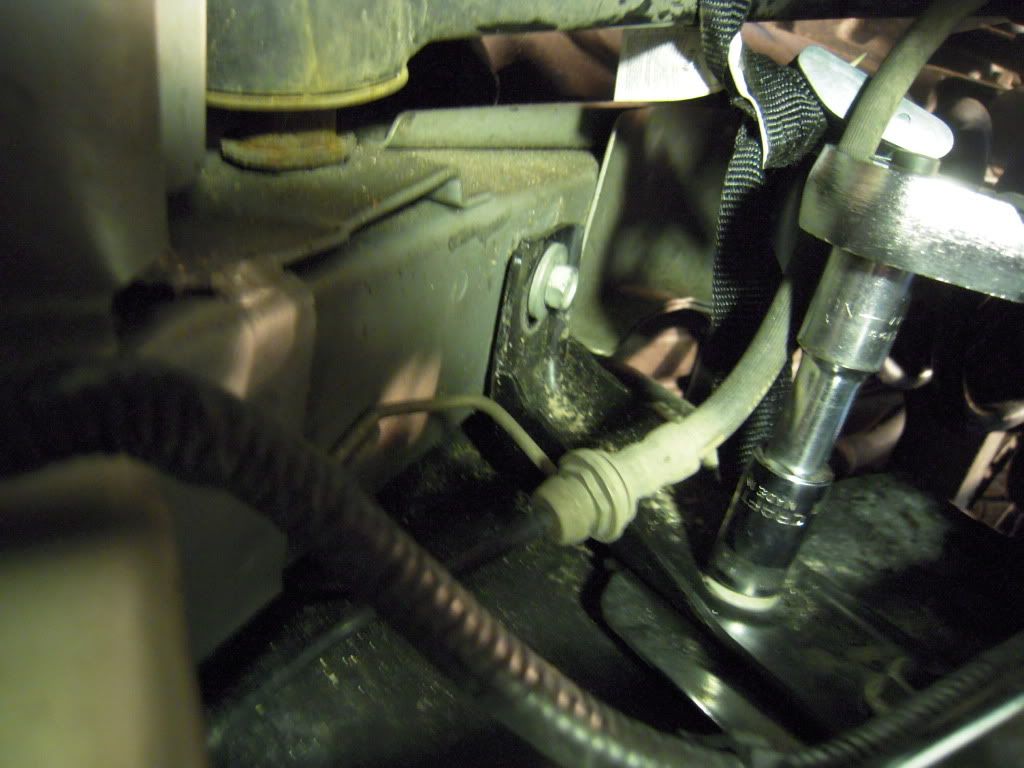
Now you can remove all of the bolts and lower the support. Since there is very little clearance between the
gas tank and the rear drive shaft, getting the support out requires twisting the structure to get the brackets to clear the drive shaft. When I did this, I found it a lot easier to remove the bracket that connects the support structure to the frame near the wheel well before lowering everything. This requires the removal of two nuts just like the ones shown in the instructions for installing the
skid plate. Here is what this looks like.
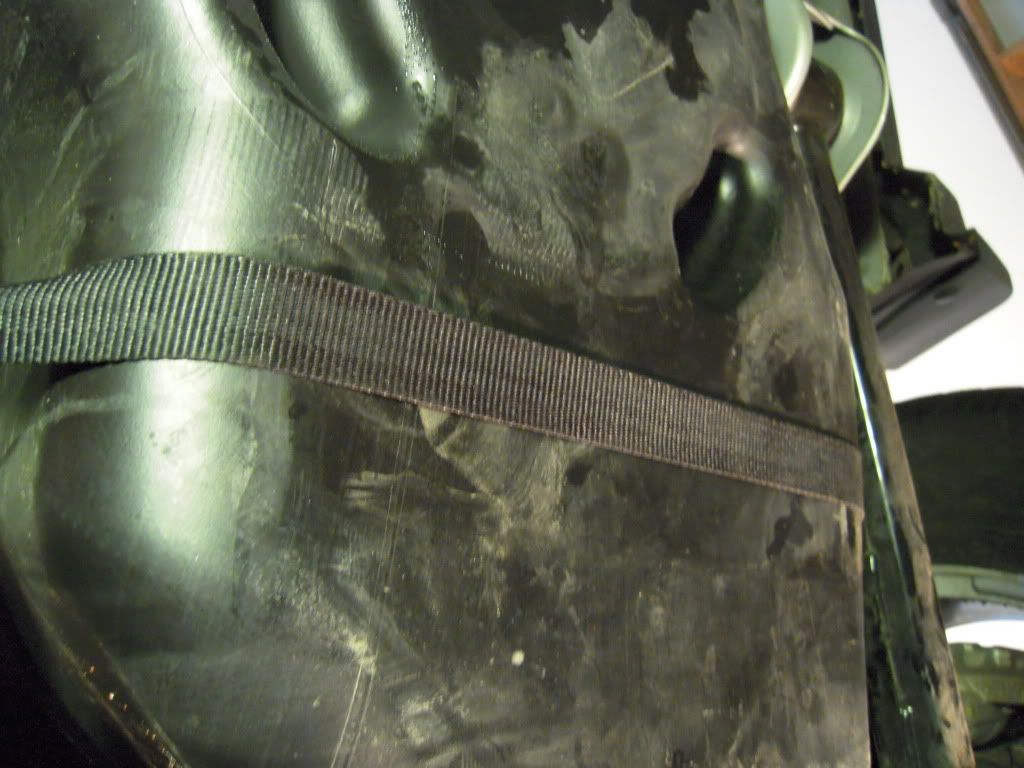
Once you have removed the original support structure, here is what the straps look like.
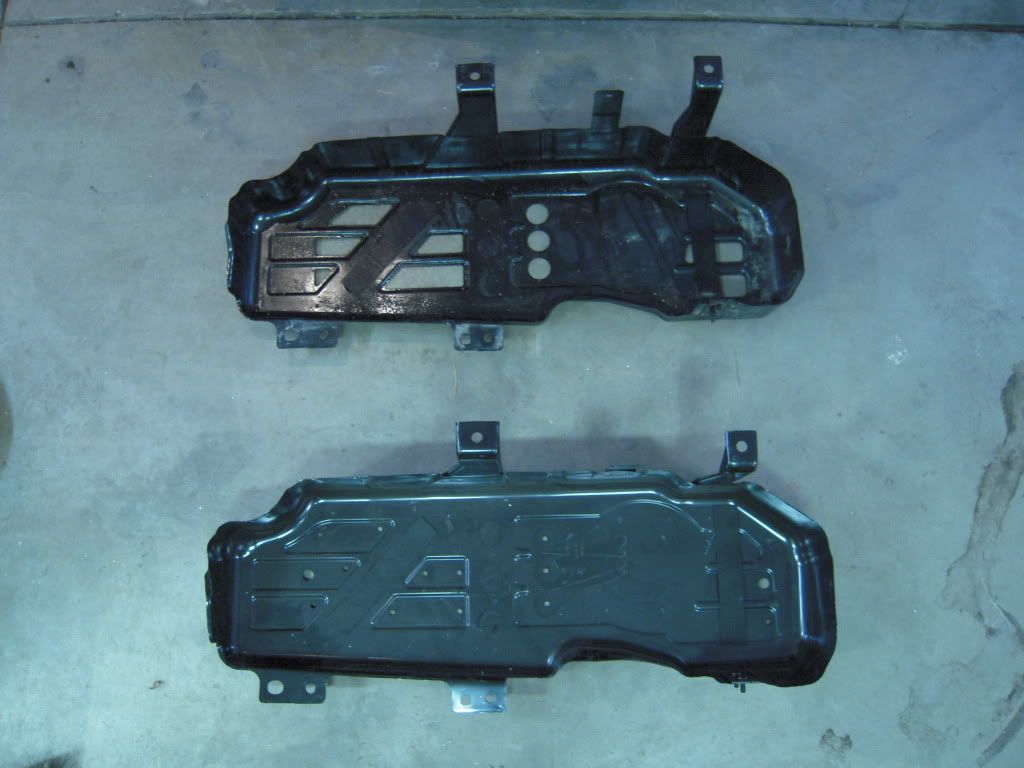
Putting the old support next to the new
skid plate makes me wonder why they didn’t just install the
skid plate at the factory and never bother to have a second part number. The two are very similar. The old one weights 18 lbs. and the new one weighs 30 lbs. I think they would have saved a lot of money only having one part number.

Now all you have to do is reverse the procedure to install the new
skid plate. If you had to tighten the straps as you removed the old support, you will probably have to loosen them as you position the
skid plate before you can insert the bolts. Once you have all of the bolts in loosely, remove the straps, then torque to the spec listed in the instructions. Don’t forget to reattach the flexible plastic conduit to the support on the
skid plate.
On a strange note… the nuts that came with my
skid plate were too big for the threads on the
skid plate??? Luckily, the nuts from the original support structure were the right size. Also all the bolts were 15mm and the nuts that didn’t fit were 18mm. The original nuts that did fit were 15mm. I don’t know where they got the 17mm and 19mm figures mentioned in the instructions.
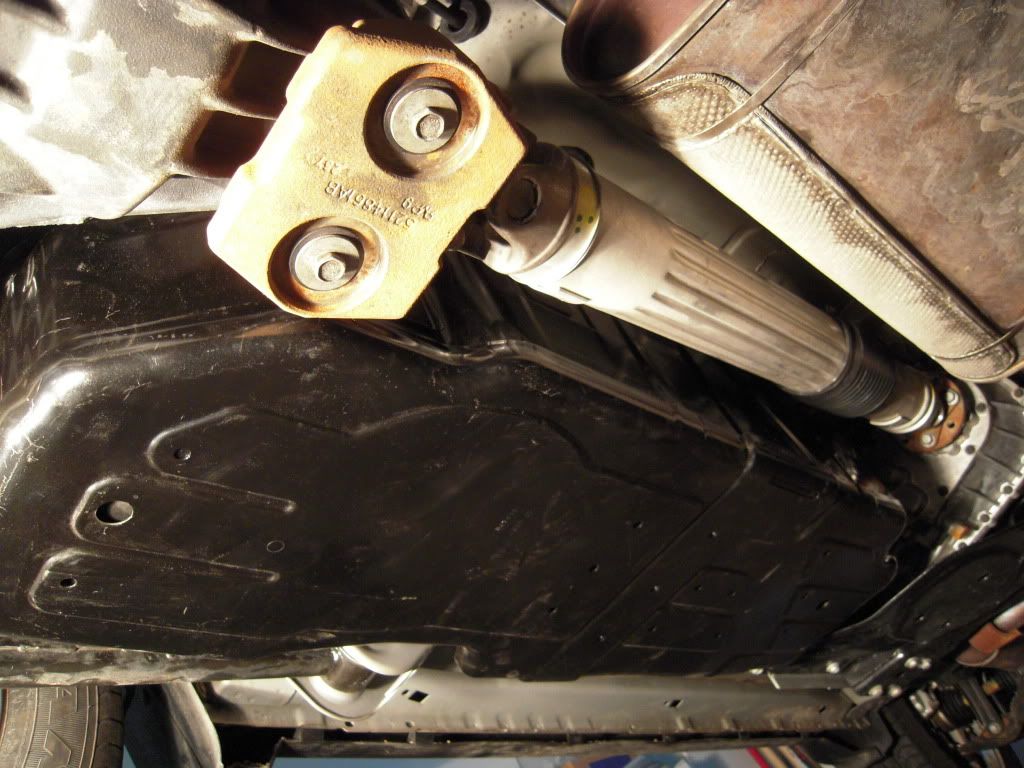
When it is all done, here is what it looks like.
When I was all done, I went and filled up the
tank. One look at the
gas pump shows I almost did too good of a job getting the fuel level low before starting!