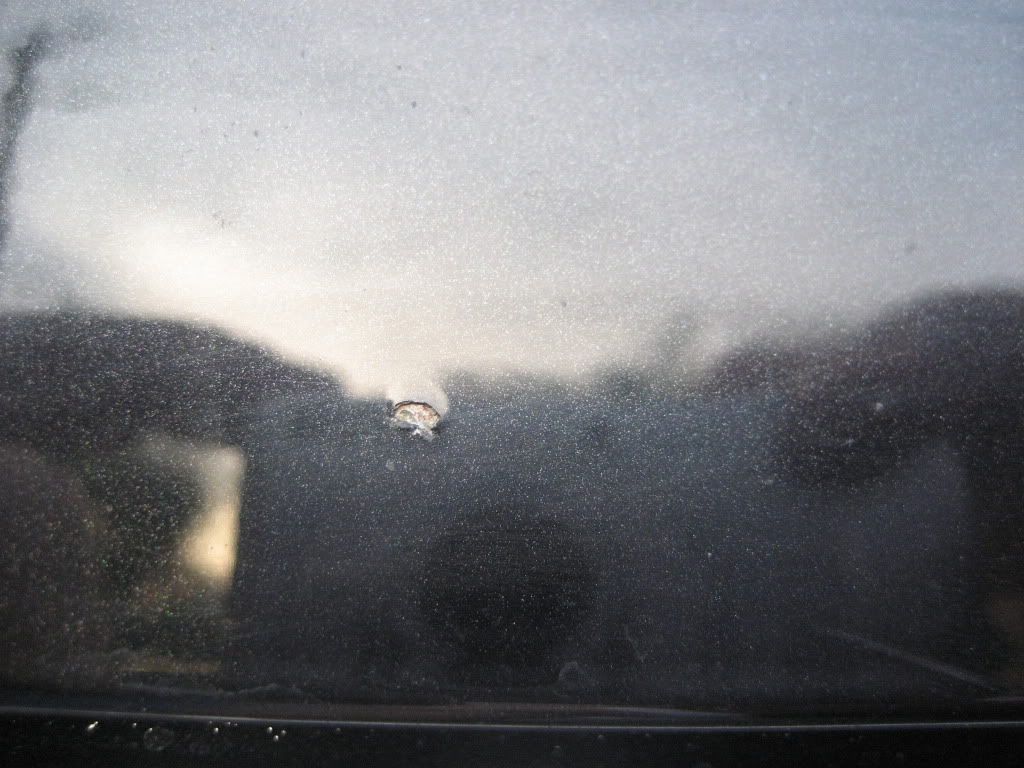
Recently I got a pretty gnarly rock chip in my hood. I wanted to fix it before any rust started to form so here is how I did it.
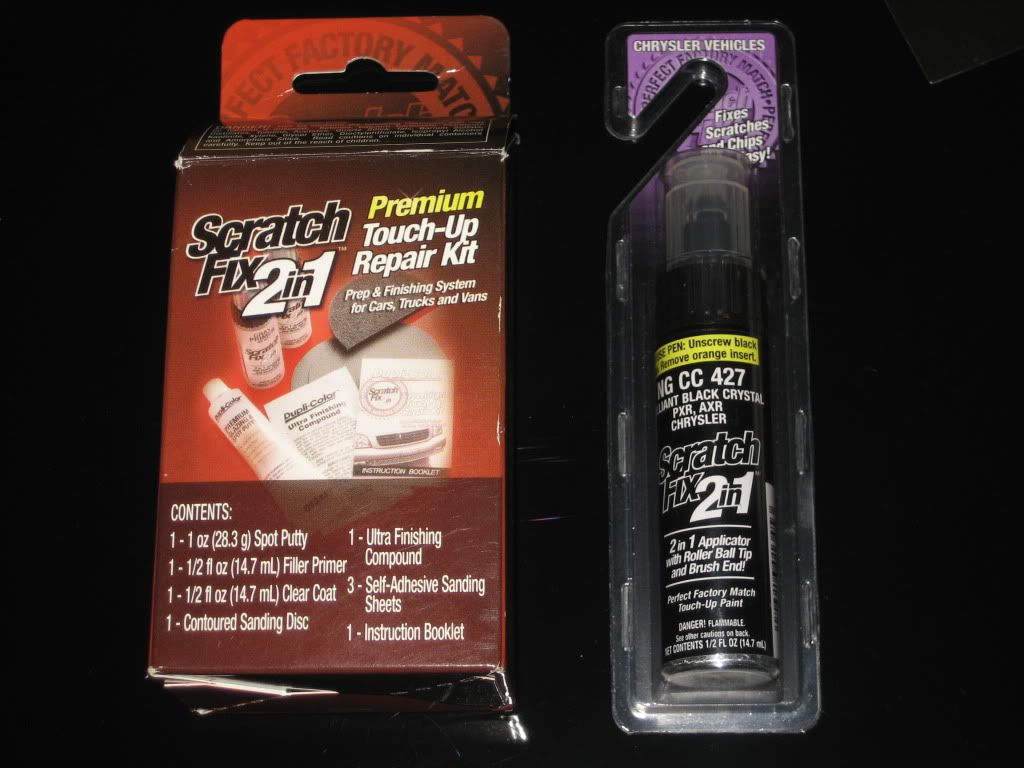
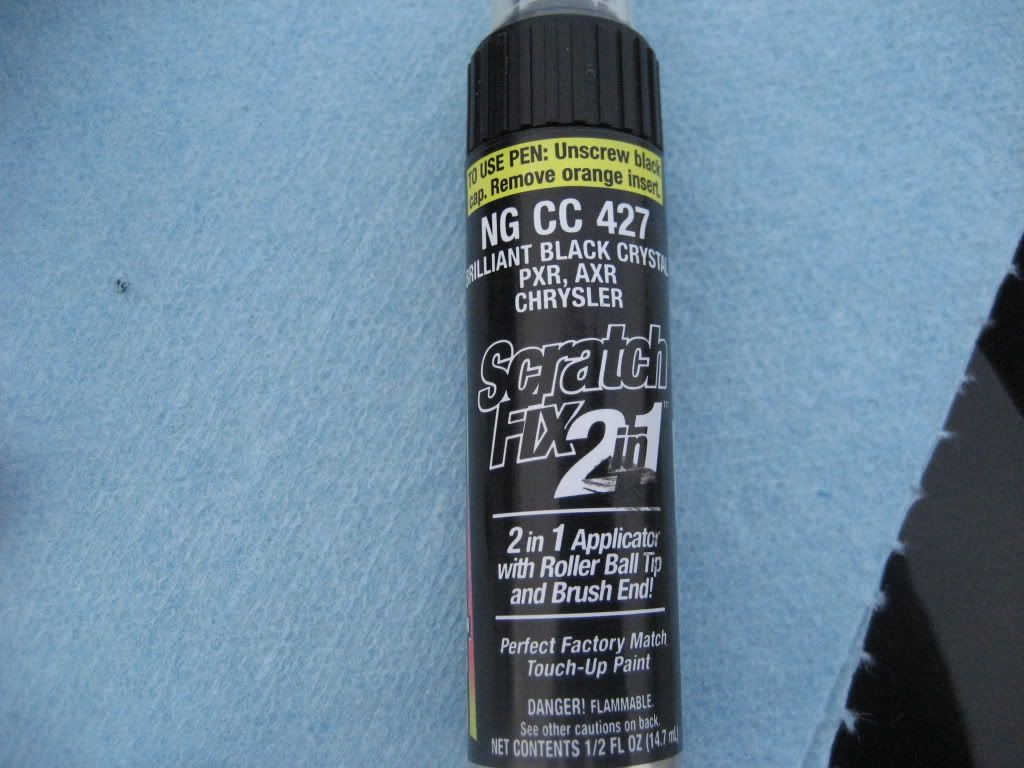
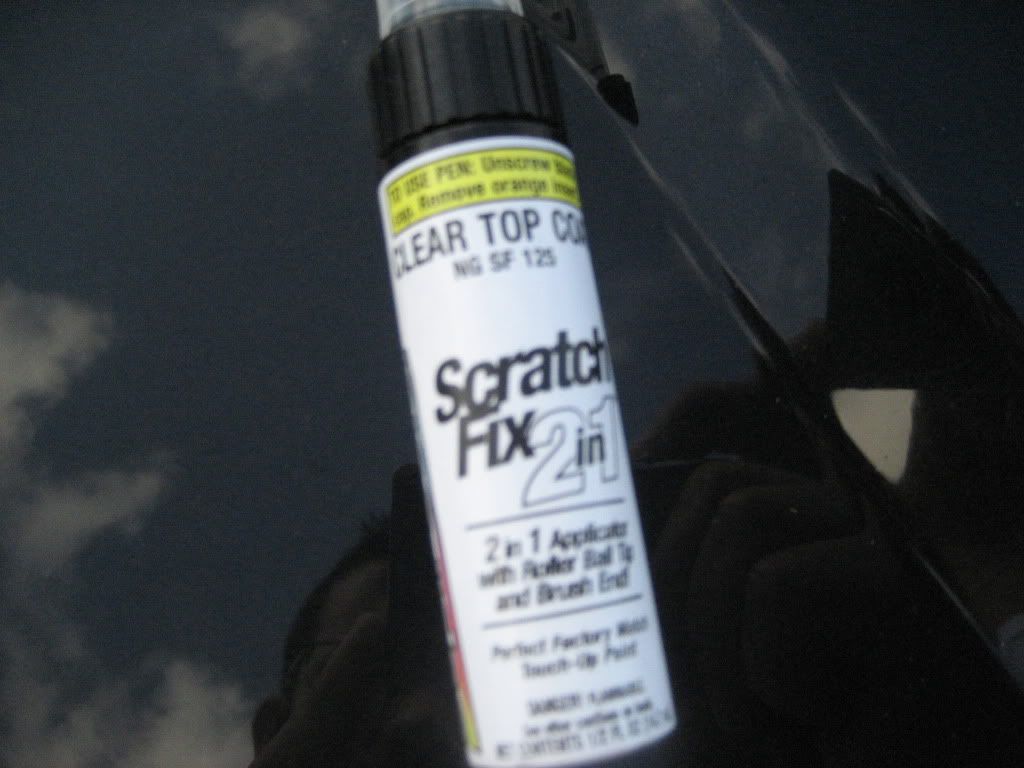
Step 1: Buy repair kit and color match paint
Step 2: Using a good cleaner degrease clean the area to remove any dirt, grime and wax.
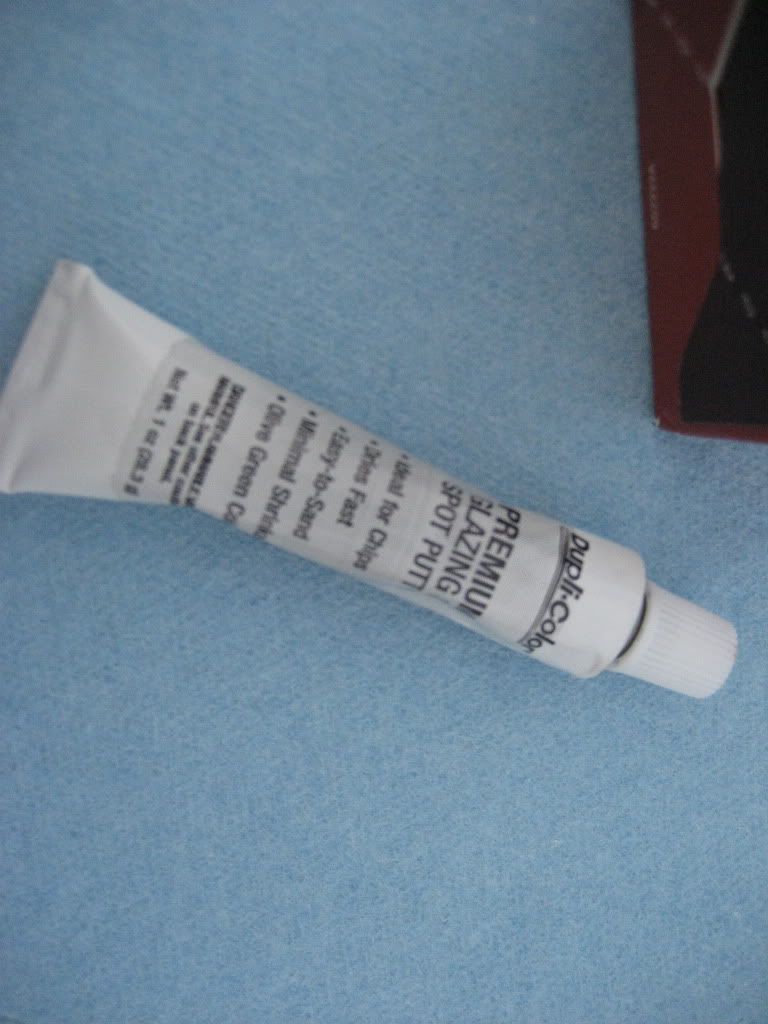
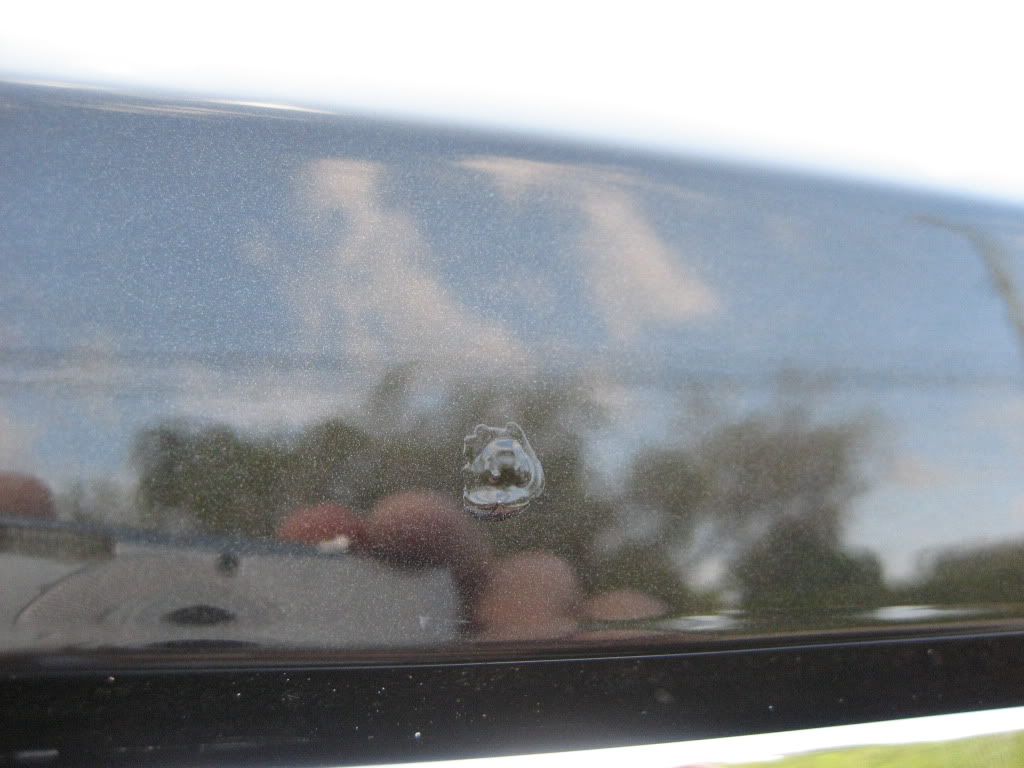
Step 3: Identify how bad the chip is. In this Dupli-Color system they give you 2 options. A liquid filler for clear coat chips or a putty filler for down to the metal chips. Mine is down to the metal so I used the putty filler.
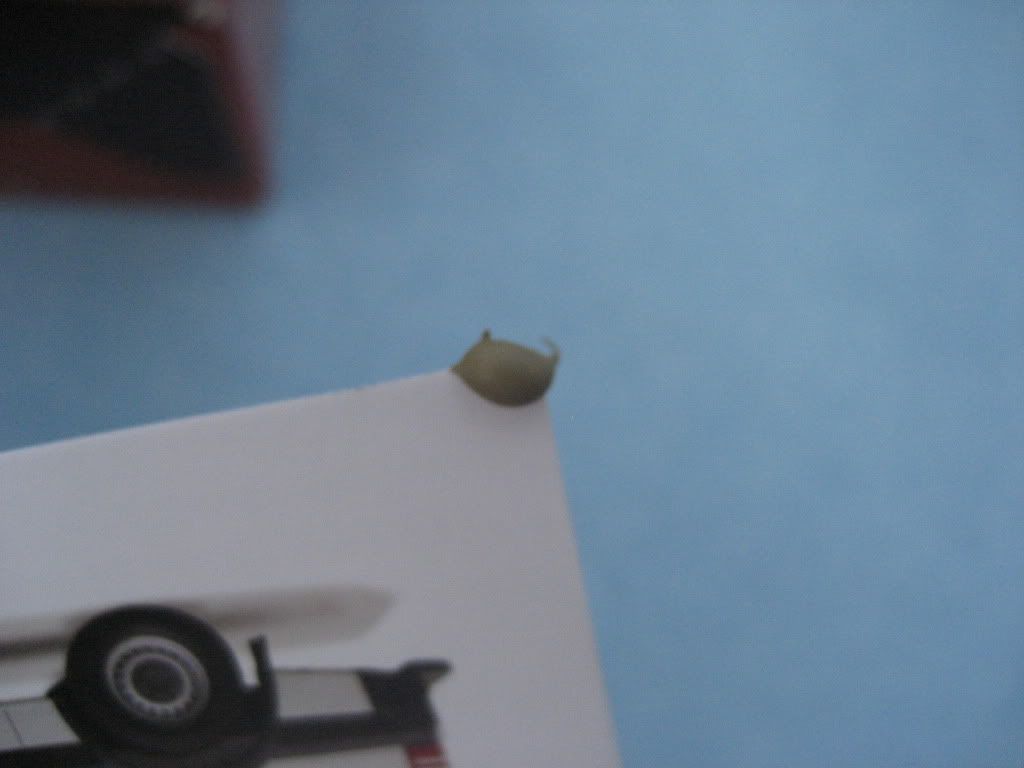
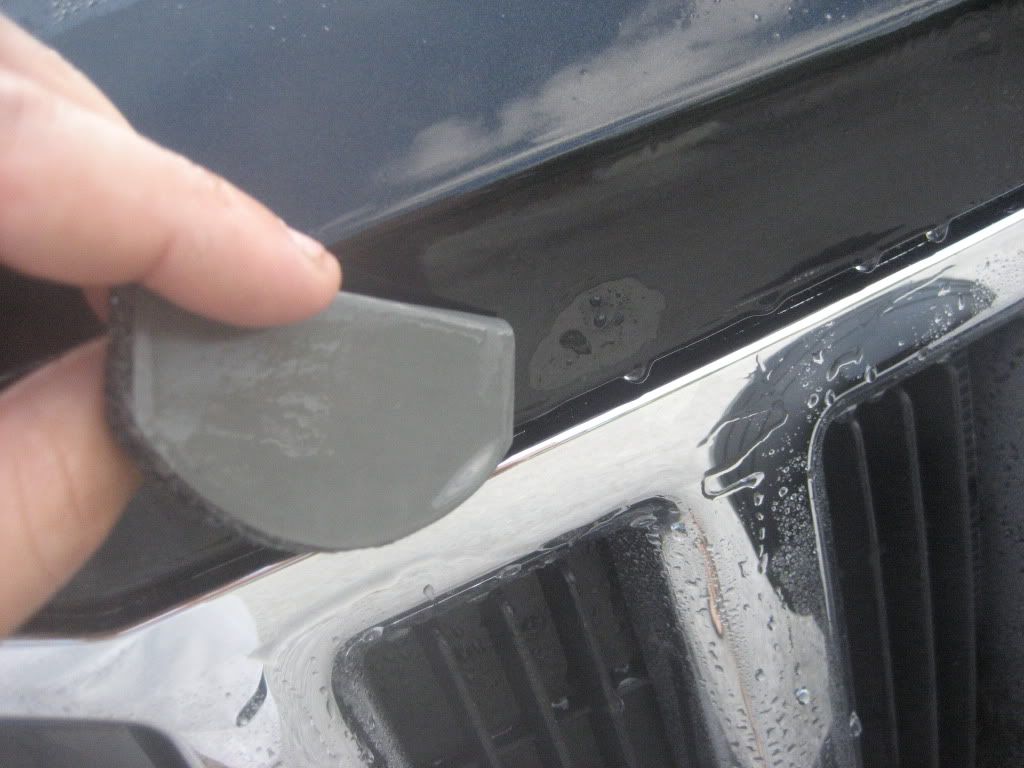
Step 4: Using the corner of a business card apply the filler to the affected area. Once you have filled the area to the level of the paint, remove the access. Allow a few minutes to dry before moving to the next step.
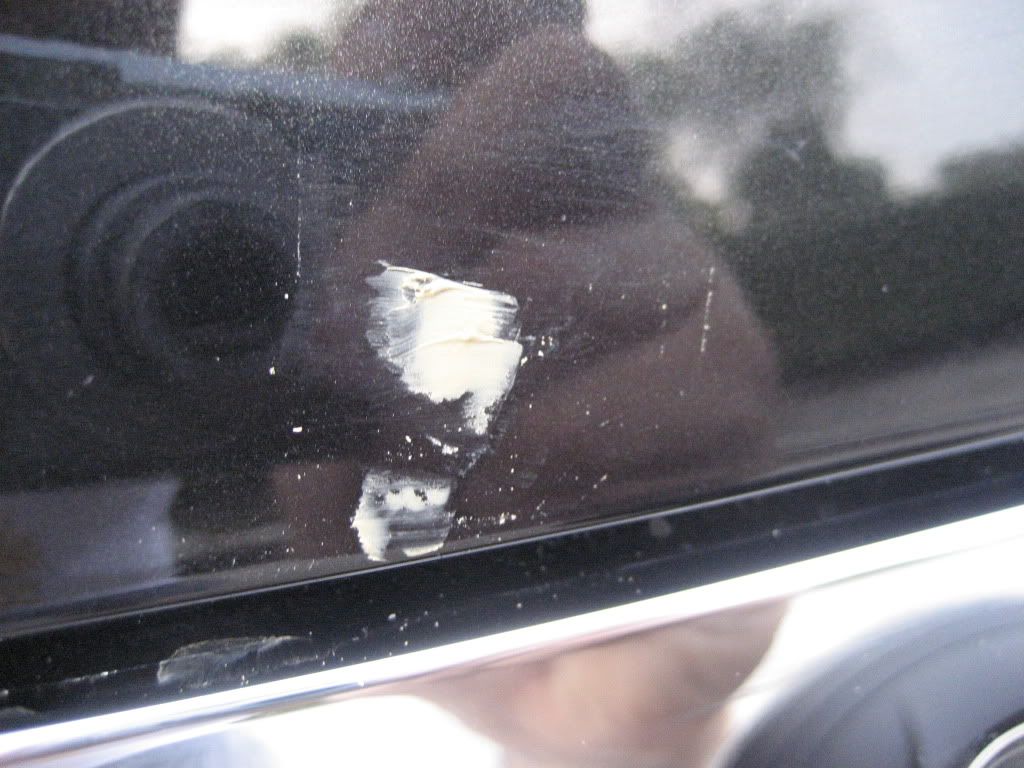
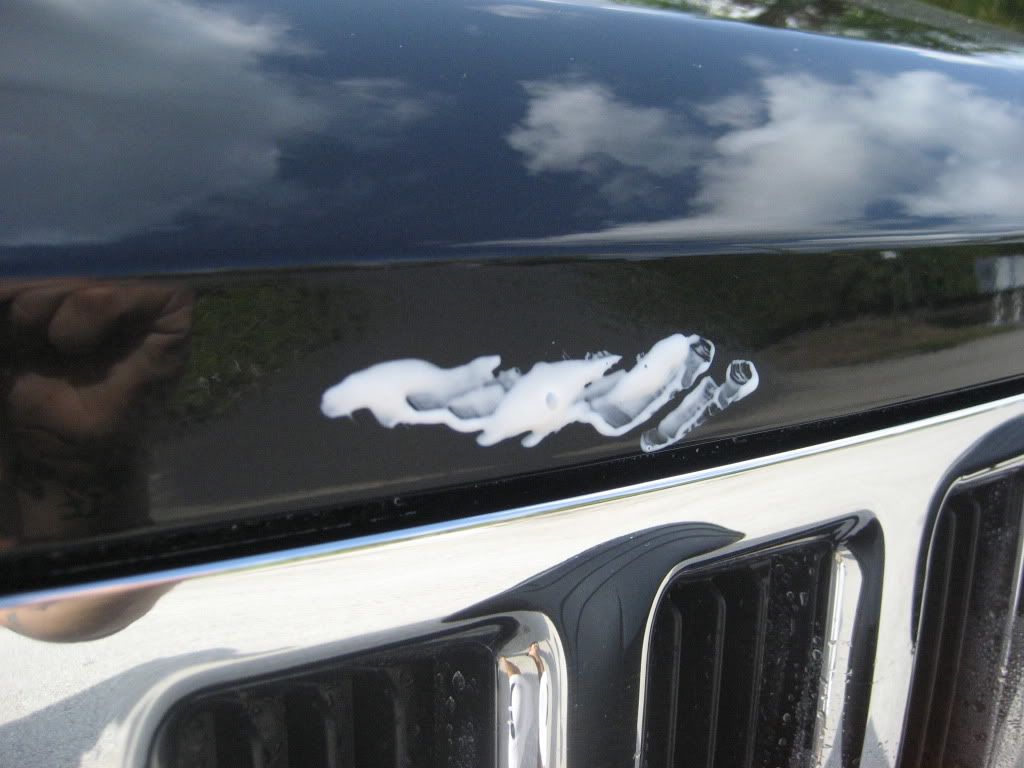
Step 5: Apply color match paint. I used the brush end and lightly blotted the area to get the paint to take. Make sure you don't have a lot of paint on the brush other wise you will apply WAY too much paint. You just want enough to fill in the area. Allow a few hours for the paint to dry. Dupli-Color recommends 24 hours, I let it dry overnight (about 12 hours)
Step 6: Apply clear coat. Again, you don't want a lot on the brush. Just enough to coat the area. Allow at least 30 minutes to dry.
Step 7: Wet Sand. Using the sanding paper and disc in the kit you want to gently wet sand the area. I can't stress enough USE A LOT OF WATER. Get the sanding paper very wet and consistently spray the sanding area. Don't use a lot of pressure. Also don't be scared if you notice the area around becoming dull. You are NOT damaging the surrounding area. Gentle sanding A LOT of water.
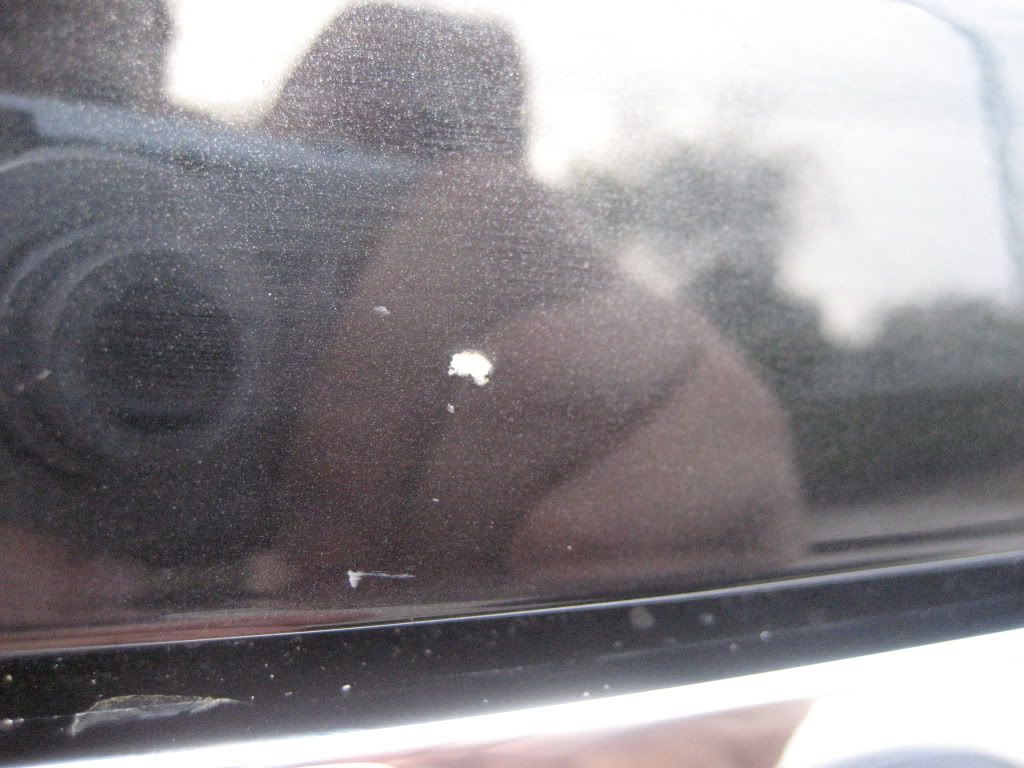
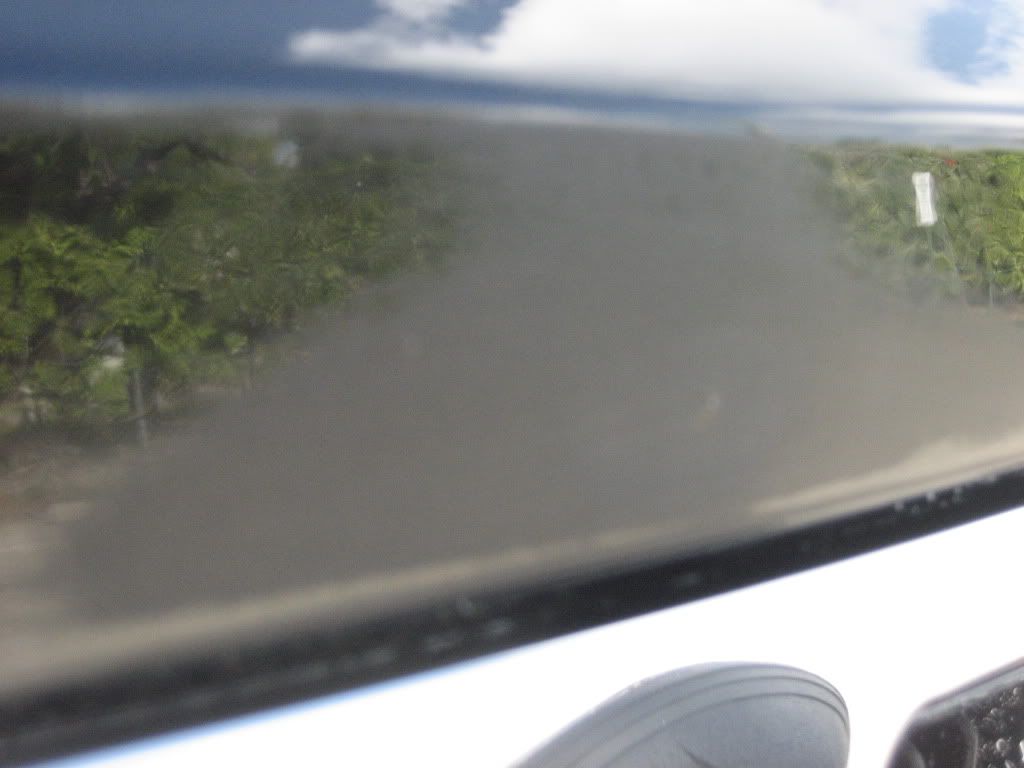
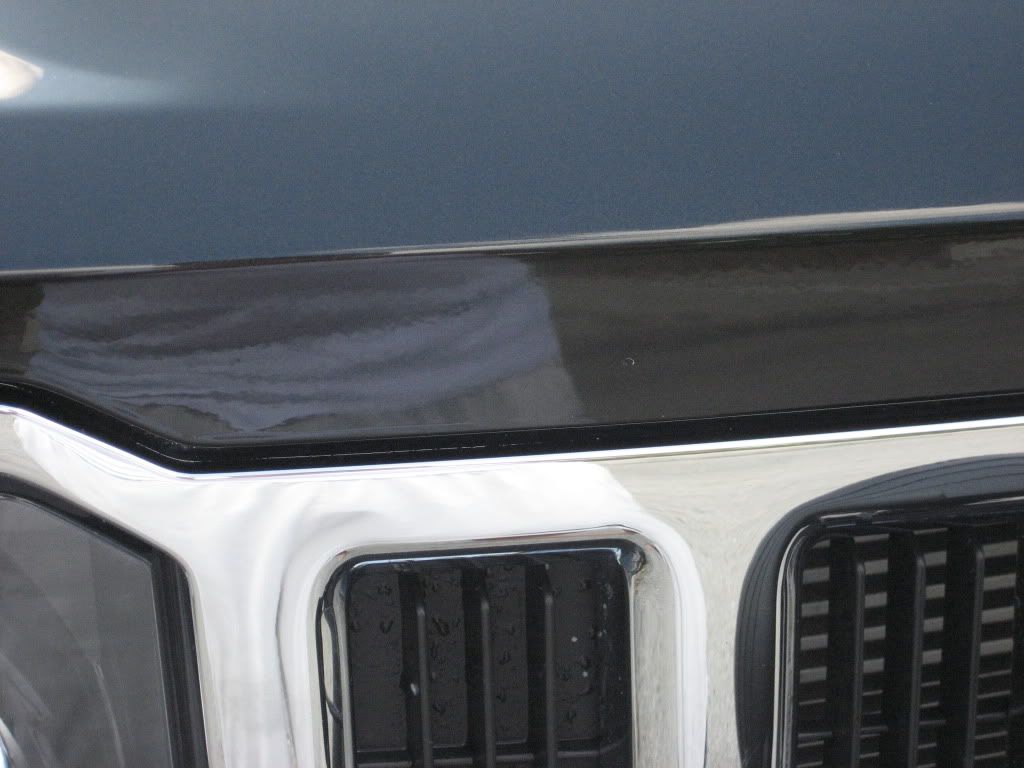
Step 7.1: When your done the area should look like this.
Step 8: Polish. There is a good polishing compound supplied in the kit. Apply to the area and begin to buff with a micro-fiber towel. You may need to put a few coats on to get the paint back to its shine.
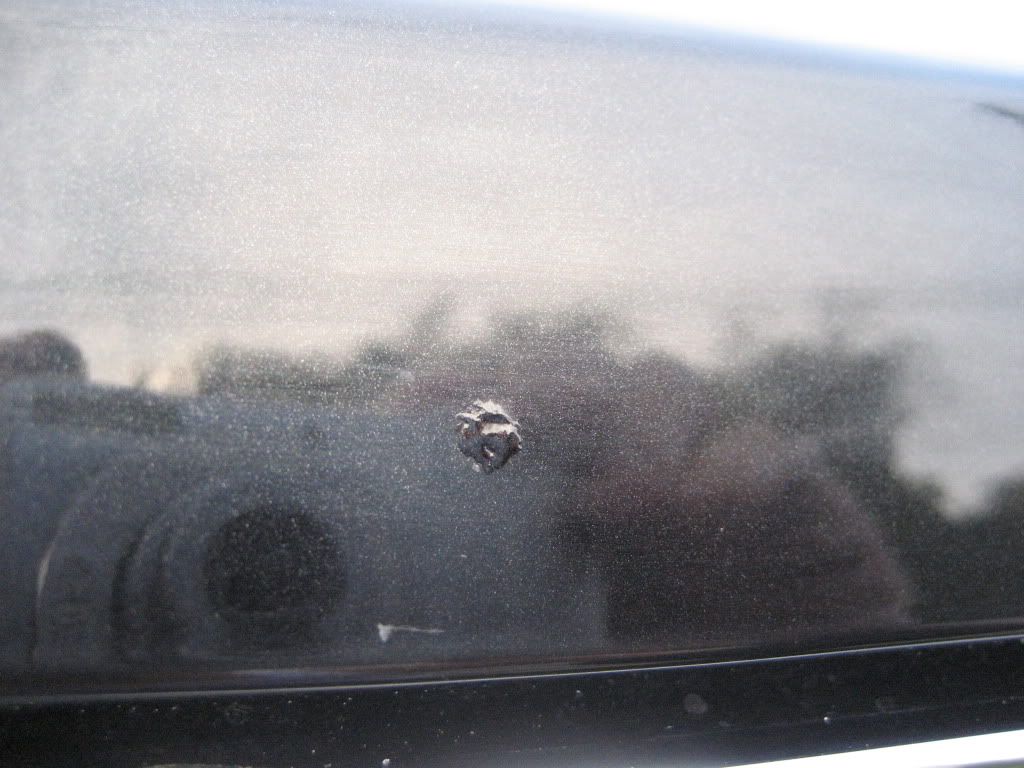
Step 9: Stand back and take a look. As you can see the chip is just about gone. That chip was pretty deep so I might go back over the process again.
Step 10: Final Wax. If you are done at this point apply final wax and enjoy.