ATH REAR BUMPER INSTALL INSTRUCTIONS
Disclaimer
This product is not DOT approved and for offroad use only. By installing this product, you are assuming all responsibility for any property damages or personal injury from use or abuse of this product.
Only use kinetic type recovery straps when freeing a stuck vehicle. The stretching of the strap greatly reduces strain on both vehicles and requires less energy to recover the stuck vehicle. Chains or tow straps are ok for towing a vehicle only.
They are never ever to be used for pulling out a stuck vehicle because they 'shock load' the recovery points, which break things and people... Winching with steel or synthetic cable is fine because no shock load is applied but traditional safety measures should still be taken. More info on winching and recovery can be found pirate4x4.com and the US Army field manual 21-305, chapter 22.
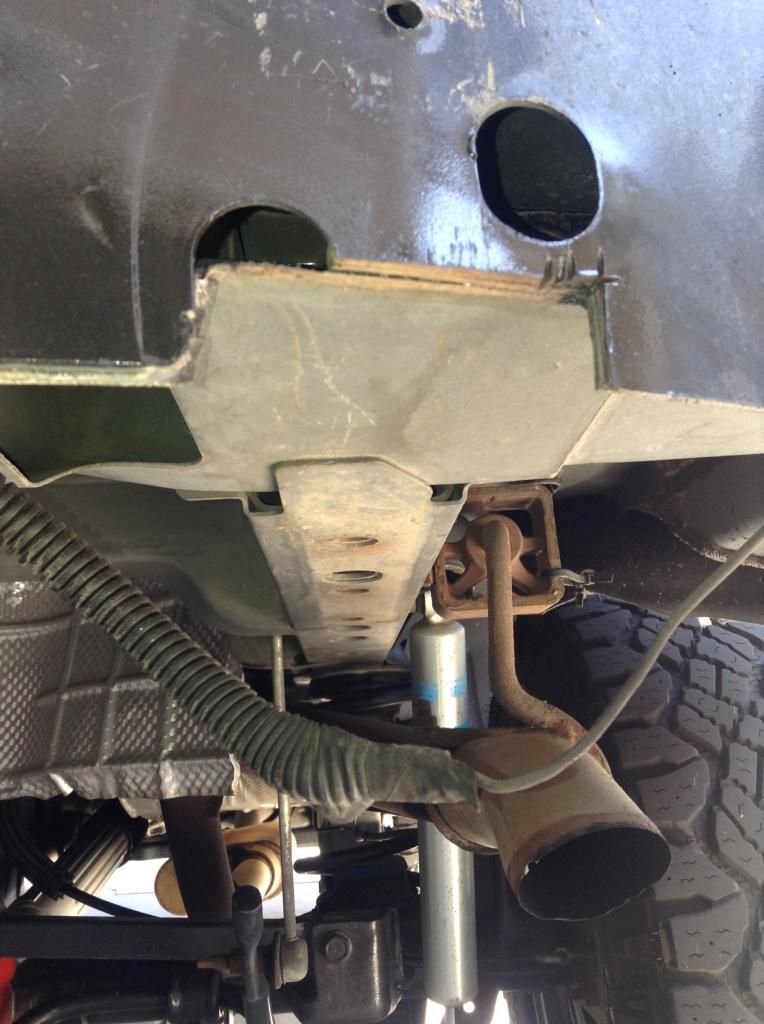
You will need to replace the exhaust resonator with a simple 6" straight turn down in order to clear the bumper mounts. This is something that should be done either way, as it would stick out like a sore thumb after your new high clearance bumper is installed..
1. Remove factory plastic bumper cover and crash absorber using this write up.
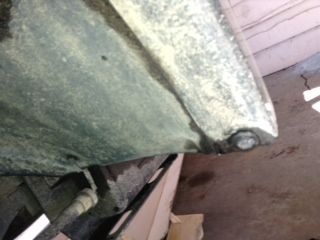
viewtopic.php?f=104&t=722642. You will need to cut slots in the rear pinch seam using an angle grinder or dremel so that the mounts sit correctly. Cut them a little wider than the mounts and spray them with paint to prevent rust. No part of the pinch seam may hang down in this area, it must be flush with the unibody 'frame' rails.
3. Remove the one factory bolt that holds the rear axle gusset to the body on the driver side.
4. Any hitch wiring will need to be pulled down so they aren't pinched by the mounts.
Carefully slide bumper into position, about 3/4 on so that it rests on the body as pictured.
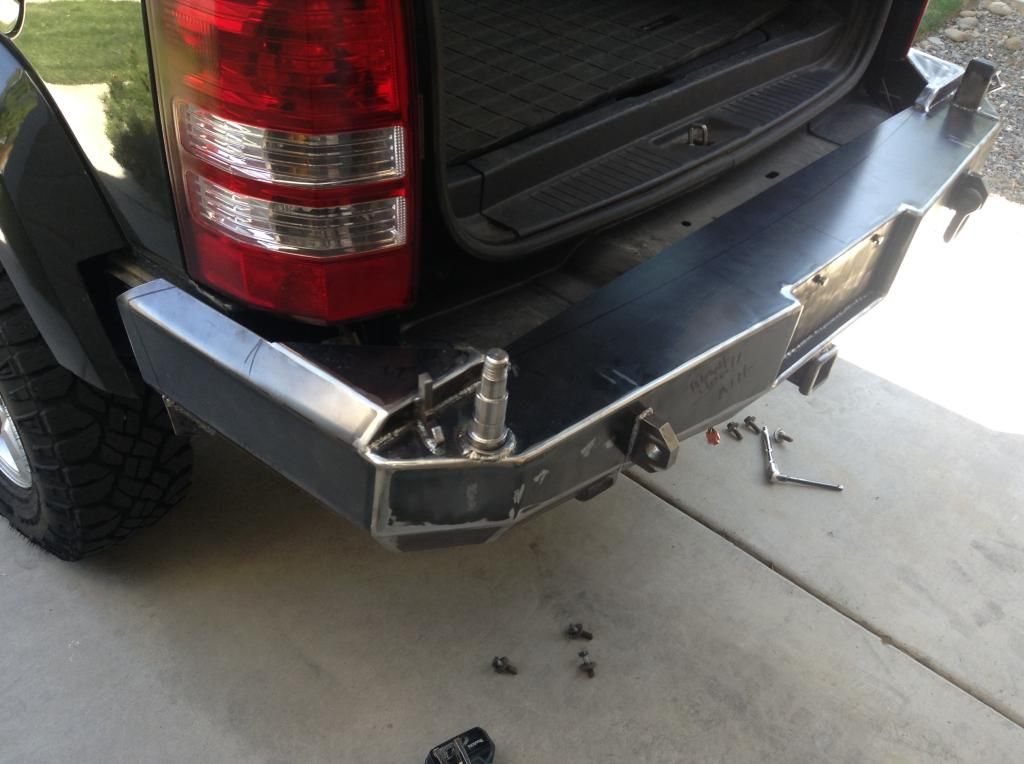
The bumper will slide inside the fender flares, just spread them open a little so they slide in one side at a time.
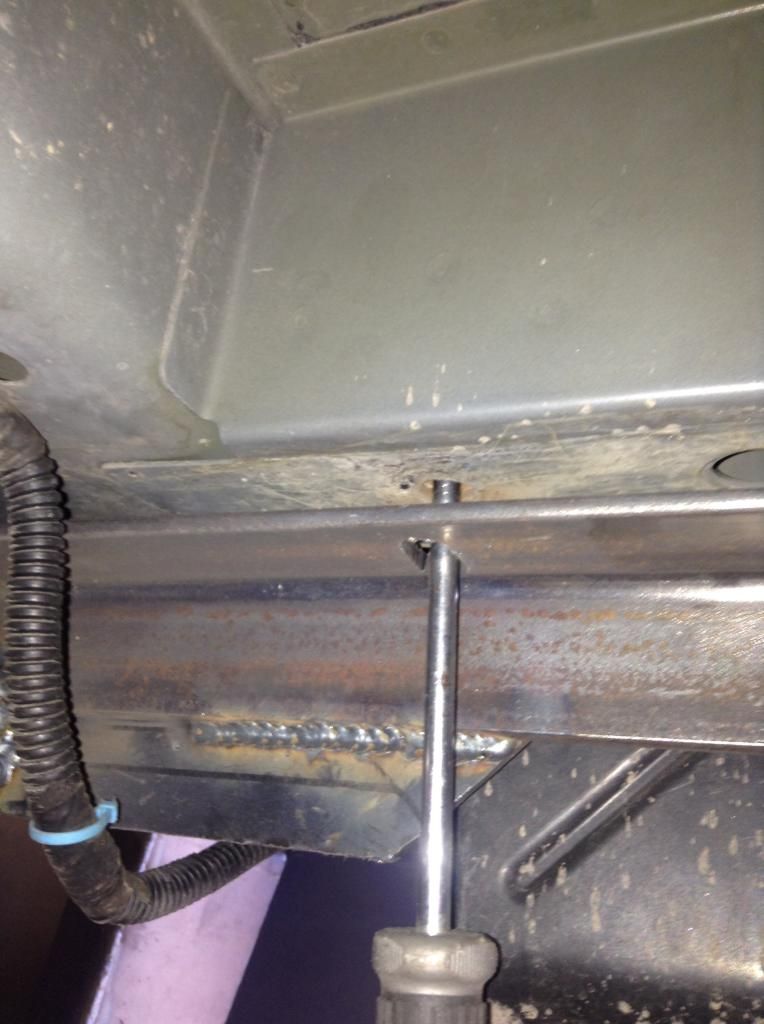
5. Now install the bolts, but only get a couple of threads started on each bolt. If you are having trouble aligning the bolt holes, insert a screwdriver through the bumper hole and threaded hole in the body and move the bumper to the correct position.
Check alignment of the bumper. Make sure it's centered and even on both sides at the flares.
Once all six bolts are all started, they can be tightened down to 65 ft lbs.
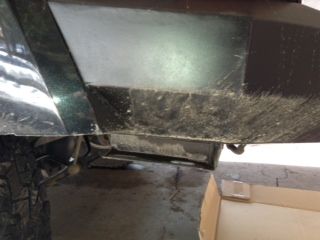
6. Cut the fender flares. Mask off the area to be cut, then draw your line using a straight edge or a small level. They should be cut to the same level as the 'ears' welded to the bumper.
They can be cut with a dremel, hacksaw or angle grinder. Make sure to double check your line, standing away and looking at it from different angles to make sure you're happy with it.
6. Drill a hole in the fender flare for the supplied reusable pop rivet to secure the liner to the flare.
You may want to zip tie the liners to suck them back, depending on what size tire you are running.


