ATH RECOVERY SYSTEM INSTRUCTIONS
Disclaimer:
This product is not DOT approved and for offroad use only. By installing this product, you are assuming all responsibility for any property damages or personal injury from use or abuse of this product.
Only use kinetic type recovery straps when freeing a stuck vehicle. The stretching of the strap greatly reduces strain on both vehicles and requires less energy to recover the stuck vehicle. Chains or tow straps are ok for towing a vehicle only.
They are never ever to be used for pulling out a stuck vehicle because they 'shock load' the recovery points, which break things and people... Winching with steel or synthetic cable is fine because no shock load is applied.
DO NOT INSERT RECEIVER ACCESSORIES THAT ARE TOO LONG AS THEY WILL HIT THE POWER STEERING COOLER!
Clean with acetone, laquer thinner, or rubbing alcohol until rags are clean, then prime and paint.
Remove plastic factory bumper using these instructions.
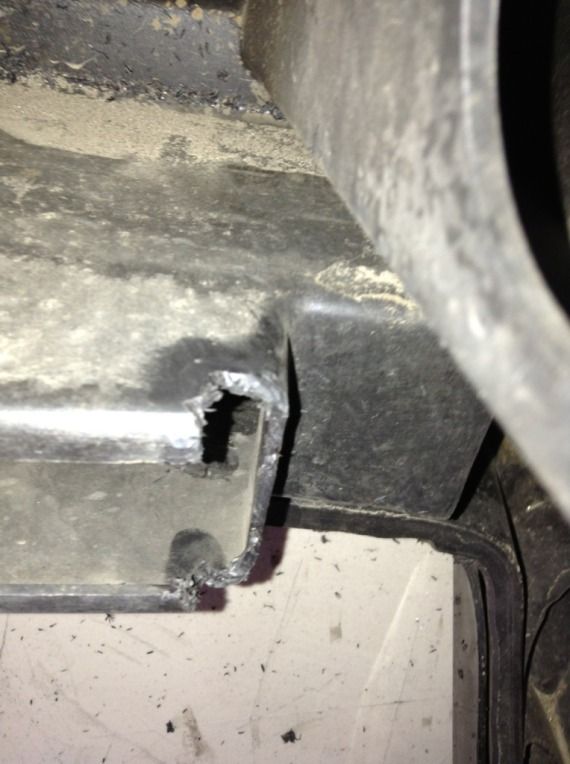
viewtopic.php?f=104&t=41683Remove metal crash caps on the crossmember to expose frame openings.
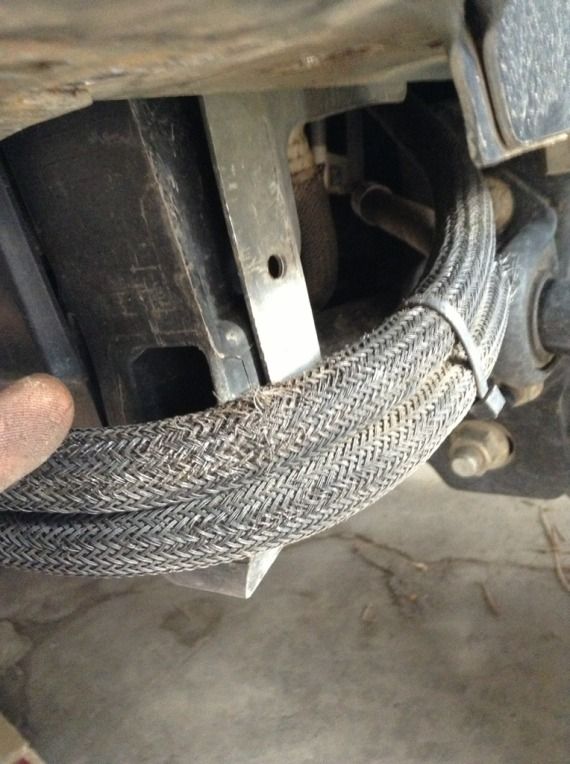
Carefully disengage the plastic connector holding the power steering cooler lines to the radiator support.
Insert both nut plates into to unibody openings and align with the factory tow hook holes.
Carefully raise the recovery system into position. Resting it on a floor jack, extra set if hands, or your knee might be helpful. Install all four bolts and torque to 60 ft lbs.
Install bolt and washer onto the passenger side front crossmember using one of the smaller welded nut plates using the existing hole.
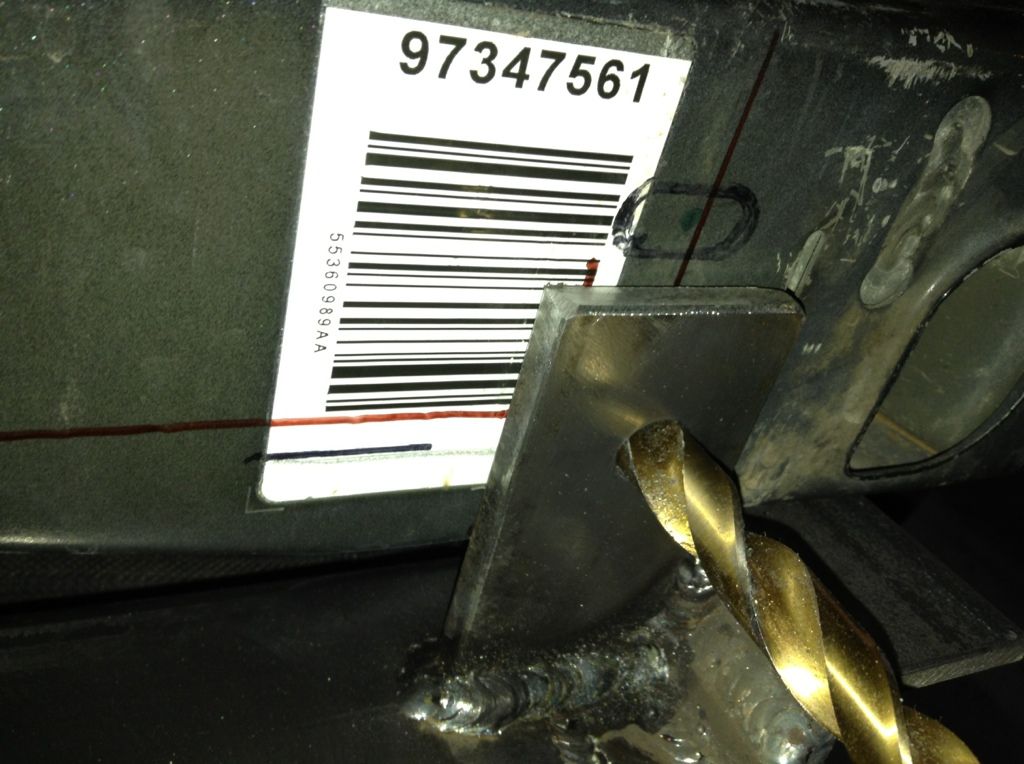
Using a 1/2" bit, drill out the driver side front crossmember and install nut plate, washer, and bolt.
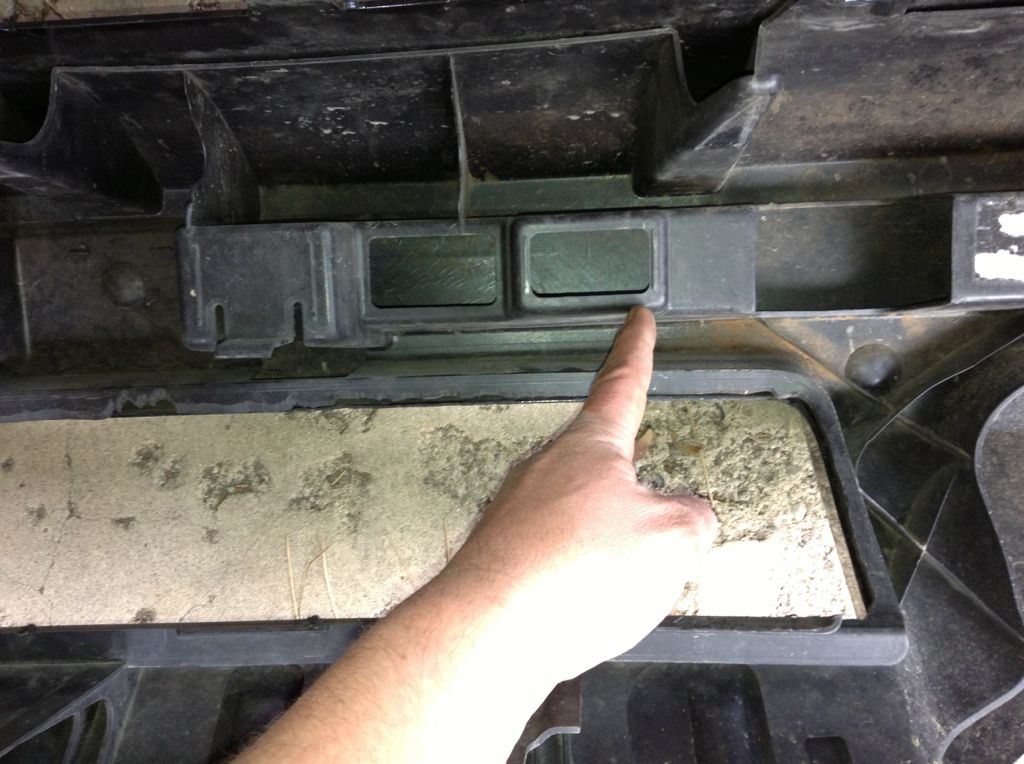
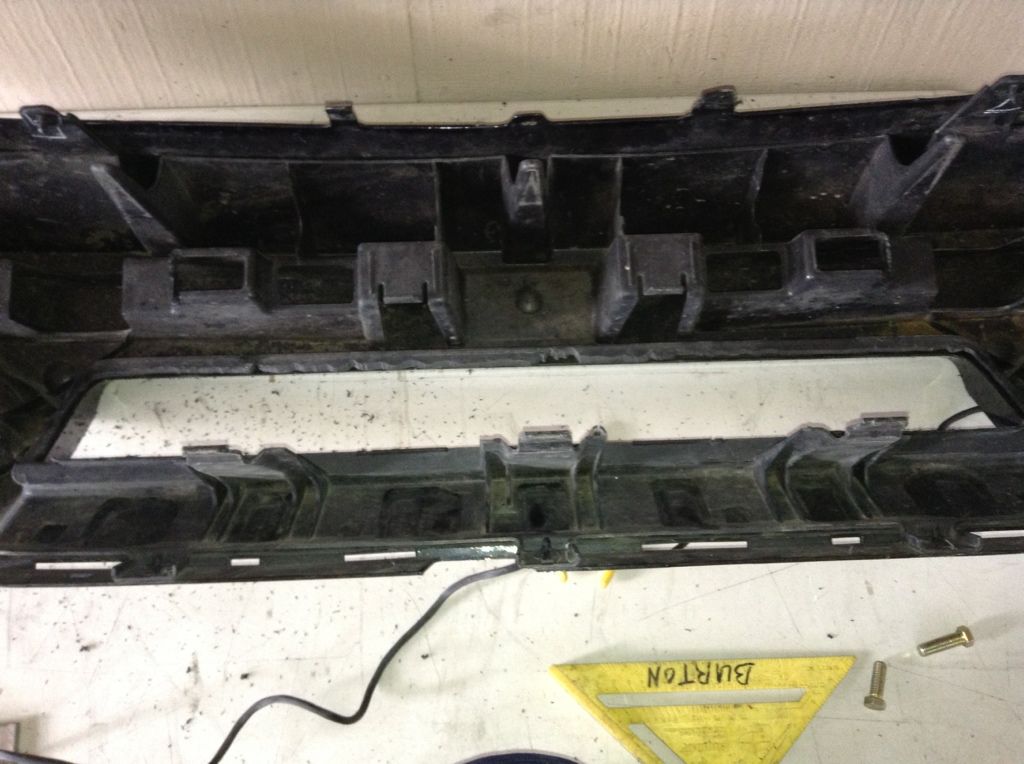
Cut out the entire black plastic vented portion of the bumper. Use a dremel or utility knife for this. Also cut notches into the crash pads as shown in the picture.
Reinstall plastic factory bumper.
Enjoy your upgrade!


