Tokyojoe wrote:
Please take pictures throughout the whole process. I would love to see and hear about the whole thing. Do a full write-up for LOST. Would be much appreciated by all interested.
How much is your cost going to be (excluding sound system)? I am sure you have to replace a lot of those plastic rivets.
I haven't taken any pictures of the doors or tailgate when I did them, but the procedure is pretty much the same. I'll try and do a writeup after I finish everything. It's taking me a lot longer than I expected due to several factors such as: sub-freezing temps

in a cramped unheated garage, in addition to my internship and new years and all.
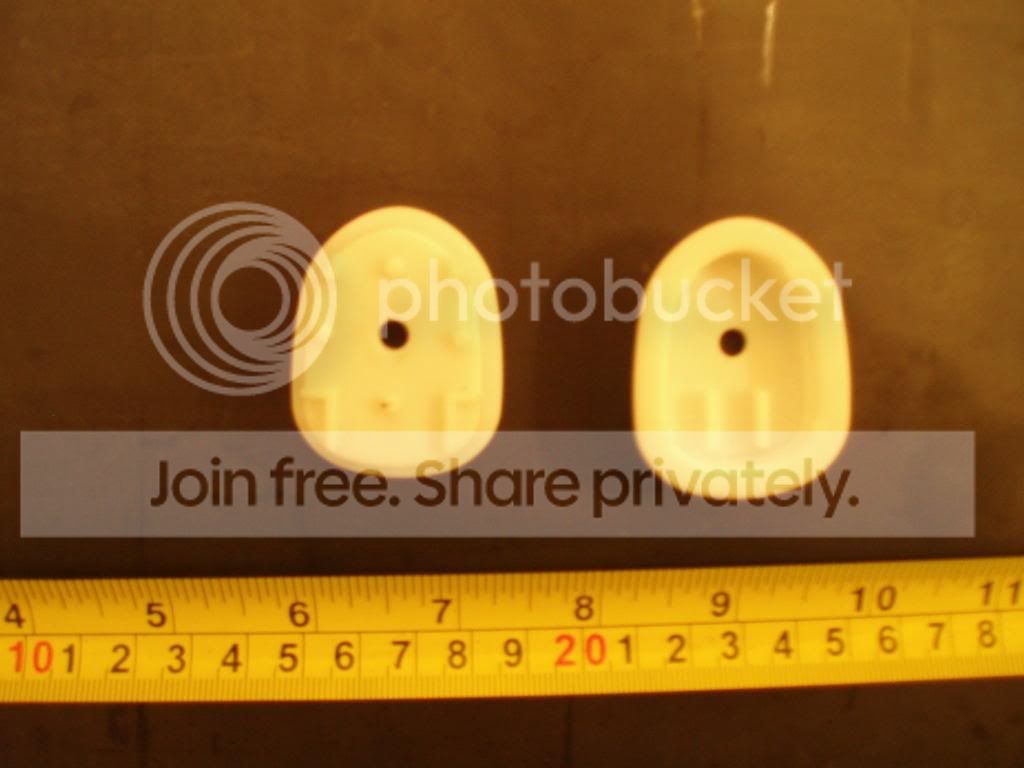
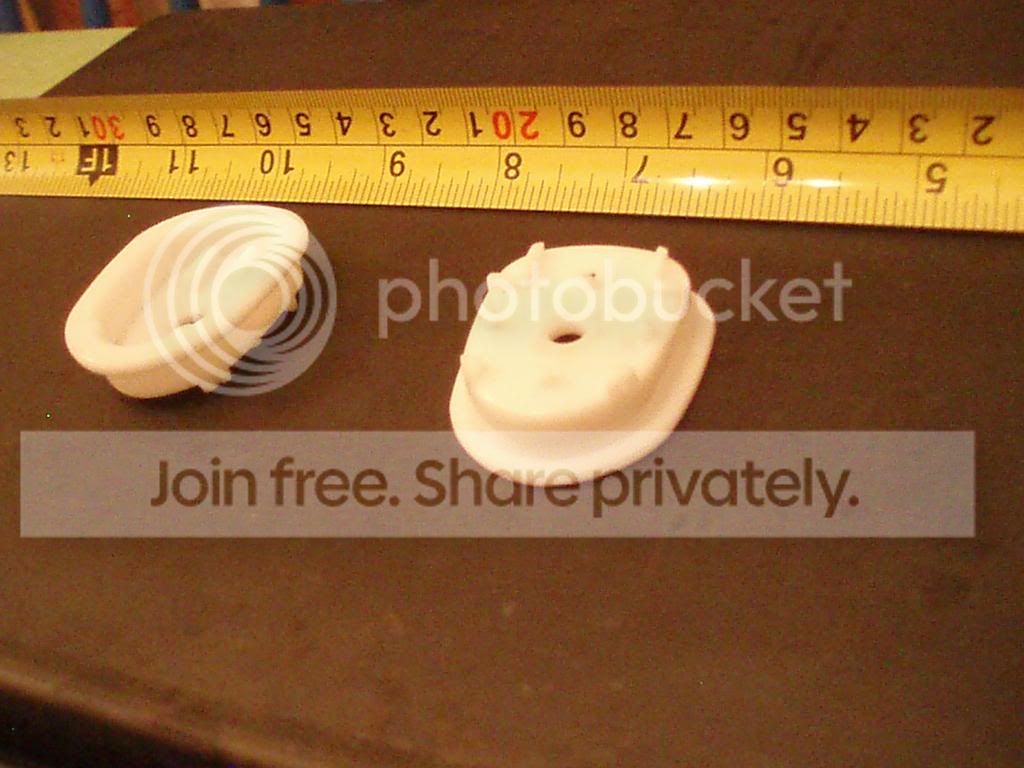
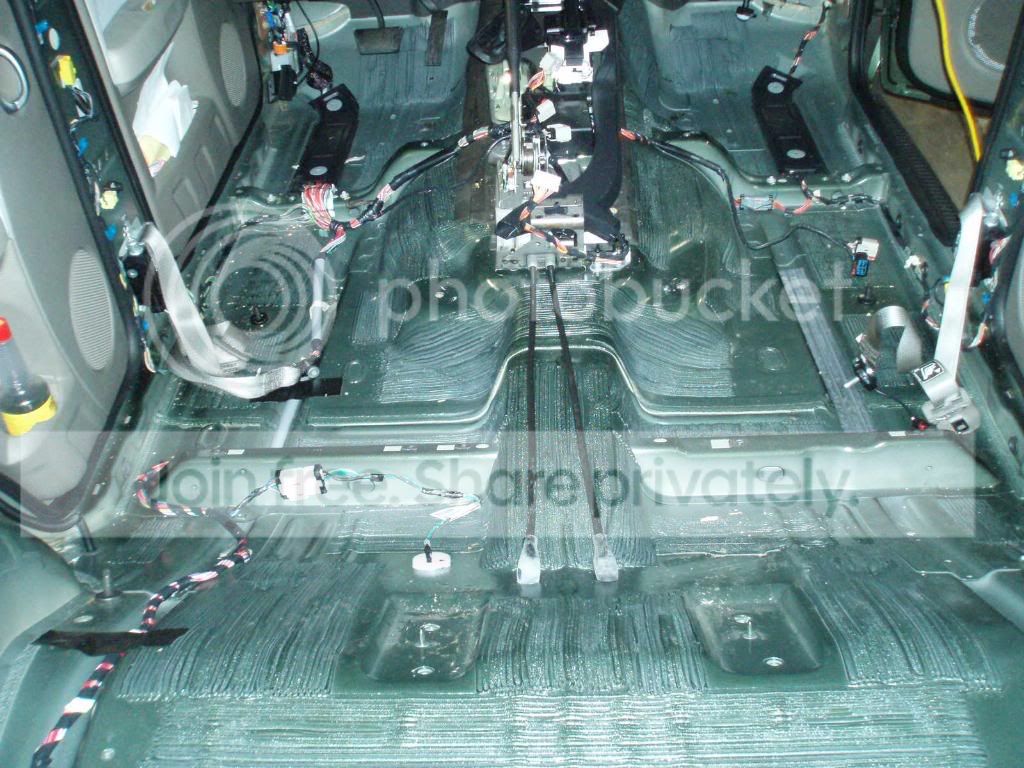
Fortunately, I was able to salvage all of the plastic clips/rivets. As I called the dealership before starting, in anticipation of needing replacements, and they wanted around $4 per clip!!!
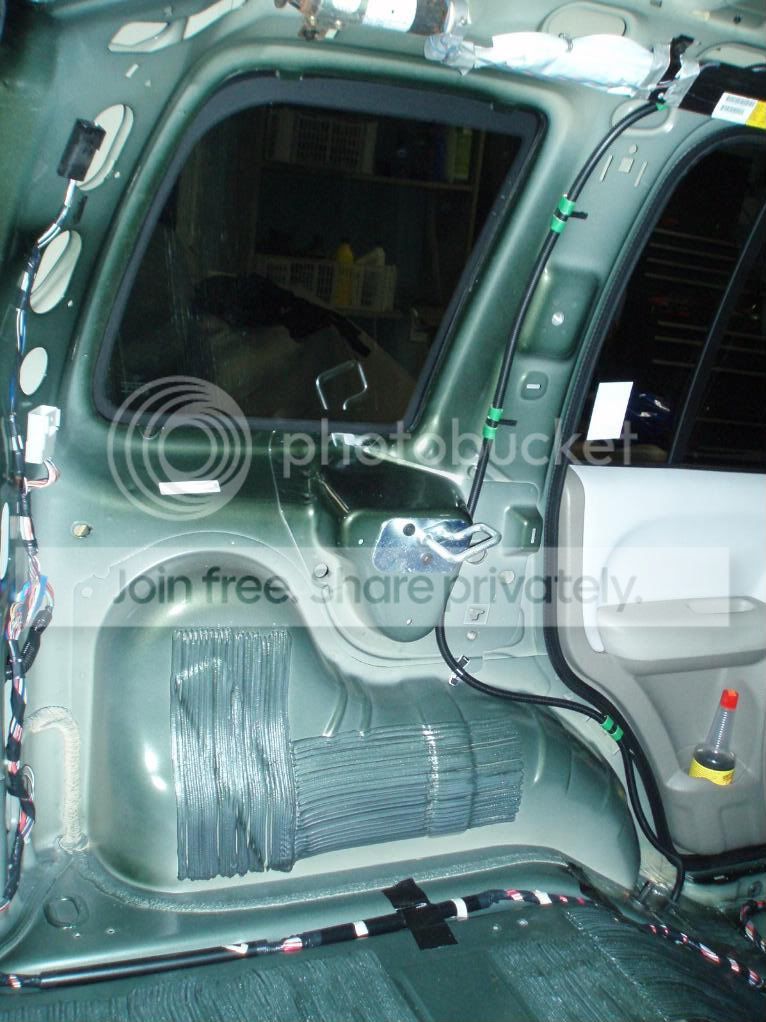
However, the pop-rivets holding the rear cargo tie down cleats had to be drilled out. I think I will replace them with riv-nuts, so the cleats would be easier to remove if I ever have to again. In case you didn't know, riv-nuts are very similar to pop-rivets but after installed, they have threads on the inside for a bolt to pass through.
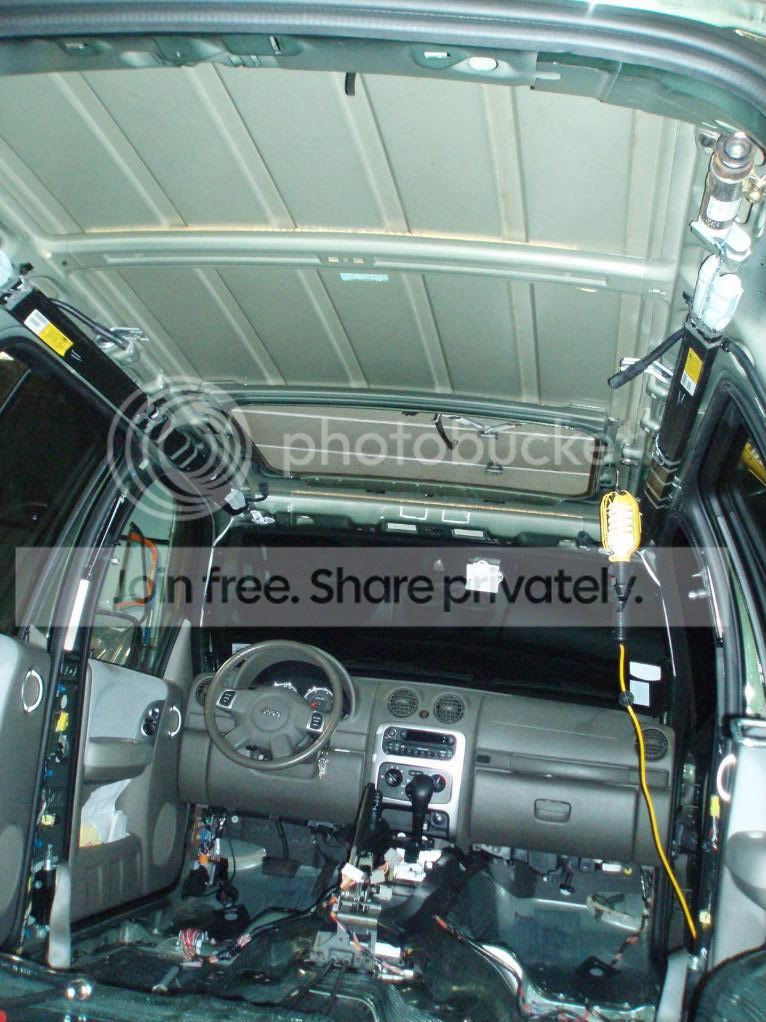
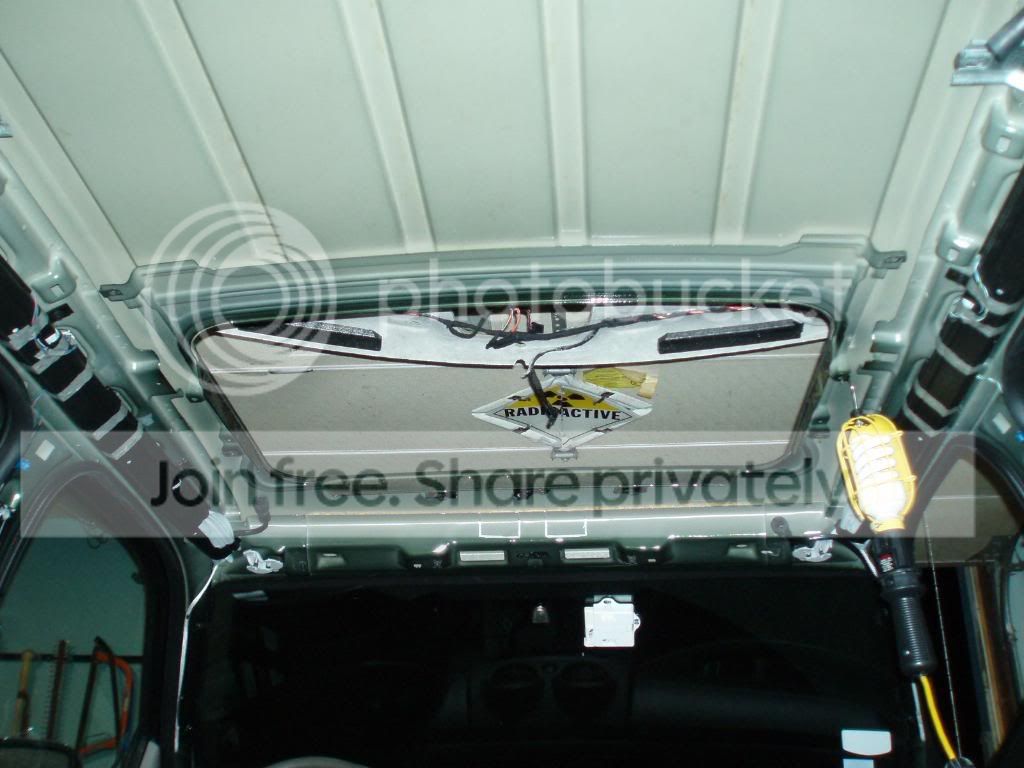
There is also a blue flexible foam block which was glued between the roof and sunroof carriage assembly. I used a scraper to remove it from the roof and will glue it back on later.
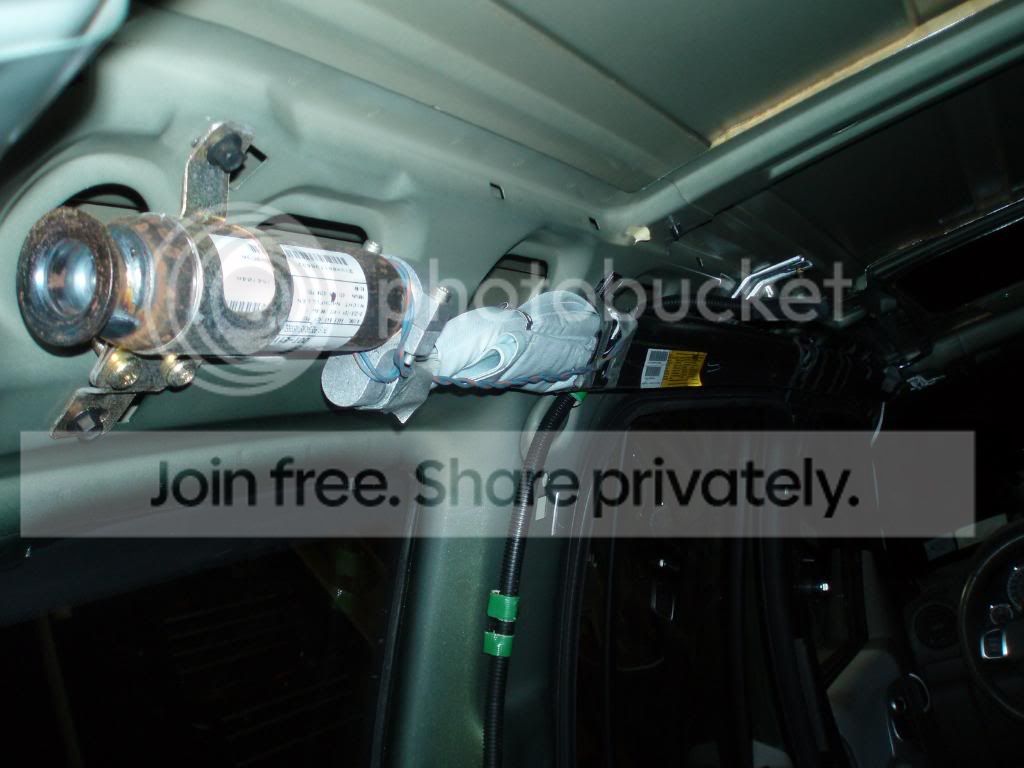
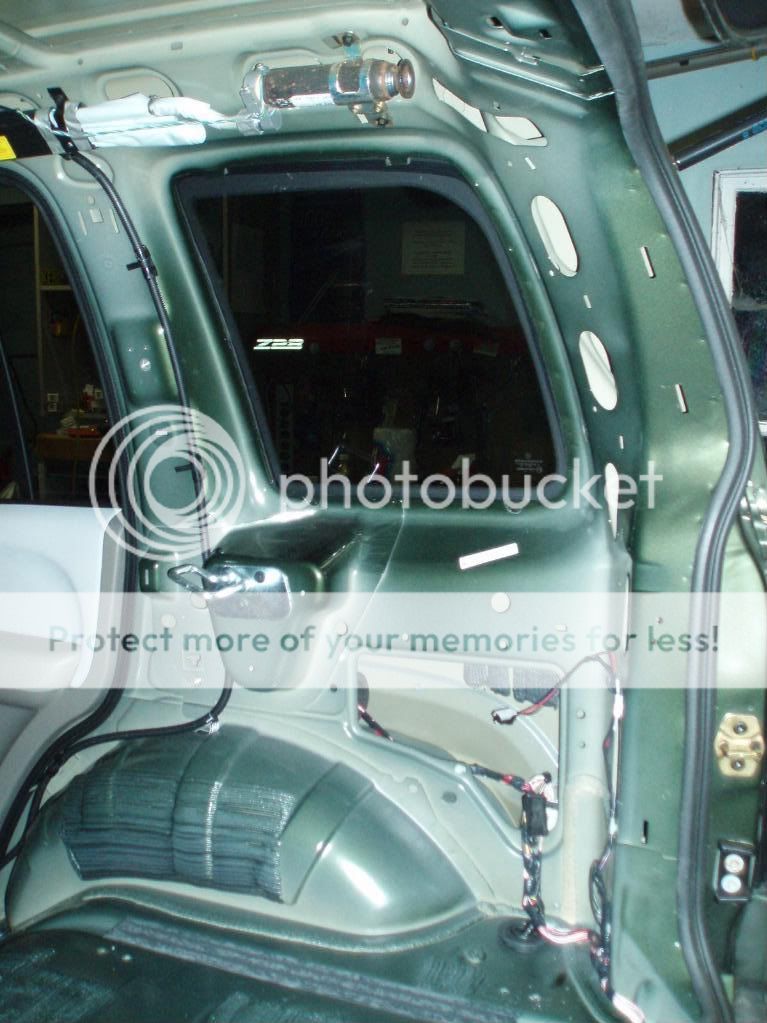
In dropping the headliner, I had to cut the washer line for the rear windshield both in the front by the passenger A-pillar and in the rear right in back of the nozzle. I plan on using really tight fitting male to male unions because I
really don't want to have to deal with leaks under the roofliner!
Frostednutz wrote:
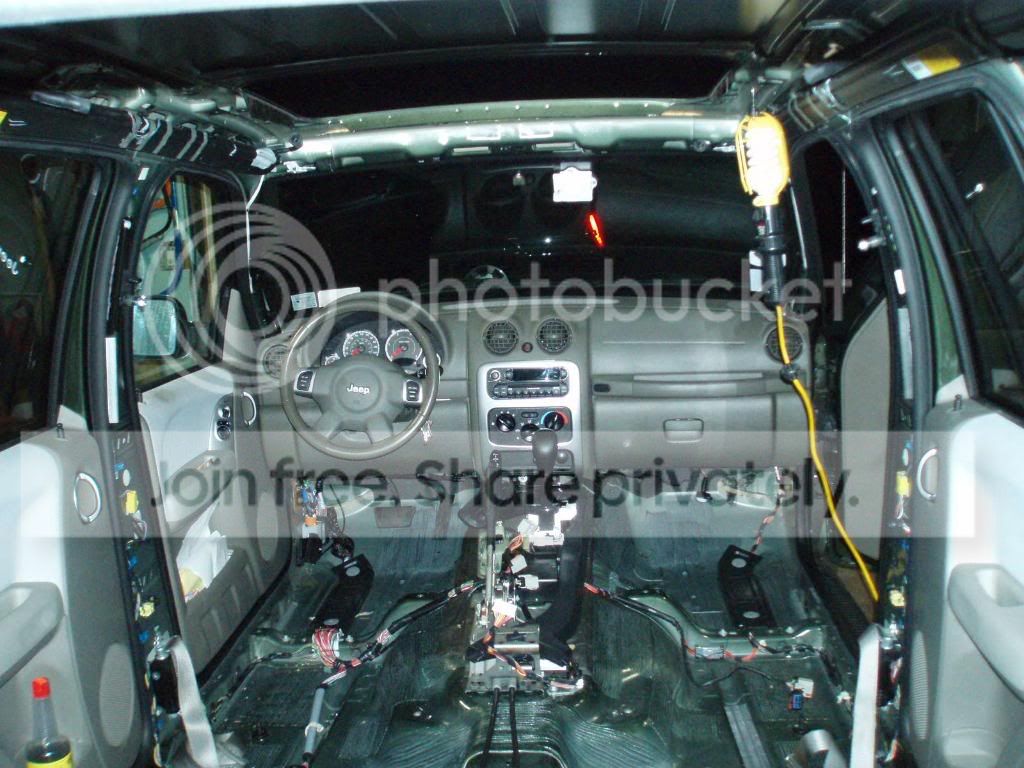
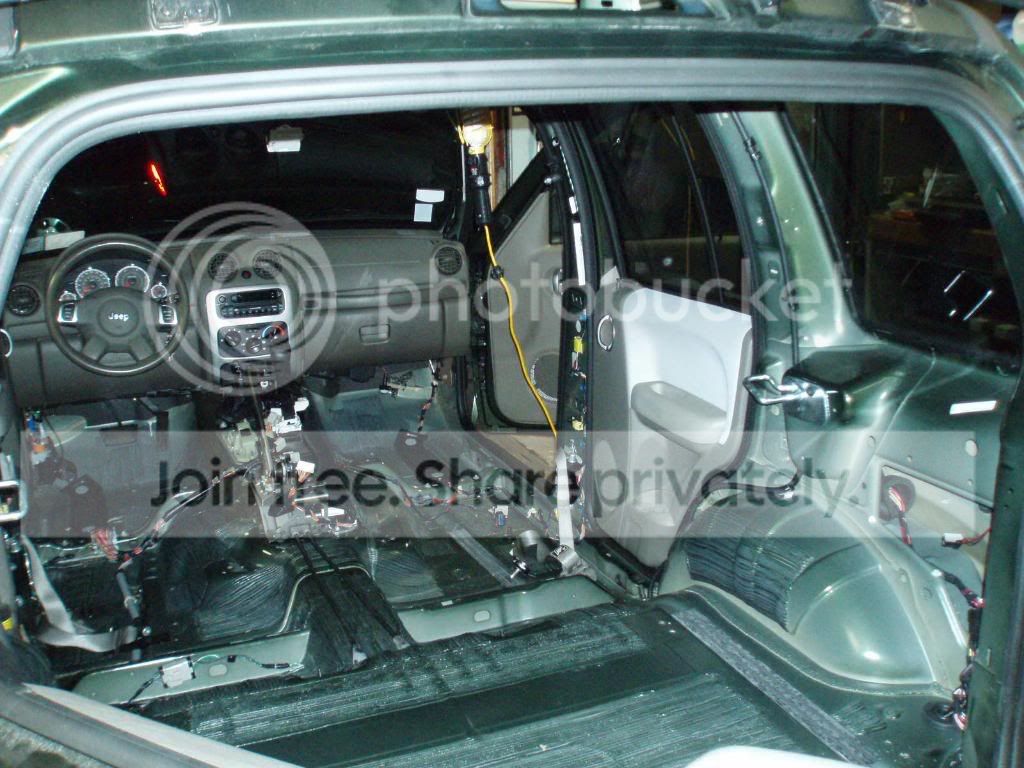
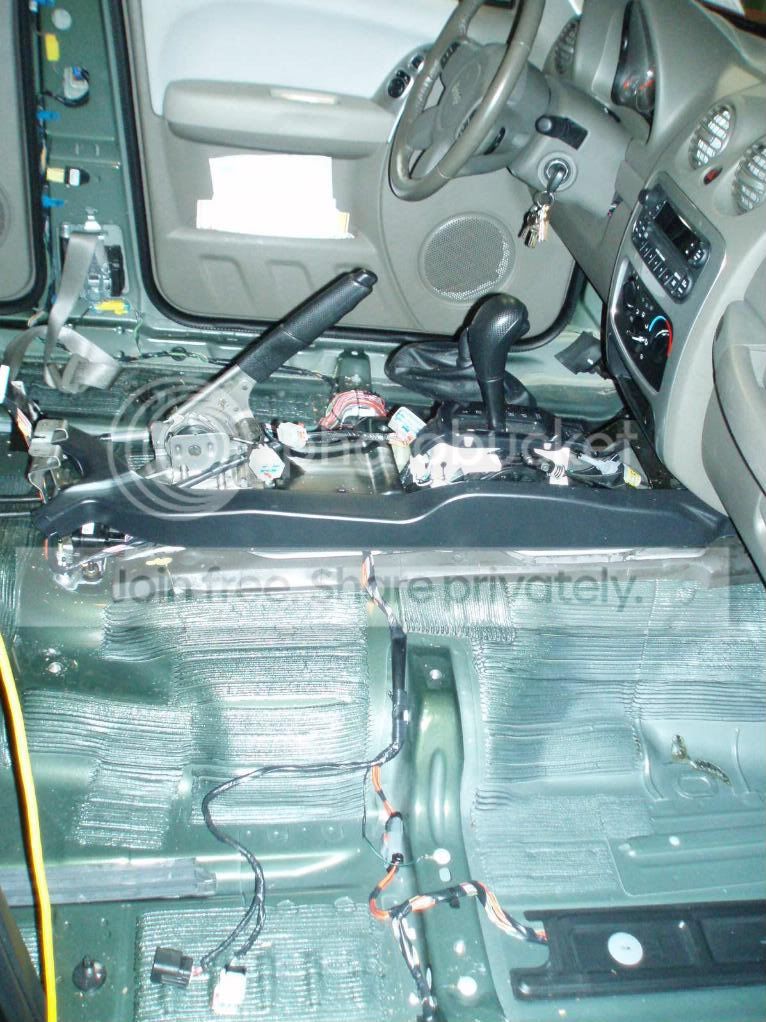
i got 1/0 running through a hole just above the clutch pedal and to the left. i think i have 1/0 gauge and a couple 4 gauge going through it at one time when i didnt have the second battery. what amps/subs/speakers you going to run?
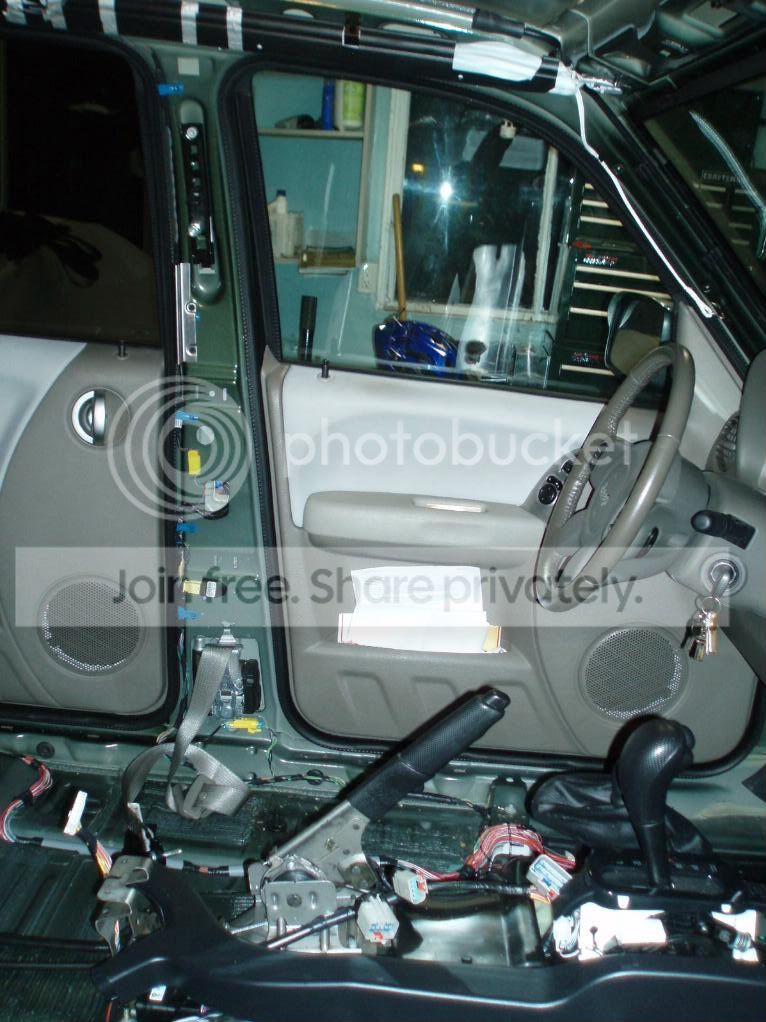
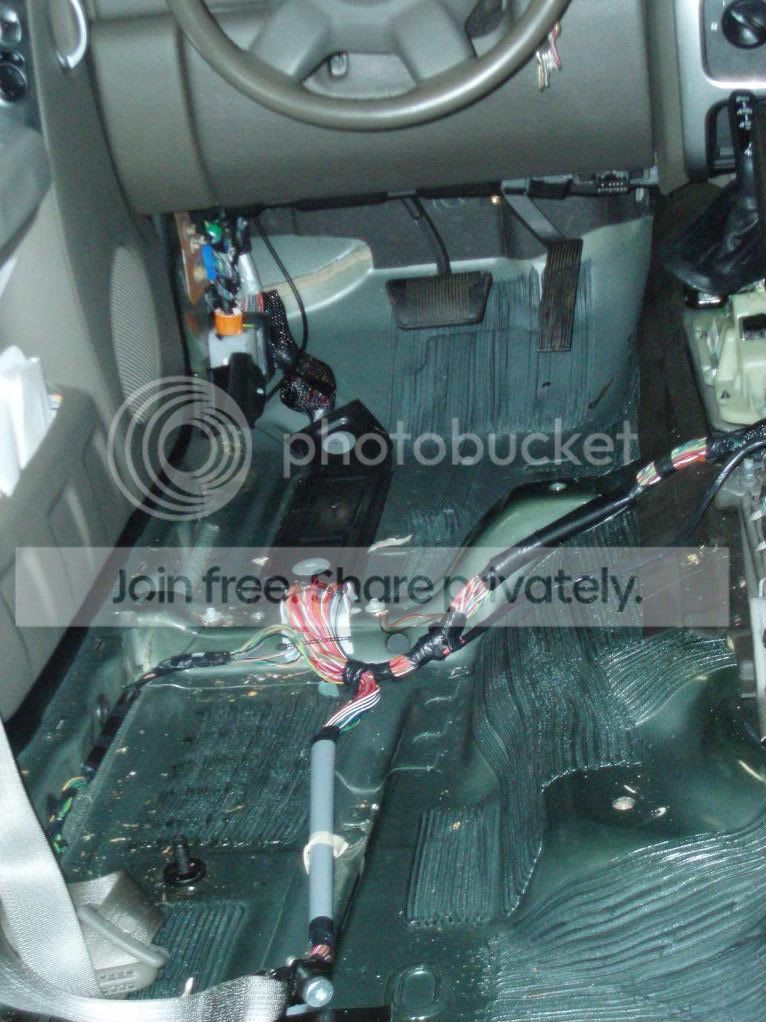
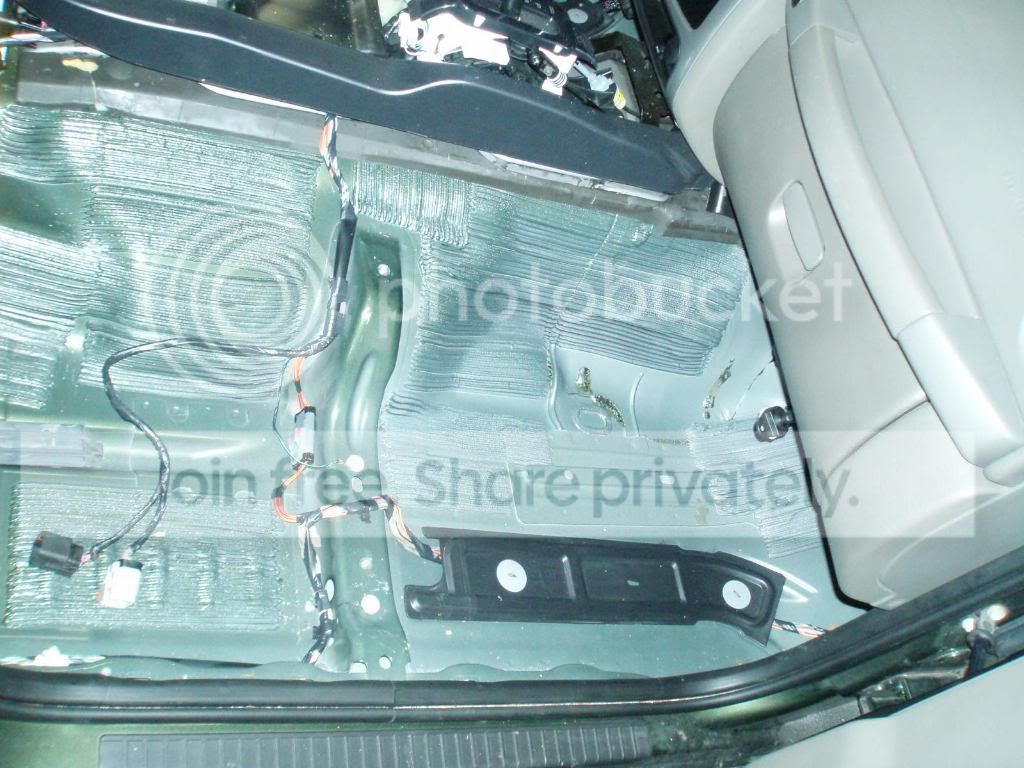
Right now I have the power wires routed in the v-shaped which runs in the middle of the passenger side and will see if I can get them over to the driver's side by snaking them underneath the dash.
These are all of the components for the sound system:
Pioneer DEH-9600MP head unit
Pioneer TS-D720C 6.5" component speakers for front and rear
Pioneer TS-SW841D 8" shallow subwoofers
JBL GTO5355 5-channel amp
TKO BH-CAP54D 1.5 farad capacitor
PAC SWI-PS wired remote interface for Steering wheel audio controls
distribution blocks, batt terminals, 80A circuit breaker
Wire sizes as follows:
Power wire to amp (positive and negative): 4 ga.
Speaker wire from amp to crossovers: 10 ga.
Speaker wire from crossovers to speakers: 12 ga. to mids, 16 ga. to tweeters
RCA cables from head unit to amp for speakers and subs.
Nothing crazy, just modest upgrades.