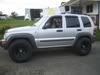
About a month ago my front right speaker began to rattle, pop, buzz or snap anytime a little bass rumbled through it. Perhaps it was driving with the stereo at near full volume with the windows down and the sunroof open that had caused it to vibrate itself apart. I was irritated. This wasn’t supposed to happen with the Infinity sound system that I shelled out an extra $600 for when I bought my ’05 Liberty four and a half years ago. Two weeks later my irritation grew exponentially when the left front speaker began making the same rattling, popping, buzzing and snapping sounds. The replacement cost for a pair of these speakers is about $150 (plus labor if needed). Being a cheap SOB, I consider this a last resort. So I looked into ways that I might repair the speakers rather than replacing them.
Knowing that a speaker is little more than a paper cone hooked up to a fancy electromagnet and glued to a frame, I figured that I was either dealing with a torn cone, dislodged dust cap (covering the voice coil at the center of the cone), or that the foam that holds the cone to the speaker frame had come unglued. If the problem were any of the above, I determined that I could fix the speakers with a little glue or tape for a small fraction of the cost of replacing the speakers.
Disclaimer: I am not a professional mechanic, electrician, radio repairman or chemist (the latter to have meaning later). I’m just a DIYer. This might seem remedial to those more skilled at making such repairs but hopefully this can provide some help to other DIYers. The difficulty of making this repair is about the same as changing your oil and oil filter.
PART 1: Removing the Door Panel
The first challenge, of course, is getting the door panel off. I have never done this before with a Jeep Liberty. It’s pretty easy. First, remove the dust cover that conceals the screw in the center of the door handle bezel. Then remove the screw.
Then remove the screw in the door handle.
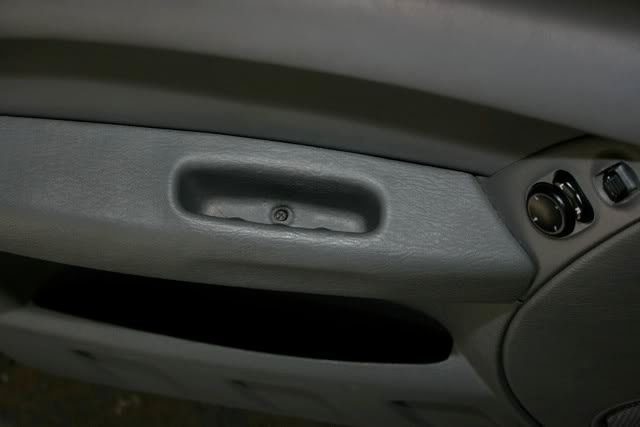
Other than these two screws, the door panel is only attached by 11 plastic body panel fasteners along the outer perimeter of the door. You simply need to yank on the door panel to get it free from these. I used a putty knife along the bottom of the door to pull the panel far enough away from the door so I could get my fingers in so I could give it a good tug. Once free of the plastic paneling pins, you lift the entire panel upward to get it free of the window and lock.
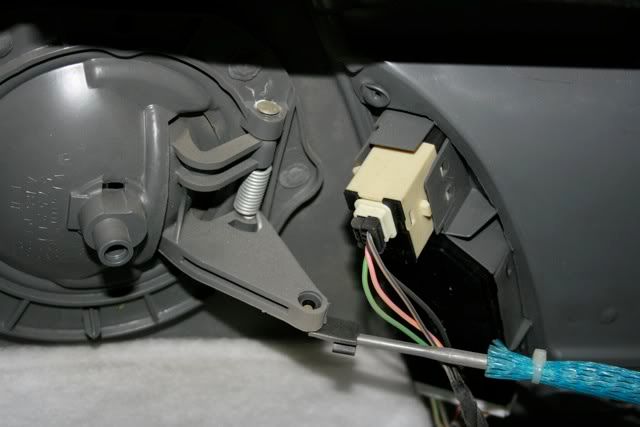
At this point you will notice that the panel is still tethered to the door by power lock and (on the driver’s door only) side mirror adjustment wires, and the metal rod that connects the latch to the door handle (note the position of the plastic retaining clip that keeps this rod attached to the back of the door handle). A small standard screw driver can help you pull back the retaining clips on the door panel to free the electrical switches.
Side mirror adjustment wires:
The door latch rod is removed by twisting the plastic retaining clip away from the rod so that the rod can be pulled from the hole on the back of the door handle.

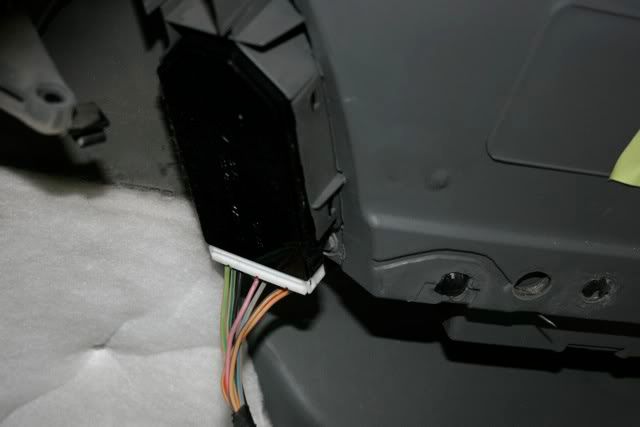
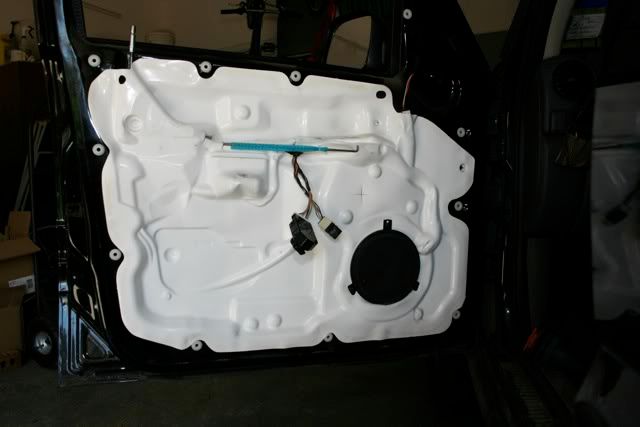
Once the panel is completely free, the door looks like this:
 PART 2: Repairing the Speaker
Remove the three screws that hold the speaker in place.
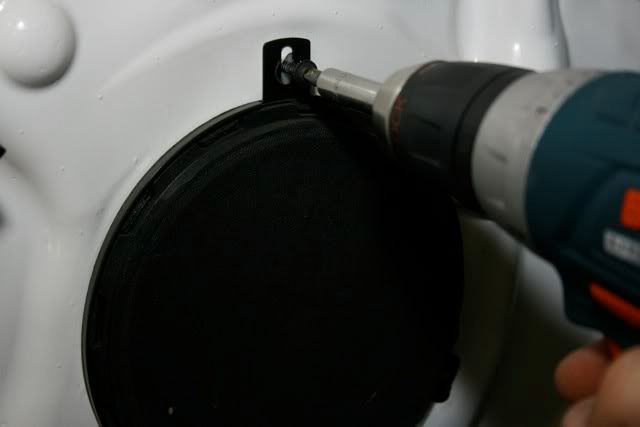
Pull the speaker up and out. Unplug the wiring from the bottom of the speaker unit.
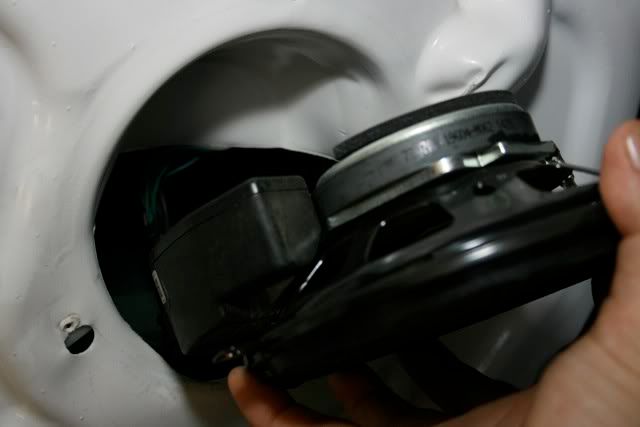
Now the fun begins. After pulling off the fabric dust cover from the front of the speaker, I saw that the ring of foam that holds the speaker cone to the speaker frame had indeed come unglued from the frame. This detached foam, flapping against the frame, was responsible for the rattling, popping, buzzing and snapping sounds.
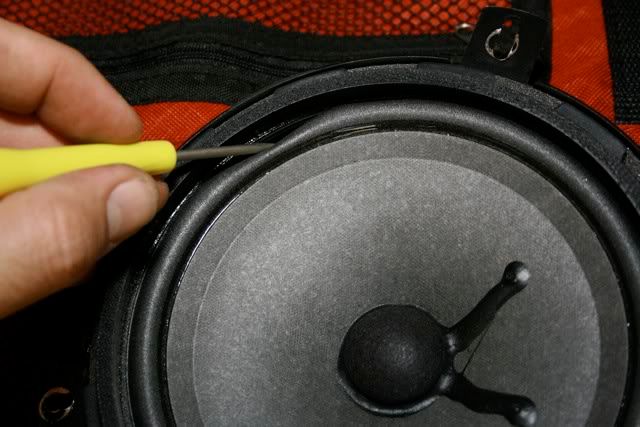
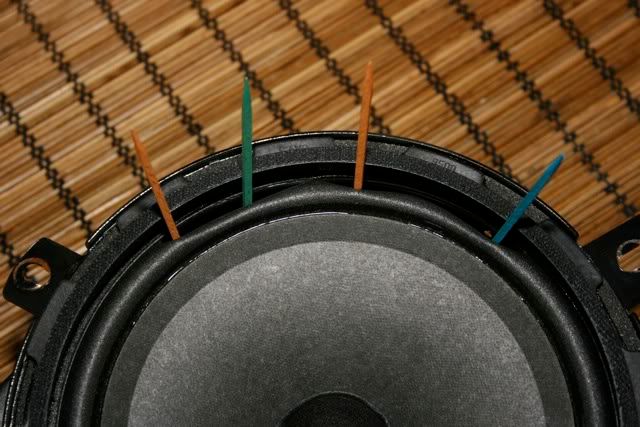
To fix this I used a handful of toothpicks to hold the detached length of foam back from the frame so that I could run glue along the surface. After the glue was applied, I removed the toothpicks and carefully made sure that the rubber ring seated itself in place against the frame.
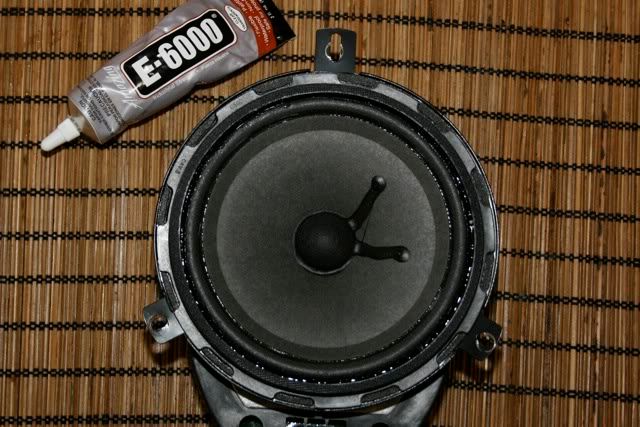
I used “industrial strength” E-6000 glue for the bond because I hate to work with Super / Crazy Glue, which sets too quickly and, I believe, is too inflexible for use on a speaker. However, E-6000 warns against use on Styrofoam. I’m no chemist, but I believe (hope) that the kind of foam that encircles this speaker cone is not of the same extruded polystyrene variety as DuPont Styrofoam. The bond took and the glue, after several days, appears not to be eating the foam so I think it is good to use.
WARNING TO AUDIOPHILES: What you are about to see might tweak the delicate sensibilities of a hardcore audiophile. Please avert your eyes.
To ensure that the foam does not detach again, I goobered (yes, goobered!) a bead of E-6000 around the entire circumference of the speaker foam.
 REINSTALL
Follow the above instructions in reverse (except the gluing part) to reinstall the speaker and door panel. Don't forget to plug the speakers back in and lock the plugs in place so they don't vibrate out. If any of the plastic door panel fastening pins broke, you might need to replace them.
CONCLUSION
To test the speaker I played my favorite moody minor chord
Lacuna Coil song that has lots of bass and keyboard left hand. Perfect! The result was the restoration of the original sound quality of the speaker. I’m no audiophile nut but I do like to think of myself as having fairly discriminating hearing. If there are any differences in the fidelity of the speakers compared to when they were new, I cannot tell. For me, this was a completely worthwhile, inexpensive, and easy reapir.
_________________
William C Montgomery
The Truth About CarsThe Truth About Guns'05 Sport 4X4, 3.7L - Black | Frankenlift II Premium, JBA KJ Lifted A-Arms 4.5 | Cooper Discoverer A/T3 - LT245/75R16, Load C