flman wrote:
65Corvair wrote:
I will be replacing the head gasket for my Jeep, This thread will be updated everyday as I make progress.
I started last night on the tear down, worked on it for about 2 hours. Here is what I have removed so far:
- Brush guard and lights
- Grille
- Battery
- Air box and all CAC hoses
- Fan and Shroud
- Serpentine belt, fan mount, lifting hook, and Idlers (Left hand threads)
- I have removed the bolts from the crank pulley but it is being a bit stubborn and will not come off. I read on here to try some penetrating oil on it and to tap it lightly. But you must be careful not to hit the radiator.
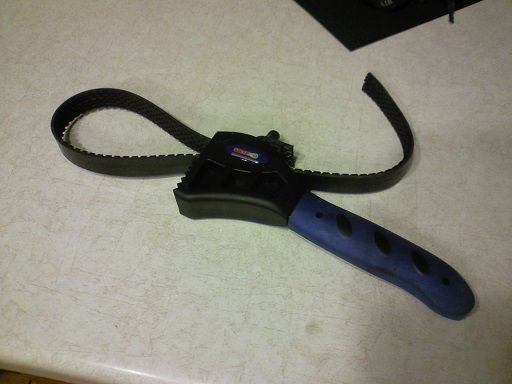
- I am having difficulty with removing the bolts power steering pump pulley. Any Ideas? I may try and use the serpentine belt to hold it like a strap wrench somehow.
The saga will continue on tonight...
I started last night on the tear down, worked on it for about 2 hours. Here is what I have removed so far:
- Brush guard and lights
- Grille
- Battery
- Air box and all CAC hoses
- Fan and Shroud
- Serpentine belt, fan mount, lifting hook, and Idlers (Left hand threads)
- I have removed the bolts from the crank pulley but it is being a bit stubborn and will not come off. I read on here to try some penetrating oil on it and to tap it lightly. But you must be careful not to hit the radiator.
- I am having difficulty with removing the bolts power steering pump pulley. Any Ideas? I may try and use the serpentine belt to hold it like a strap wrench somehow.
The saga will continue on tonight...
You do not remove the PS pump pulley, you put a socket through the holes of the pulley to drop the pump out of the way. I think a 10MM deep wall socket works fine?
I would think just removing the pulley would be a whole lot easier.
Stick a 3/8" extension through one of the pully holes to keep the pully from moving. Works fine.
Yes, don't forget a thick piece of cardboard to protect the radiator.