(Finally!) Before committing to the install tomorrow, I'd greatly appreciate confirmation of basic procedure.
If I've correctly absorbed relevant threads pertaining to installation of new Head Gasket with ARP studs, this is an attempt at condensing the procedure and torques:
A. Installing and tightening studs in "customary" pattern, opposing holes from center of head to outermost holes. Some posts made this sound optional, but I'm doing it anyway.
B. Lightly pre-lube ARPS:
At nut-end (Un-flared, finer threads);
At nut threads;
At both sides of washers.
Do NOT lube ARPs at block threads (flared end of stud, coarser threads).
"Pre-assemble" studs, washers and nut, threading nut until flush with stud-end. Then install all 18 studs until finger-tight.
Commence torque sequence.
A. 40#;
B. 85#;
C. During final tightening sequence, torque the inner 10 studs that border the cylinders to 130#, but the remaining outer 8 studs to 125#.
NO loosening required between B & C.
A member's post shared the results of a phone consultation with an ARP factory tech whom apparently specified a uniform final torque of 125# at ALL 18 studs, with no loosening required between 2nd and final torques. Posts elsewhere suggested that the 8 outer bolts could be pumped from 120# to 125. It seems that in the judgment of LJ's most experienced technicians that those are all acceptable torque values. Subsequently, I'm using the greater combined values.
Also, the installation guide included in the ARPs packaging specifies that it is acceptable to use threadlocker at the block-end of the studs IF fully-torqued while locker is still "wet" (maybe 3 minutes, max?). Tempting... but obviously that would require executing all three torque increments on each stud one-at-a-time. That does not seem like an advisable trade-off instead of tightening all 18 studs in three sequential single-increments.
ANY CORRECTIONS OR SUGGESTIONS?
Thanks!
QUESTIONS:
Do or don't use any coating on head gasket? Maybe a light, even coat of copper spray?
Any reason NOT to re-install glos before head install?
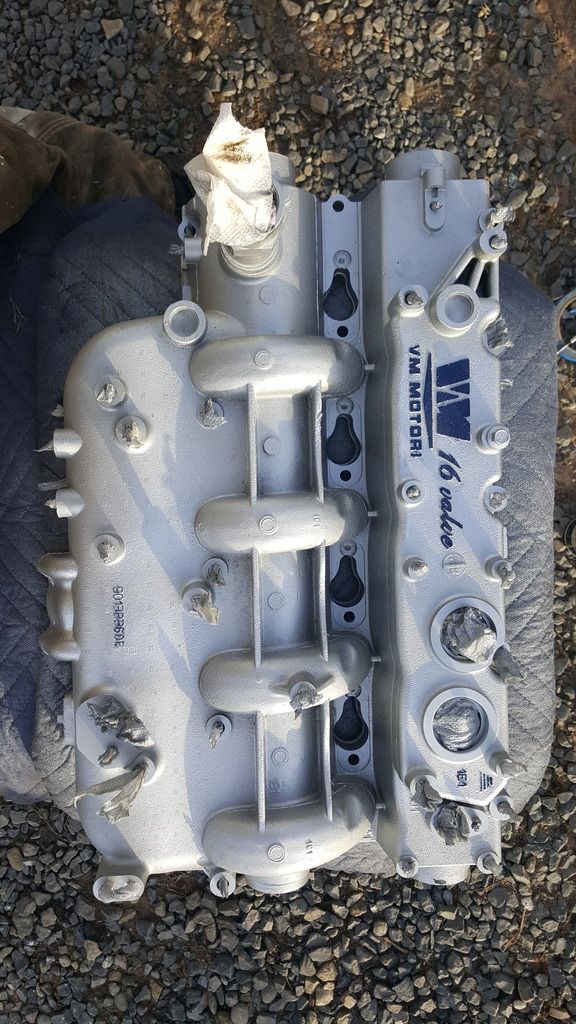
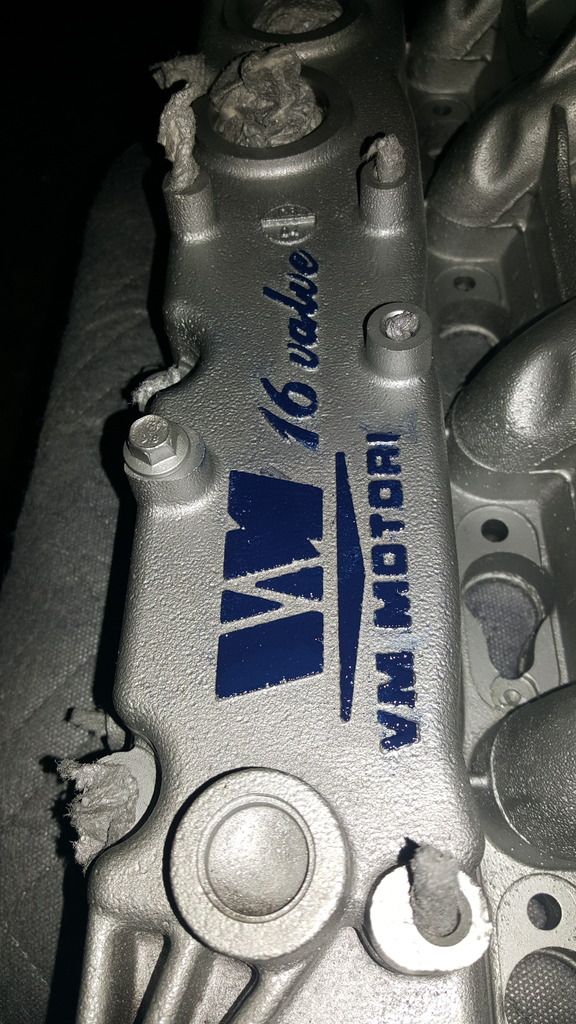
Any arguments against spraying the block, head and intake with high temp paint? Mainly recreational, but I like spraying iron blocks silver to help locate any future fluid leaks (Block Silver/Head Blue/Intake Silver. Maybe even "emboss" all raised lettering and serials...
Also hugely grateful for excellent posts regarding tbelt install, particularly to leave cam-sprockets LOOSE until the tbelt is on and tensioned before 80# tight. THAAANK YOU!!!
Given prior experience on woodruffed cams I definitely would've snugged them prior to belt install... and regretted it.
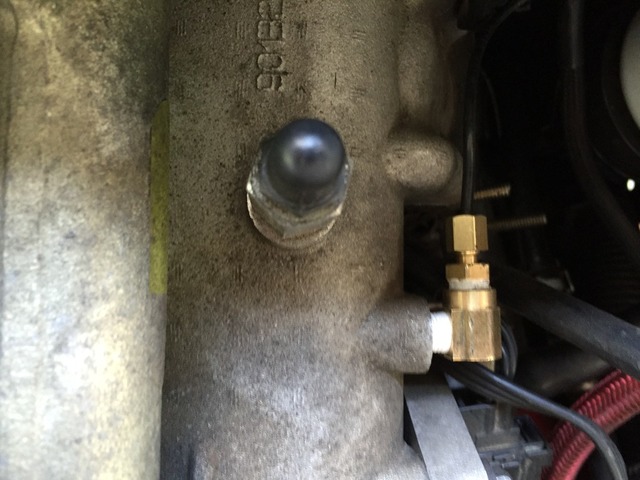
I've done around 70 soob 2.5 HGs; their reusable (thankfully,) OEM head-bolts have a similar head-bolt cap to the ARPs. Rather than using a 12-point conventional socket, I've found these commonly available "square sine wave" sockets obtain a far more secure purchase:

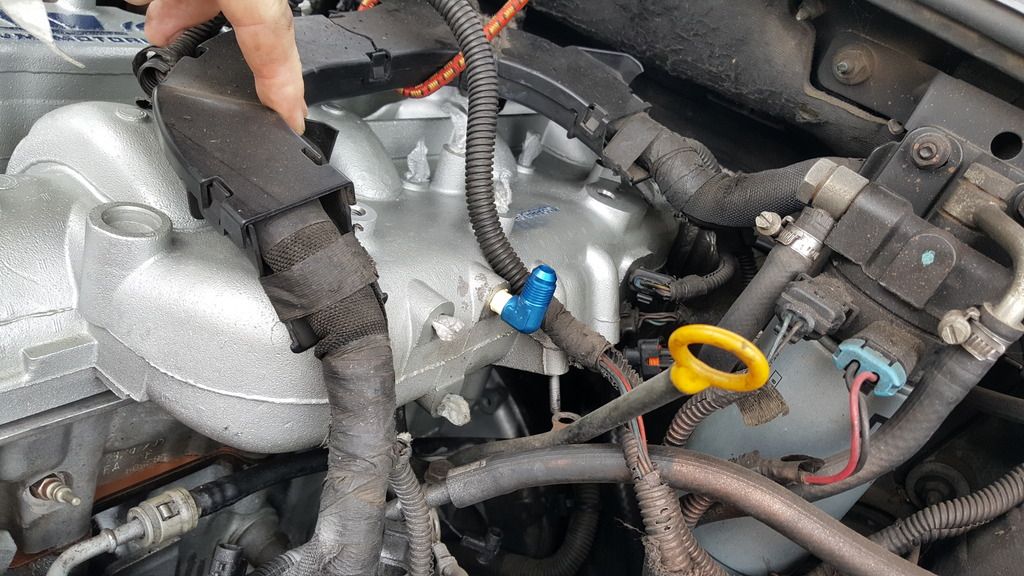
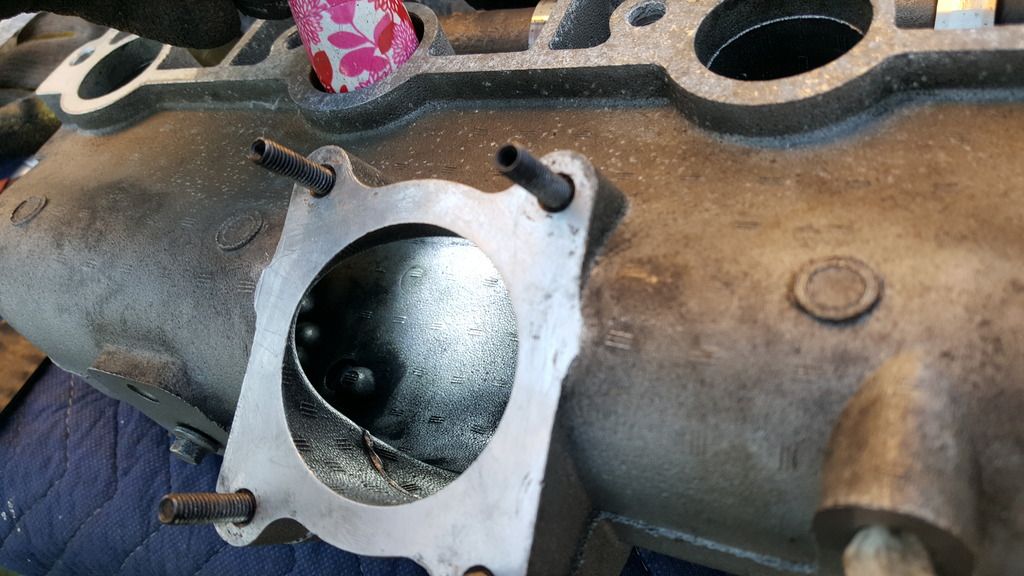
Also, someone suggested that while everything is off it's an excellent opportunity to drill and tap an eighth-inch (1/8th") NPT threaded-hole into the intake for future use (man. pressure gauge, other...). Scouting around, I found that the left-side "cam-lock" hole is, in fact, 1/8th NPT:
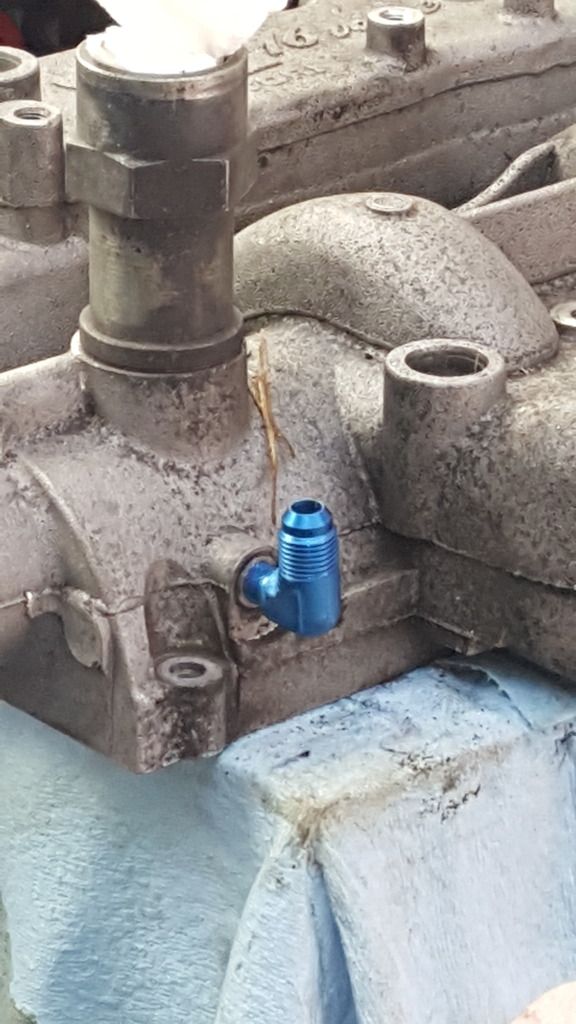
Given that hole is normally plugged anyway, good idea and location? Suggestions for other location?
THANKS!!!
Keywords: Cylinder Head Gasket installation procedure, head gasket install, H. Gasket, ARP torque specifications, ARP installation, ARP specs.