krb wrote:
What does "programming the injectors" theoretically do?
Common rail diesel fuel injectors require calibration during manufacture or overhaul on a specialised diesel injection test rig to produce a data code relating to the characteristics of each individual injector (variances).
This data code in most cases is referred to as the C2i code, IMA/IQA code or QR code depending on the injector manufacturer.
Each injector is provided with a perspective data code corresponding to its individual flow characteristic as found during bench testing when either new or rebuilt.
This data code is programmed into the engine control unit (ECM) identifying to which cylinder the injector is fitted.
This data code allows the engine control module to correct the pulse duration applied to each individual injector to maintain
optimum performance.
Fitment of rebuilt injectors or new replacement injectors requires this information to be coded into the engine control unit.
Bottom line:Basically it is fine tuning of the fuel injection event by the ECM to ensure each cylinder receives the optimal amount of fuel.
Engine will still run and perform without the above data being programed, but may run a little more smoothly and achieve a little better fuel economy if it is done.
Remember the ECM already has the data codes installed for the OEM injectors and the ECM will still use them on any replacement injectors if not reprogrammed with this information.
Your choice as to do it or not....

_________________
Supporting Vendor and Moderator of LOST05 Jeep Liberty CRD Limited 
Ironman Springs/Bilstein/Shocks
Yeti StgIV Hot Tune
Week's BatteryTray
No FCV/EGR
Samcos/ProVent
SunCoast/Transgo
Carter Intank-pmp
2mic.Sec.Fuel Filter
Flowmaster/NO CAT
V6Airbox/noVH
GM11 Bld.fan/HDClutch
IronrockArms/wwdieselMount98 Dodge Cummins 24 Valve


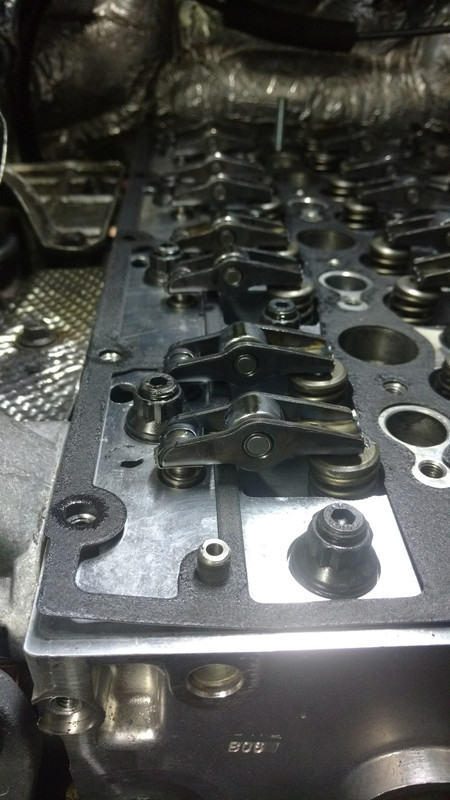
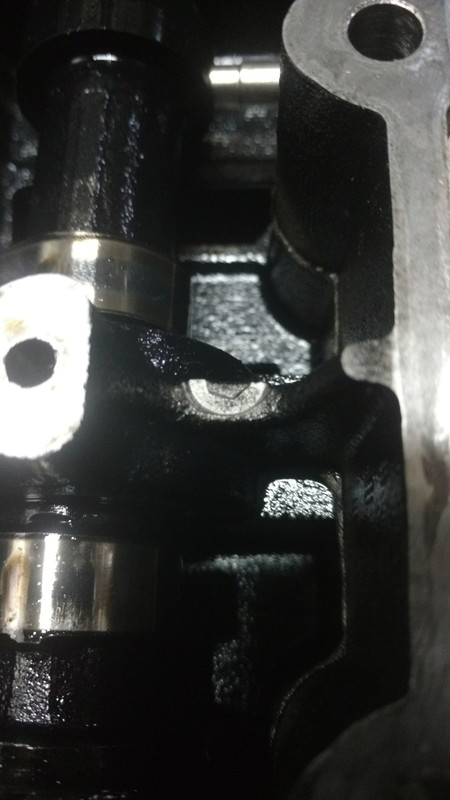
 See pics below
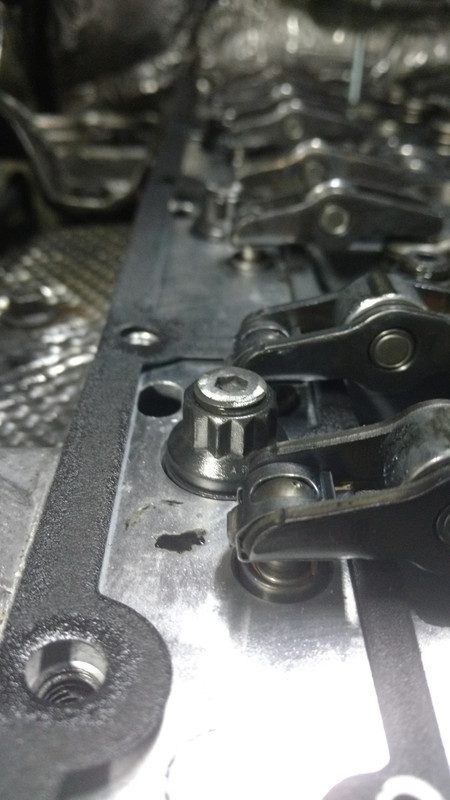