A while ago I said that I was going to fab up a crossbar CB antenna mount that could be easily installed and removed for trail rides. Someone mentioned that if I did I should do a write up on it.
Here you go:
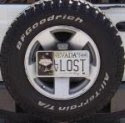
(No comments about how dirty my Liberty is

)
Note: unless you are running a non-ground plane system, you will need to run a ground wire from the antenna stud, through the cross bar and ground it to the body somewhere.
First things first; you will need the following materials:
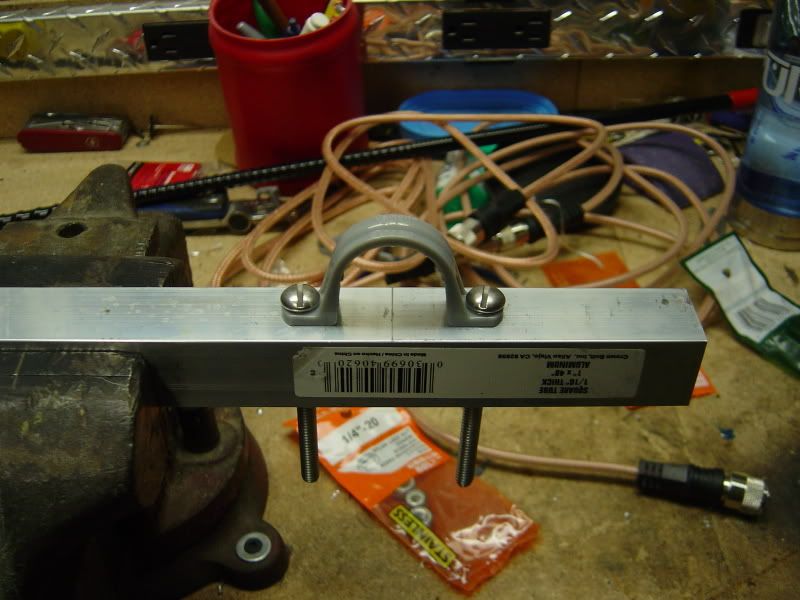
1 – Four foot long by 1” square length of aluminum tubing
2 – ¾” PVC conduit straps
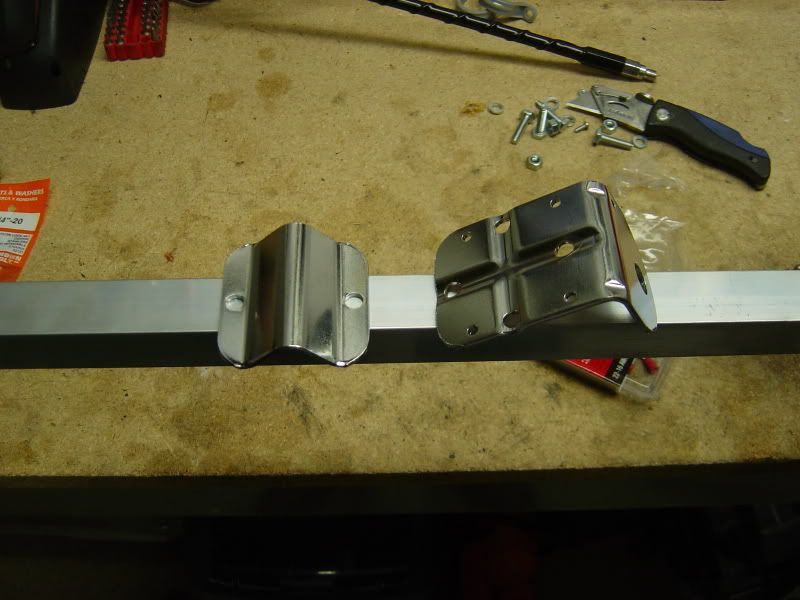
1 – multi-mount CB antenna mount
18 feet of coax cable
4 – ¼”-20 X 2” hex head bolts (I chose to use stainless)
4 - ¼” split lock washers (I used stainless) (I think internal tooth washers would work well also)
4 - ¼”-20 wing nuts (I used stainless again). I chose wing nuts because they hit the conduit strap when you tighten the hex bolt from the top of the cross bar; thereby necessitating only one end wrench or socket wrench to install it.
4 - #8 X ¾” sheet metal screws (sharps work best; they have a pan head and don’t require pilot holes to be drilled)
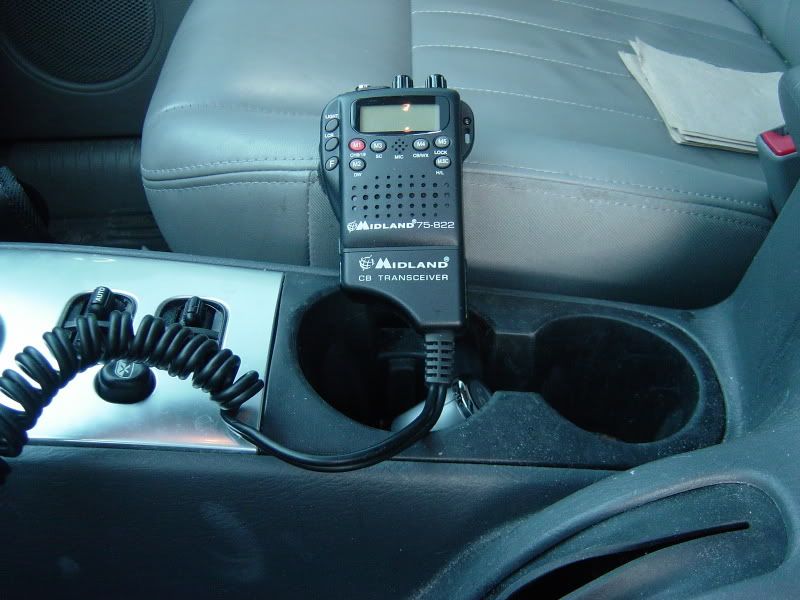
You will obviously need a CB as well for this. I use a Midland model 75-822. It has all power of a “box” unit but all the controls are built into the mic. You can also run I with the “duck” antenna and batteries (although the range drops below a mile in this configuration, it is still great for spotting or giving trail instructions to a group that is gathered close by). I get about a 5 - 10 mile range with this current set up and so far it seems trail worthy (time will tell). Here’s a link if anyone is interested.
http://www.amazon.com/MIDLAND-75-822-Channel-Way-Radio/dp/B00000K2YR
On with the build!
Start by finding the center of the bar and marking it.

Next measure the distance between the side rails on the roof rack. Then find where the rails would be in relation to the bar by dividing the total distance between the rails in half and measuring that distance from the center point in the bar. This should be the same distance from each end; so that once attached, the bar will be centered on the Jeep and the antenna will be centered on the bar (I’m a bit OCD when it comes to stuff like this).
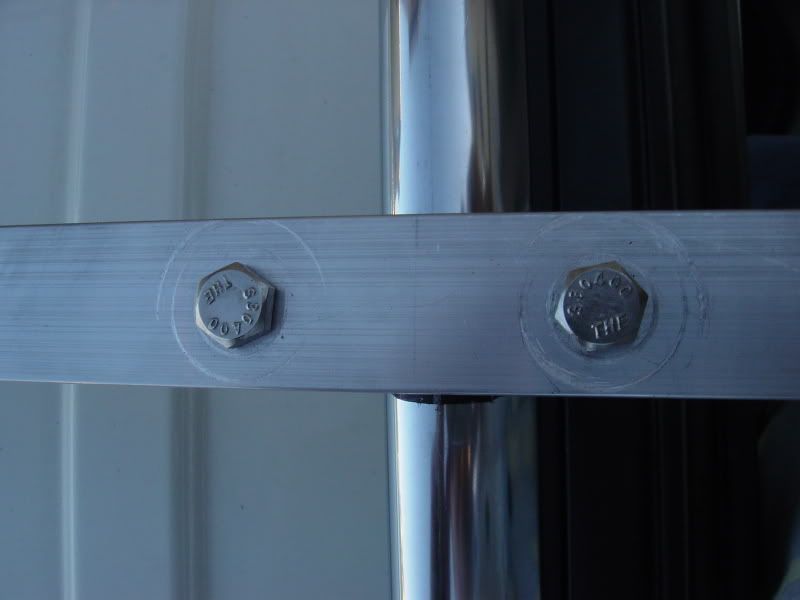
These side marks are the centers for the conduit straps. The PVC straps are not precision made so just use them as a template to mark where you will drill your holes for the mounting bolts. Before you drill the holes, rest the bar on your rails to make sure that the holes will be in the right place.
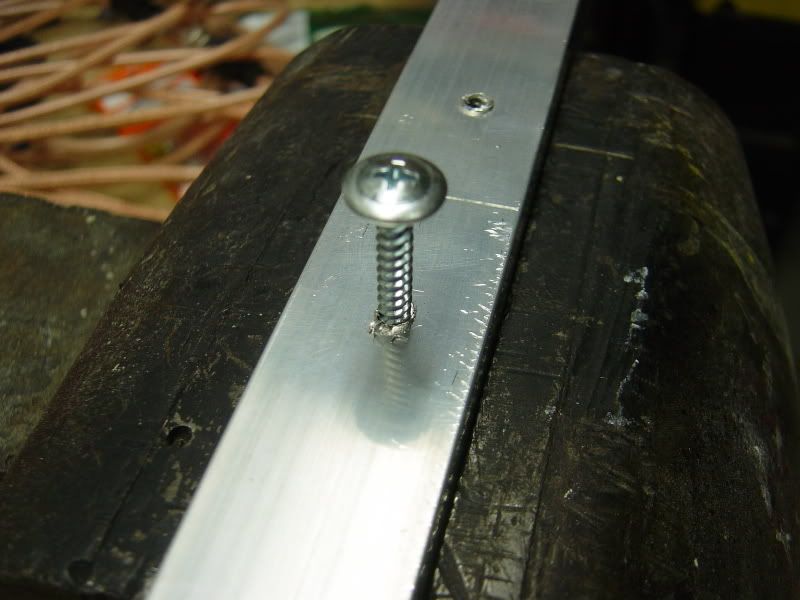
If you have access to a drill press, use it. I don’t so I marked the holes on both sides of the cross bar and drilled 8 holes so that everything would line up nicely.
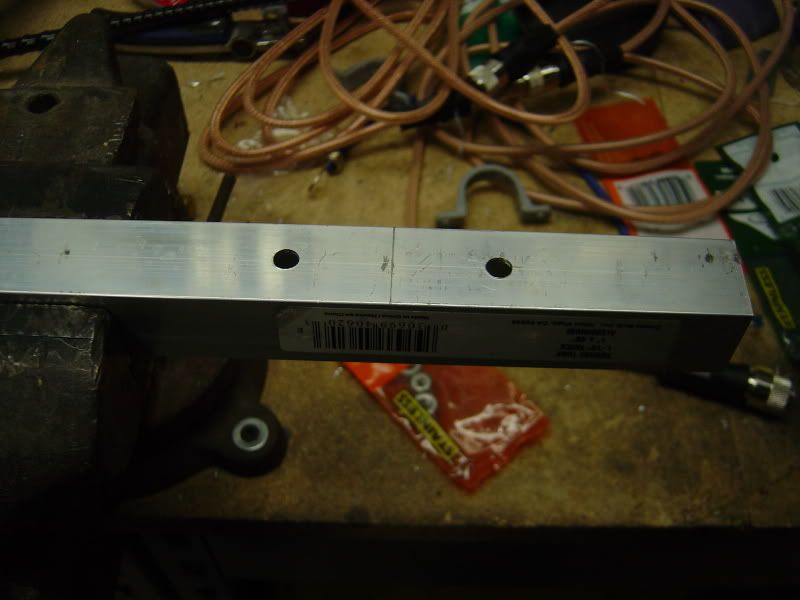 (The screws shown in the pic below were used for alignment purposes only. I used hex head bolts to actually fasten it to the rail)
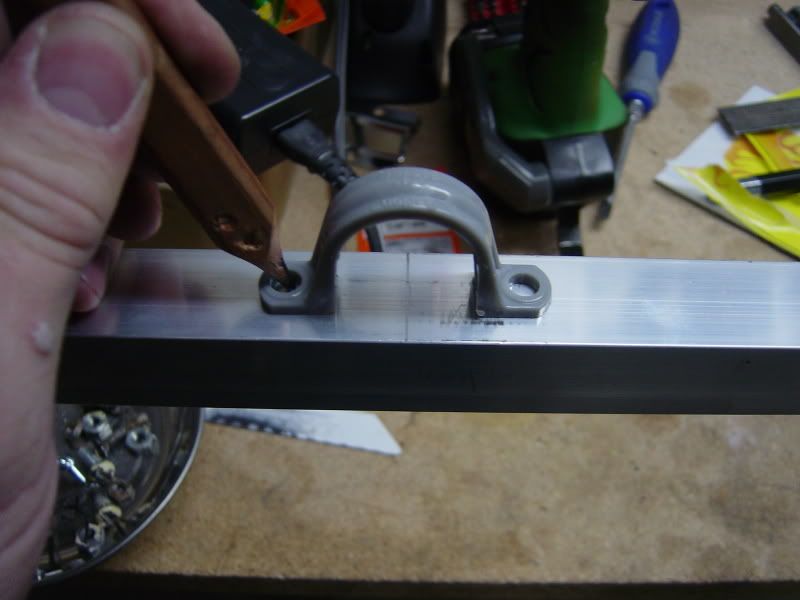
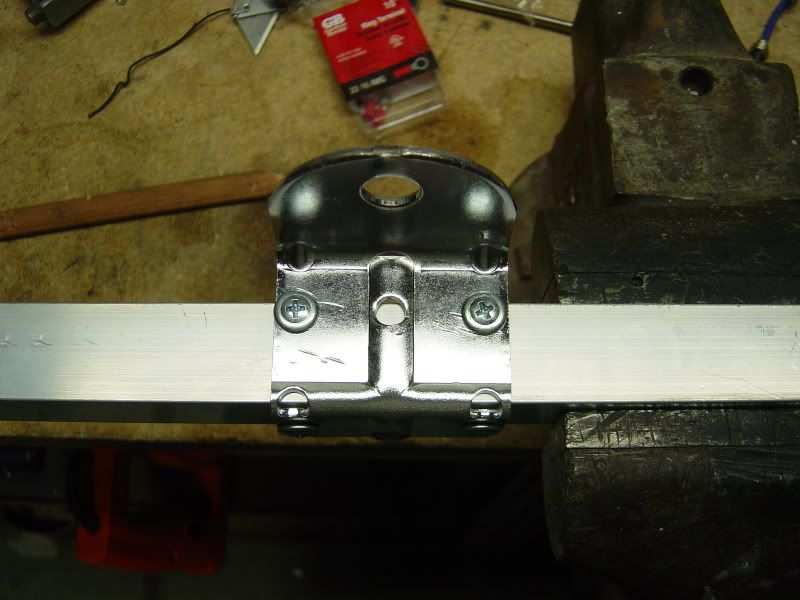
Next I had to bend the antenna mount (the piece on the right in the pic) on a 90° angle so that it would wrap two sides of the bar. This part could be easily fabricated out of a scrap piece of steel plate. I just had this on hand already.
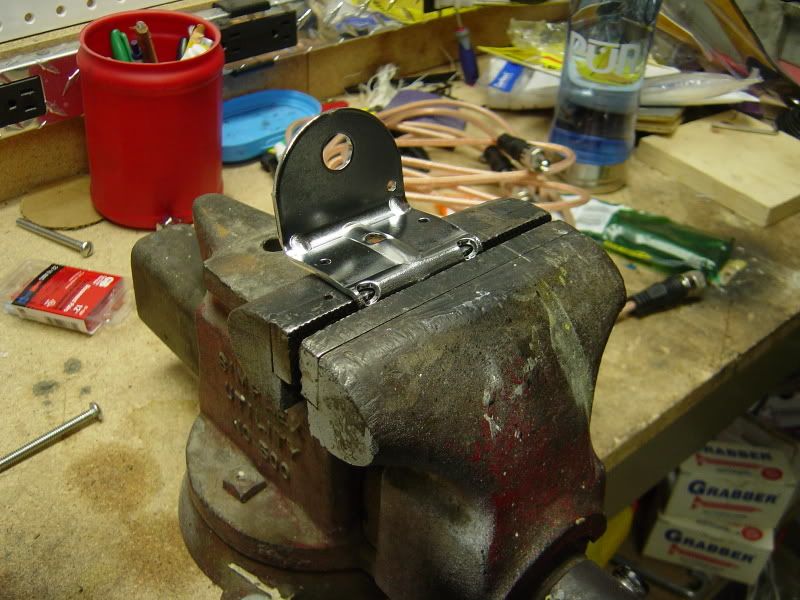
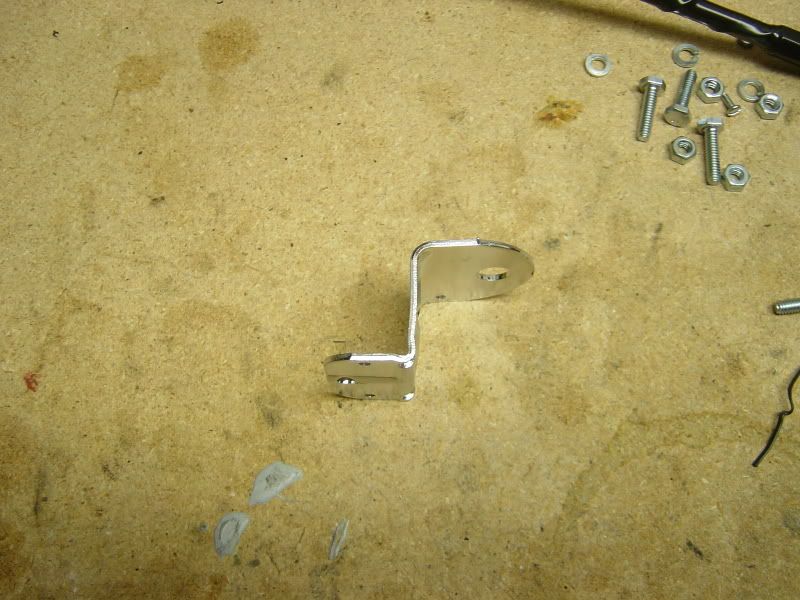
Use the sharps to attach the antenna mount to the bar.
Mount the antenna stud.
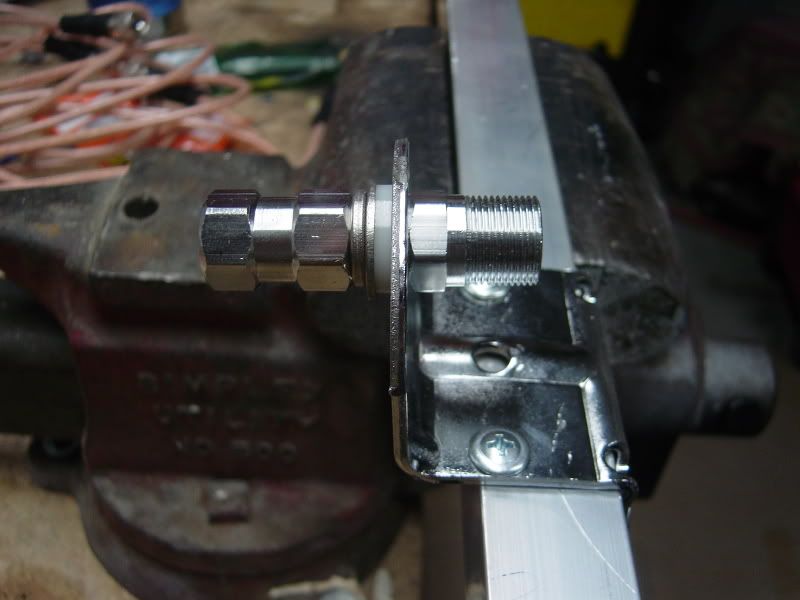
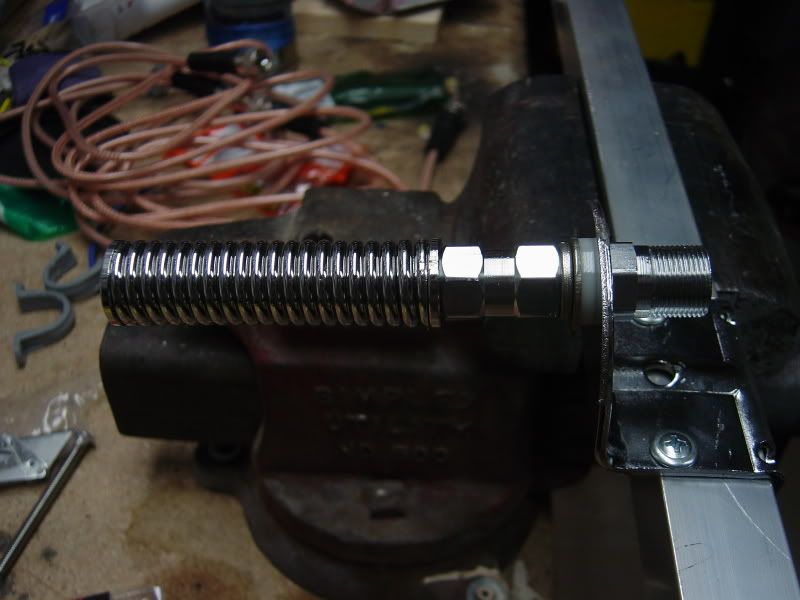
Then mount the spring to the antenna mount (I waited to mount the antenna until I was sure everything was going to fit right because the cross bar is much easier to handle without it on there).
Time for a “field fitment”.
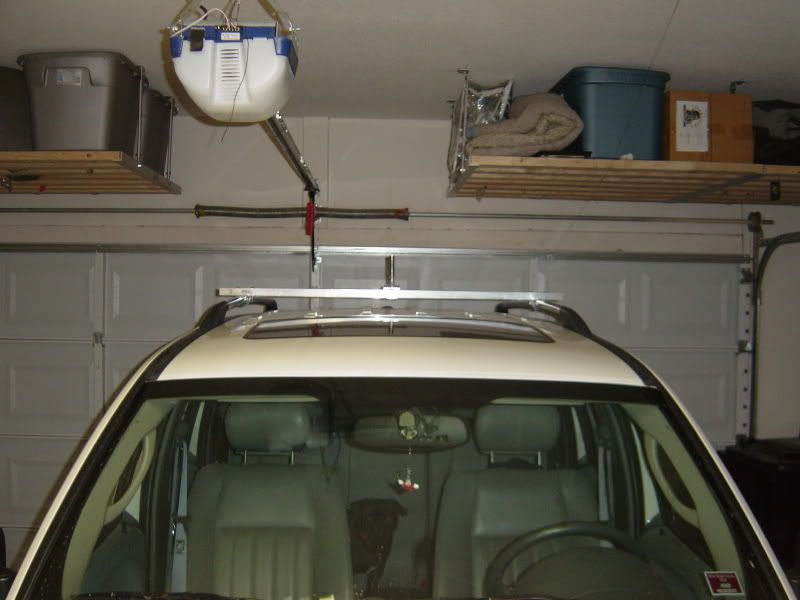
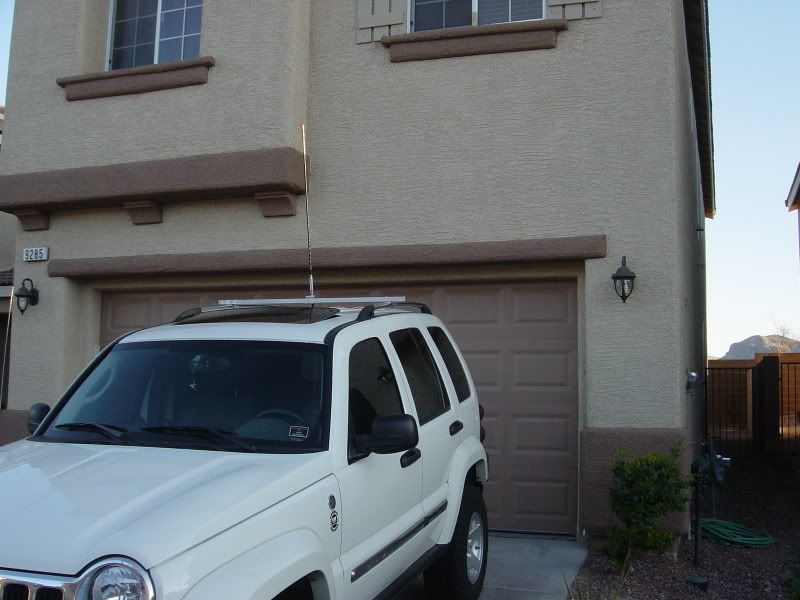
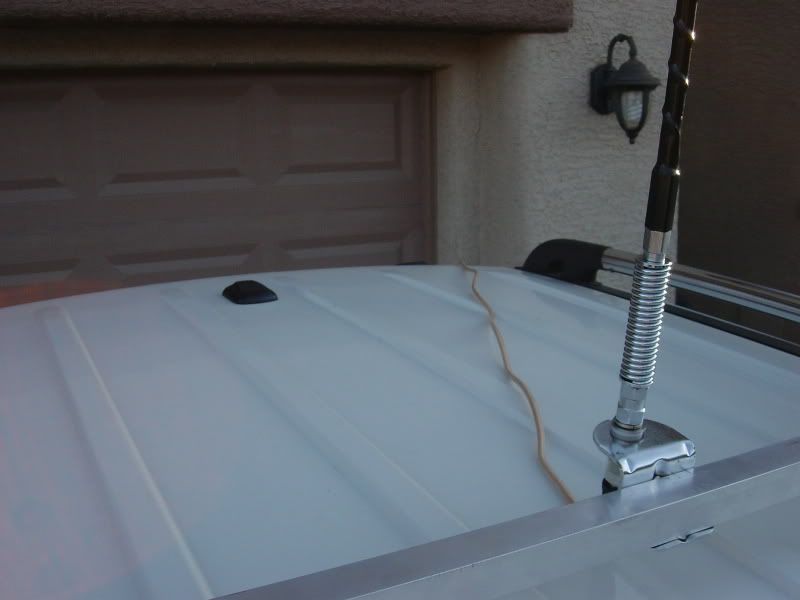
After pulling it outside (the lifted Jeep with the antenna mounted won’t fit in the garage without hitting the ceiling) I mounted the antenna and coax onto the bar and mounted it on the Jeep. It’s a tight fit for the coax fitting. I may get a 90° connector for it because there is not room for you to put to coax on after the crossbar is mounted.
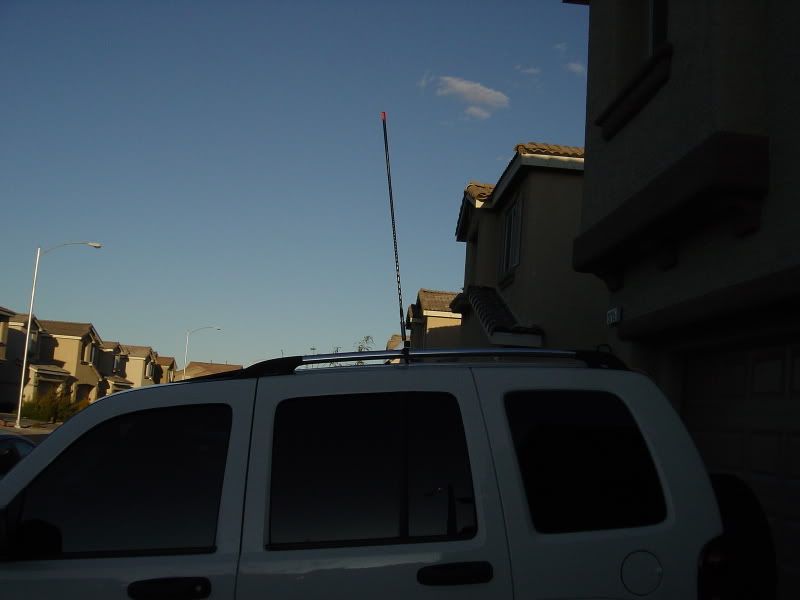
I marked the top of my rails after determining the point where I would get the best ground plane and then tried it out. It worked great
I run the coax across the roof,
Across the lift gate gasket
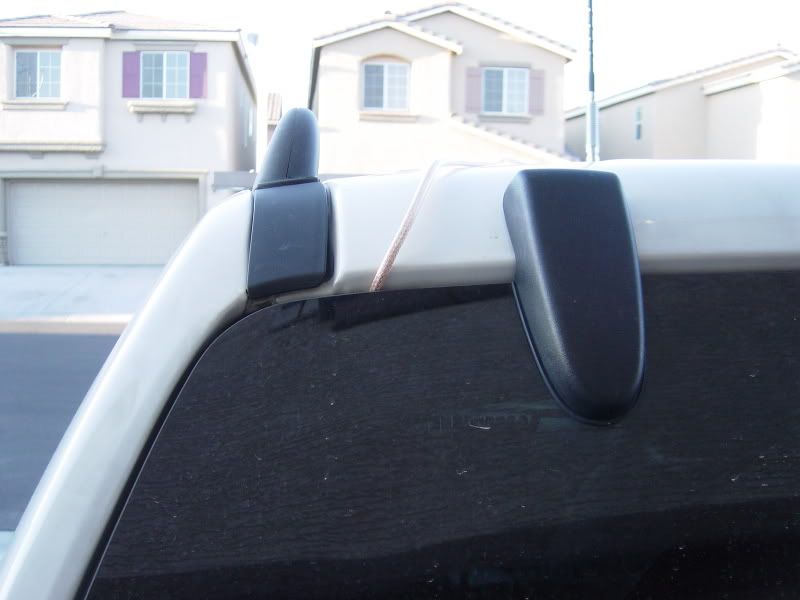
Along the wall on the driver’s side
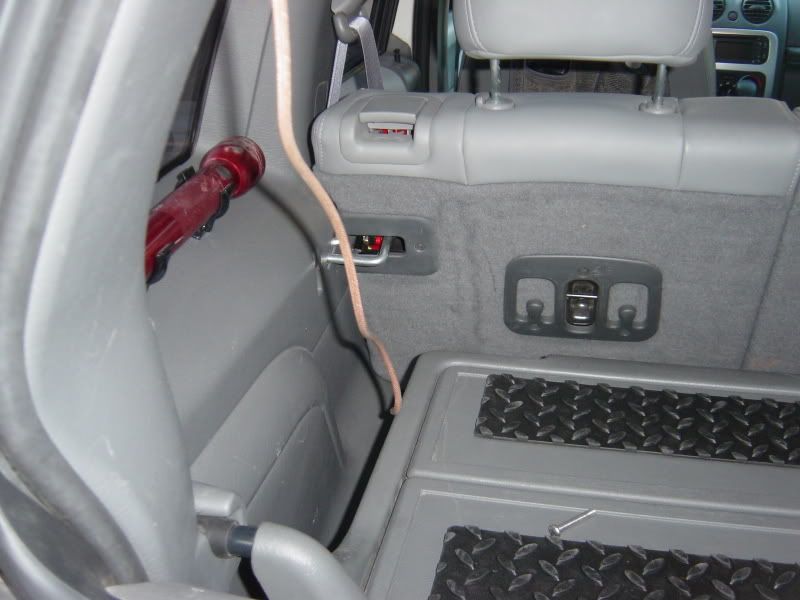
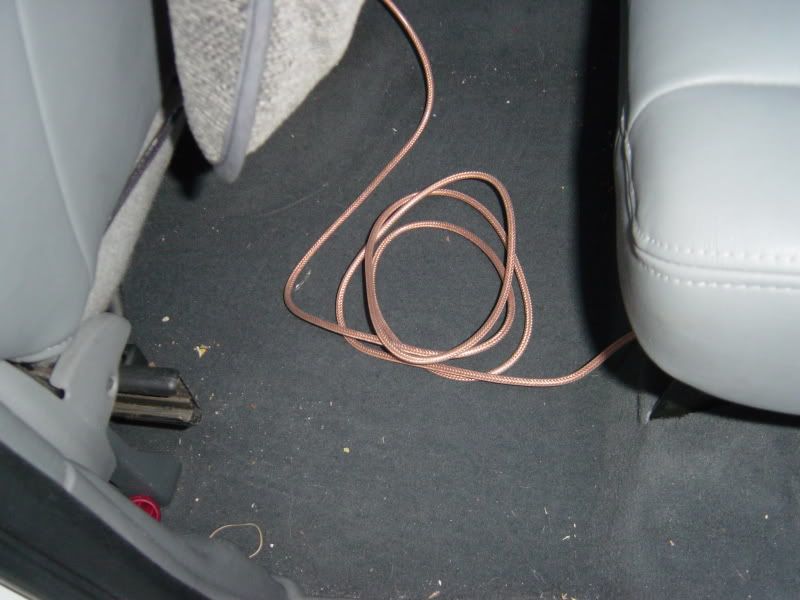
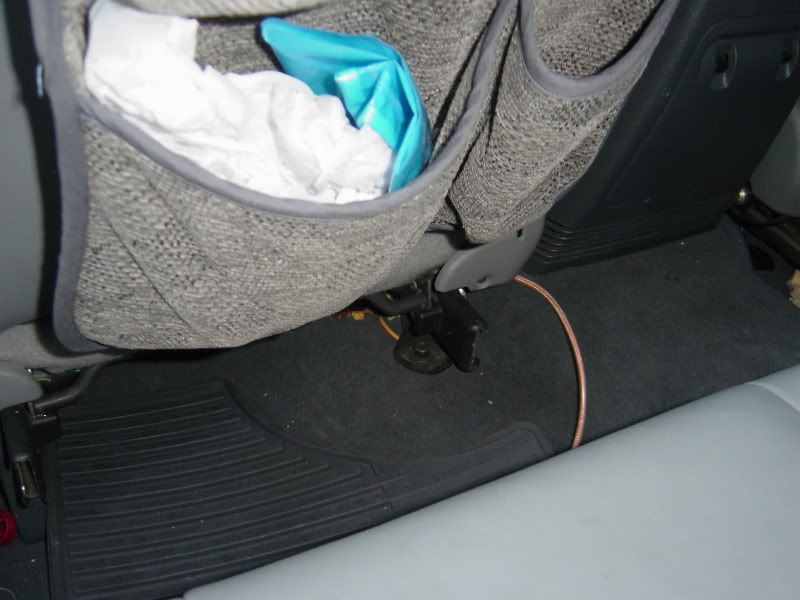
Under the back seat where I coil the excess cable and put it under the mat,
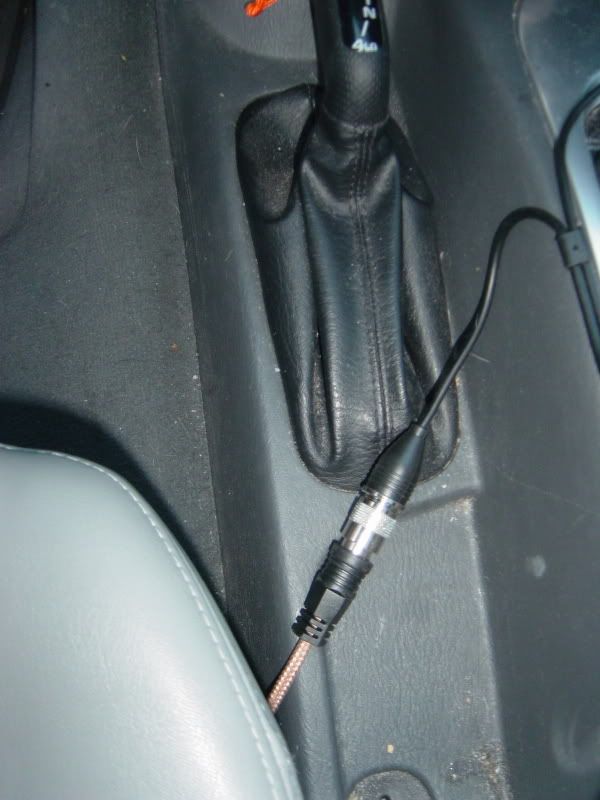
And up to the driver’s seat.
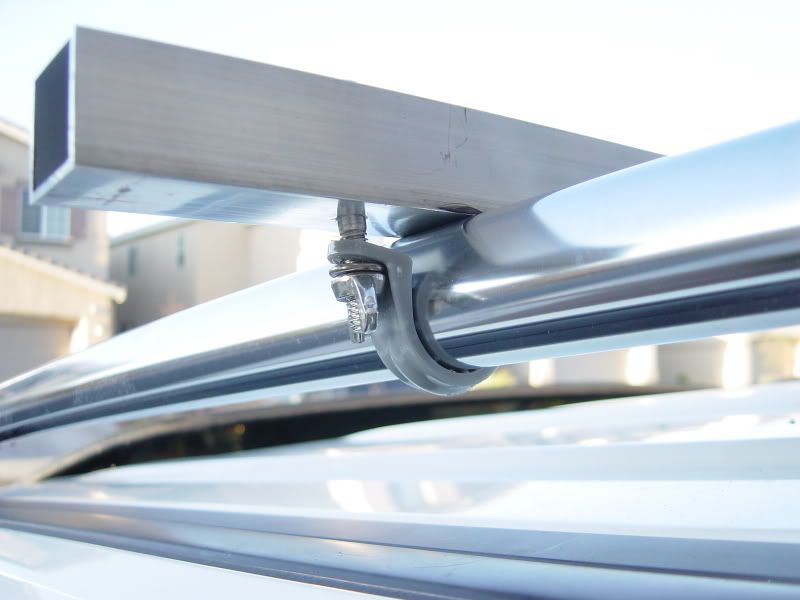
This build cost less than $20 and took about 2 hours to make. I had a lot of the hardware around the house. The ¾” PVC conduit straps fit the roof rails on the Liberty perfectly. I will see how strong they are over time. They are cheap so I have and extra set in my tool bag in case of failure. If there are problems with them, I will just use galvinized steel ones. They just don't fit as well.
Overall I am pretty happy with the way that it turned out. I am still looking for some square end caps for 1 inch tubing. I know I have seen them somewhere, but I don’t remember where it was now.
I hope someone finds this informative and perhaps useful.