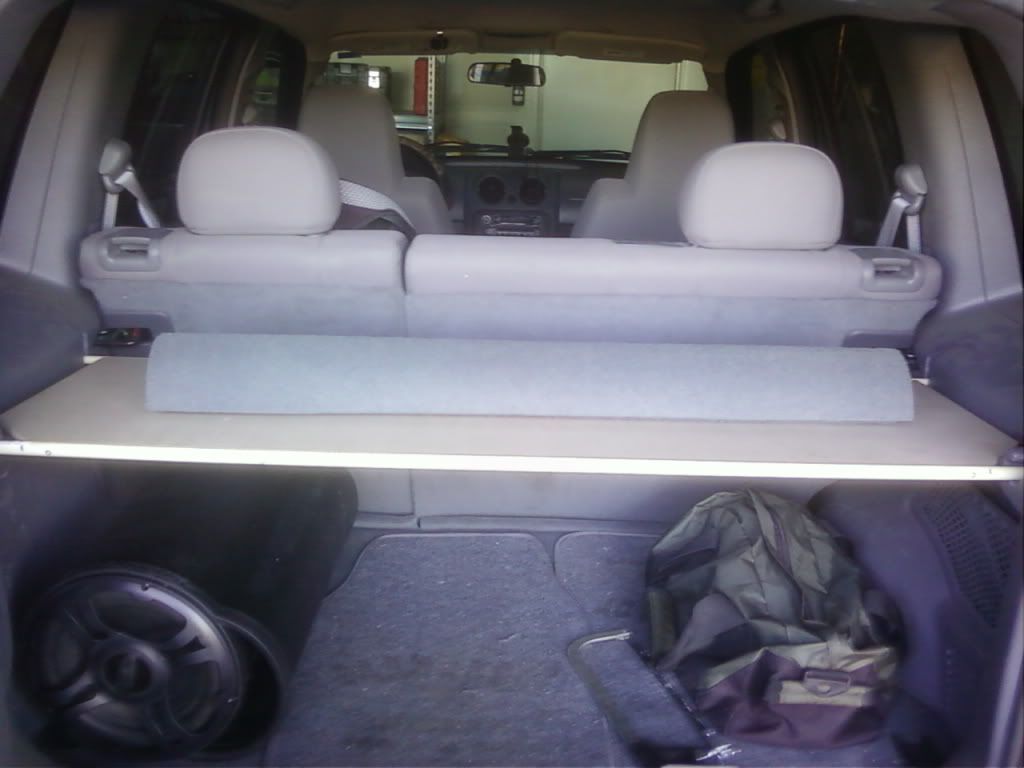
I just got finished building a shelf for the cargo area of my KJ. It’s not quite completed yet. I am going to add some re-enforcements to the underside of it to make it sturdy enough to hold an ice chest, etc. I am also looking to add some u-bolts on top to secure my hi-lift jack to it. After that, I’m going to carpet it in gray to match the interior.
But, if there is anyone else interested in doing this mod, here is the basic skeleton of what I did:
Tools –
Drill
1/16” drill bit for pilot holes
Saw of some sort (I used a little hacksaw)
Materials from home depot—
2’ x4’ x ½” MDF – about $9
½” x 48” dowel rod – about $2
5/8” x 48” dowel rod – about $2
Box of 1” #6 wood screws – about $2
Gorilla Glue – about $6
Materials from walmart –
3’ x 6’ replacement auto carpet – about $9
TOTAL COST INCLUDING CARPET: $30
Step 1 – cutting your MDF to size:
Ask the folks at Home Depot to cut your MDF down to a 4’ x 15.75” (or do it yourself). Save the extra for later if you want to use as re-enforcement. I’m going to glue it to the bottom of my shelf for extra support.
We will call the edge that will be touching your back seat the “rear” and the edge that will be touching your tailgate the “front”.
Pick which edge of the MDF you want to be in the rear. Measure 12 inches from that edge toward the front and mark the MDF. Do this on the right side and on the left side.
Now, on the front edge of your MDF, measure 3 inches in from the left edge and mark the MDF. Also measure 3 inches in from the right edge and mark the MDF.
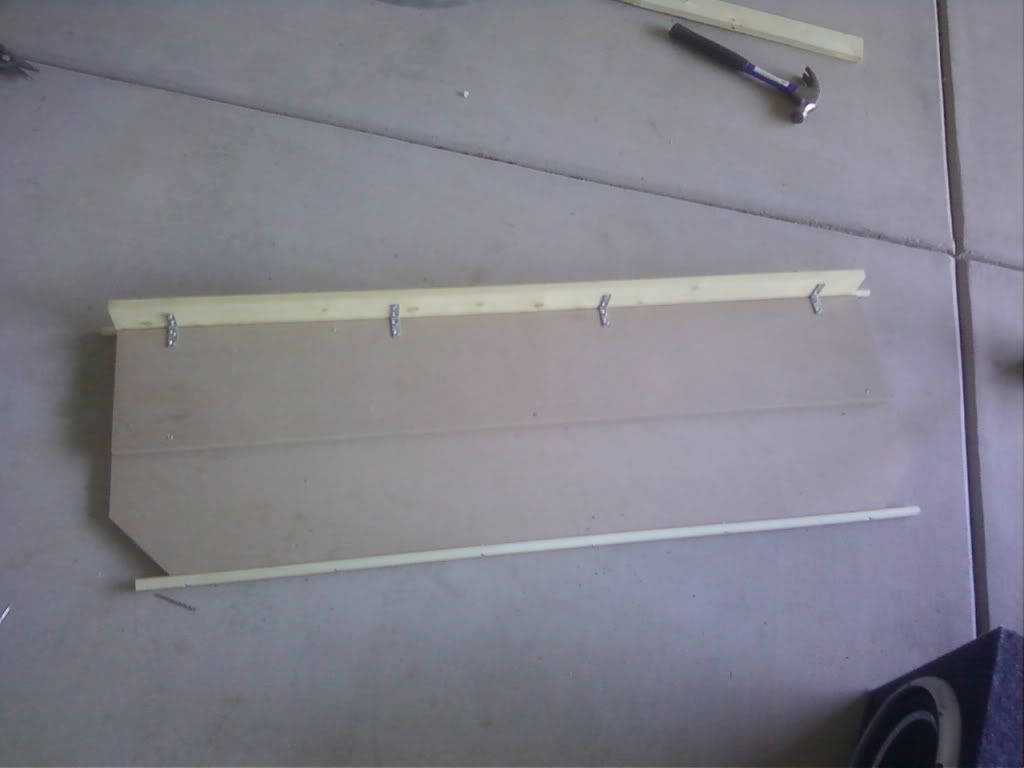
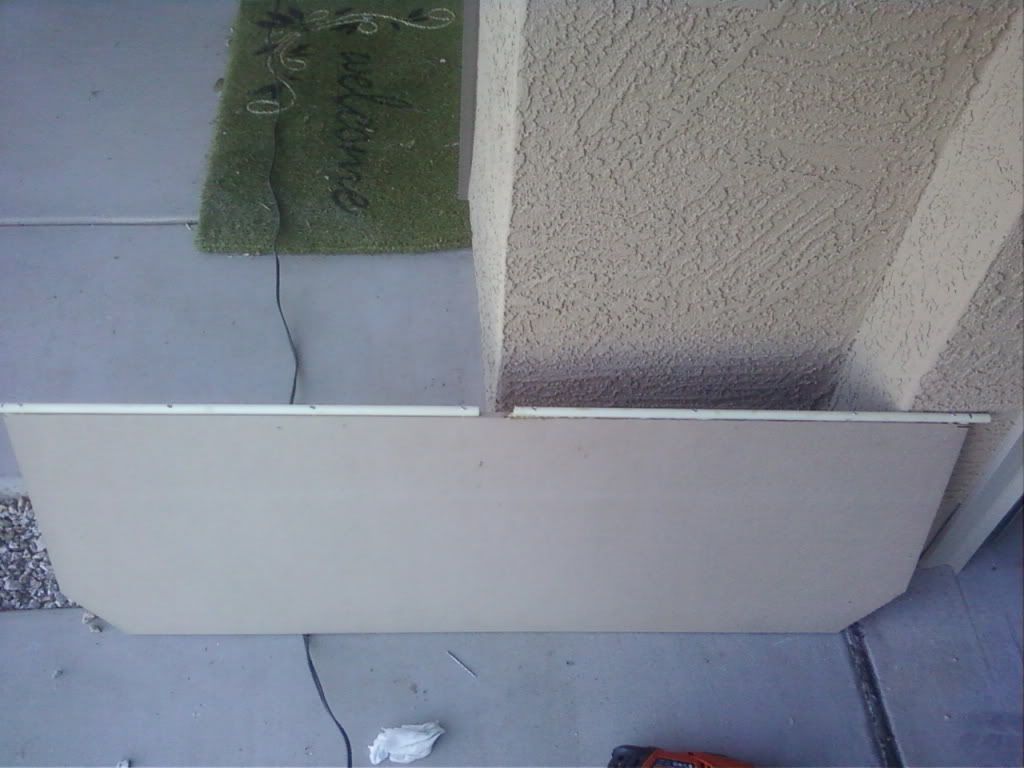
Line up your marks and cut those corners off.
Check out the pic below to see how I cut off those corners.
Step 2 – cutting your dowel rods to size:
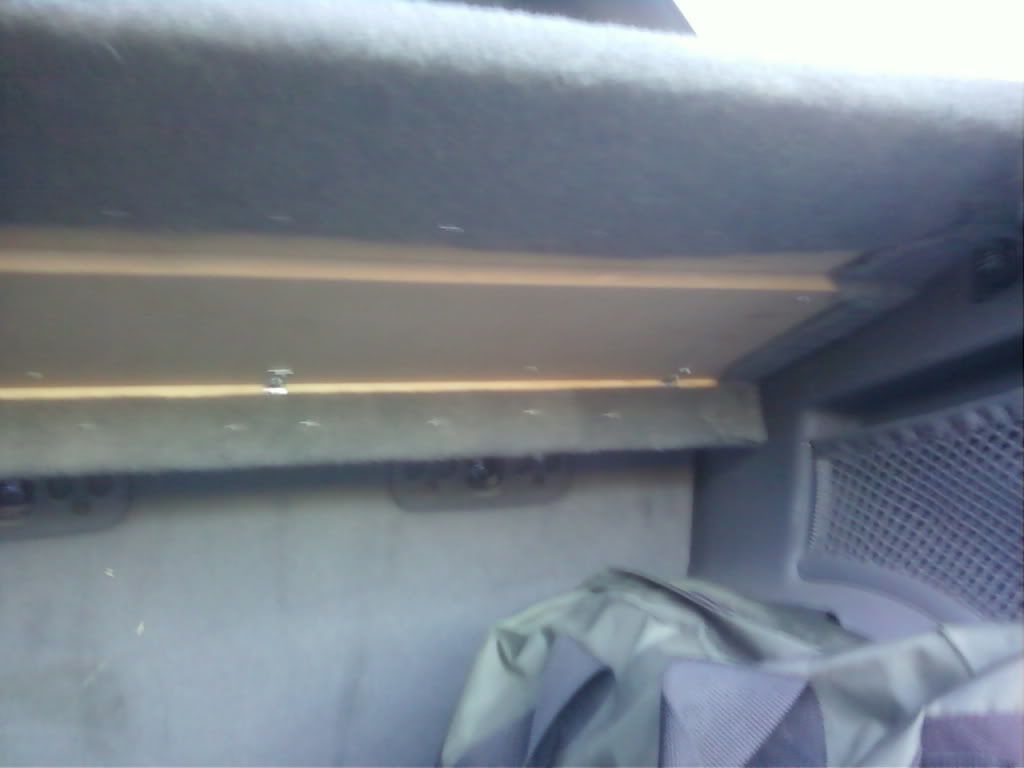
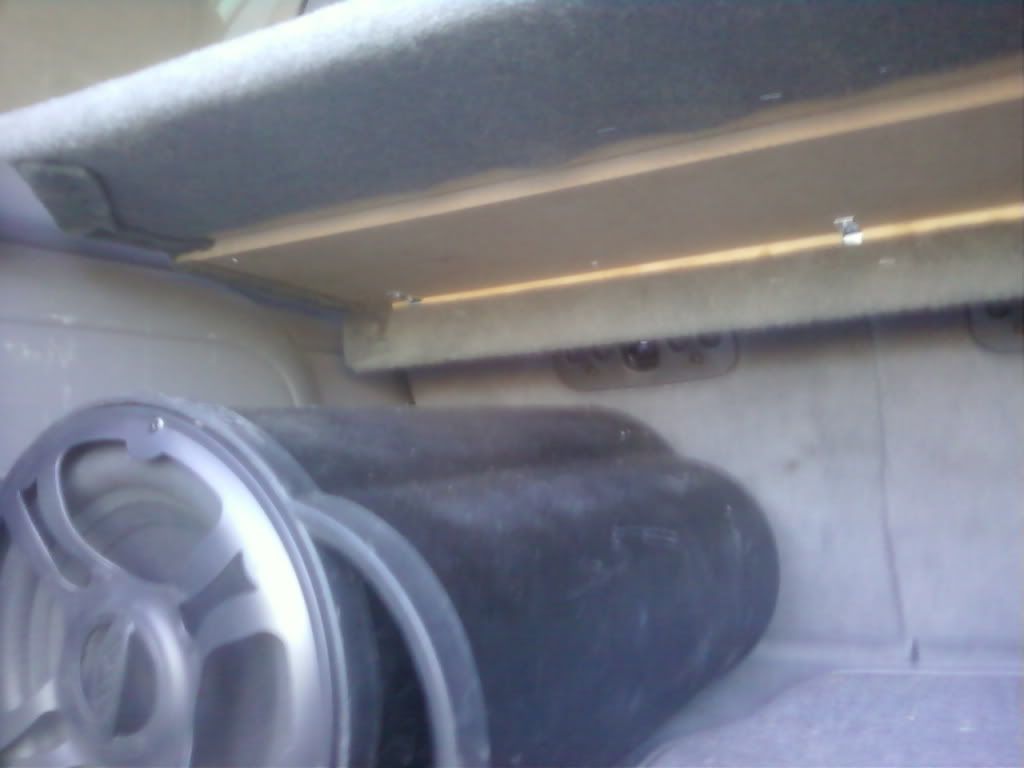
The Liberty cargo area should already be equipped with pre-cut slots for installing a security cover. We will be inserting the dowel rods into those slots to secure our shelf. We will call these slots the “pre-cut slots.”
The skinny dowel rod (1/2”) fits into the pre-cut slots near your back seat (where the security cover would go if you had one). The fat dowel rod (5/8”) fits into the pre-cut slots that are near your tailgate.
The skinny dowel rod needs to be cut in half. The longest one they sell is 48”, and you need one that is 50”. So, I cut it in half and just spaced it in the middle. Just cut it in half and you will see what I’m talking about later.
The fat dowel rod needs to be cut down to 46 inches. Just pick a side, measure 2 inches from the end, and hack it off.
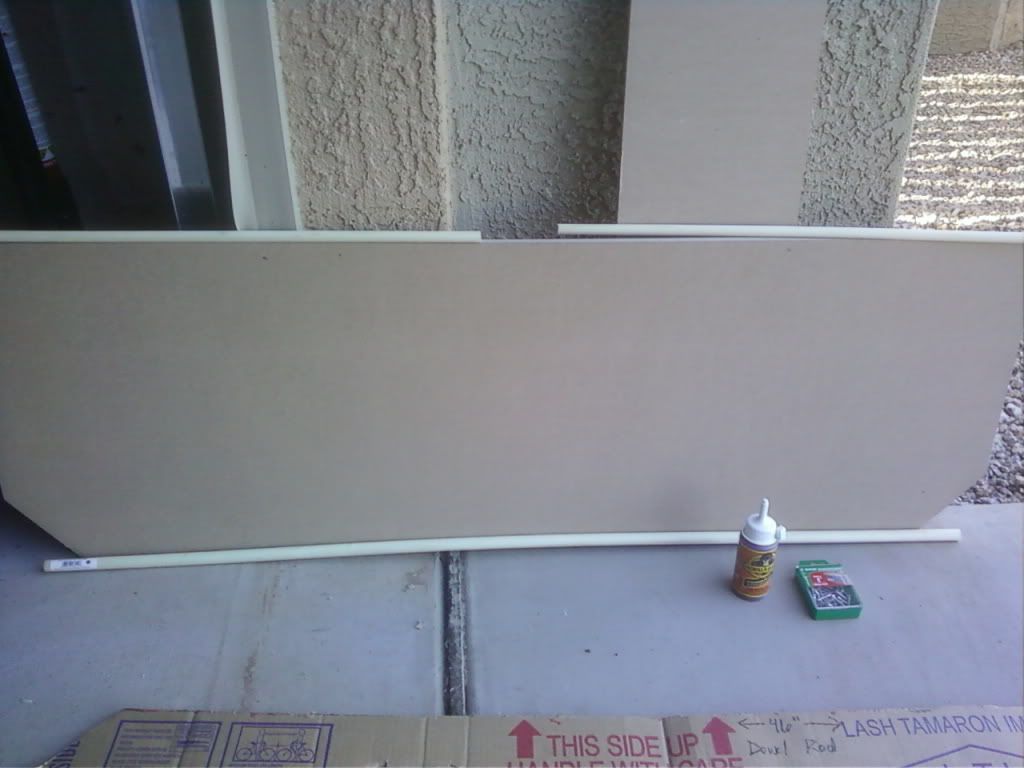
Here is a pic of what should be your final products after cutting. I also put the glue and screws in the pic:
Step 4 – adding the skinny dowel rod:
Take one piece of the skinny dowel rod, pick a side, and measure 1 inch from the edge and mark it. You want that 1 inch to protrude off the edge of the MDF so that it fits securely into the pre-cut slot.
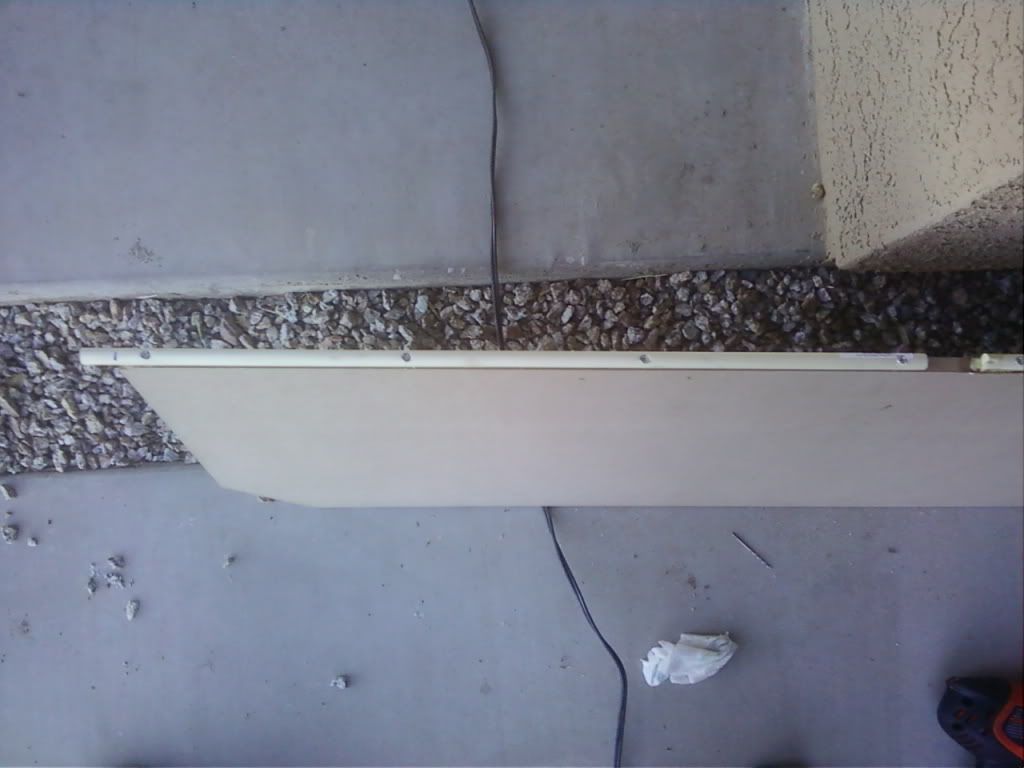
Pick the left side or the right side of your MDF, line up your mark with the edge of the MDF, and secure the dowel rod to the rear edge of the MDF with the wood screws. I did this by drilling a pilot hole through the dowel and the edge of the MDF, then inserting a screw. I did one on each end of the dowel rod and then a couple in the middle for support and alignment.
FYI - You will need to repeat this process for the opposite side of the MDF. You will have about a 2 inch gap between the dowel rods on the rear edge of the MDF.
**Also, make sure your 1 inch protrusions are EXACTLY an inch. I did this by ‘test fitting’ it into the pre-cut slots. I actually made the protrusions too small so I had to take one of the dowel rods off and move it further out to make it fit. I had to re-drill pilot holes, etc.**
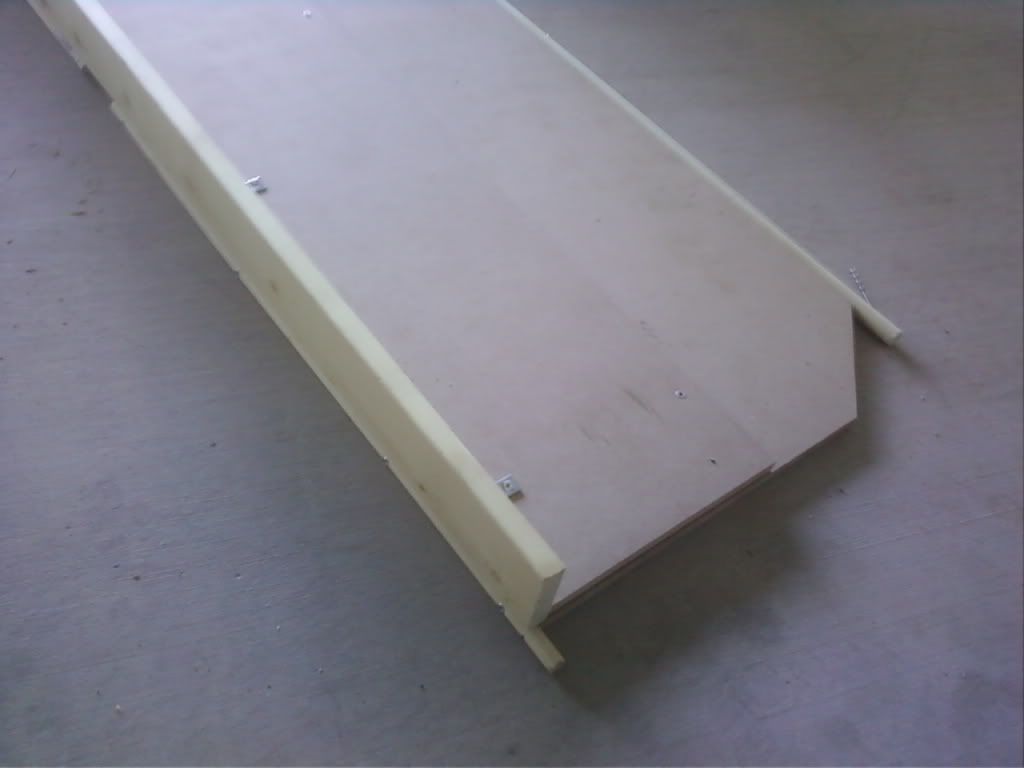
Here is a couple of pics of what you are aiming for here:
Step 5 – adding the fat dowel rod:
This one is just about the same as the skinny one, but actually a little easier.
For the fat dowel rod, measure 2 inches from either end and make your marks. Just like the other dowel rod, you will want these 2 inches to protrude off the edge of the MDF so that it fits securely into the pre-cut slot.
Line up the marks on your dowel rod with the corners of the MDF on the front edge. Secure with the wood screws after drilling pilot holes just as before.
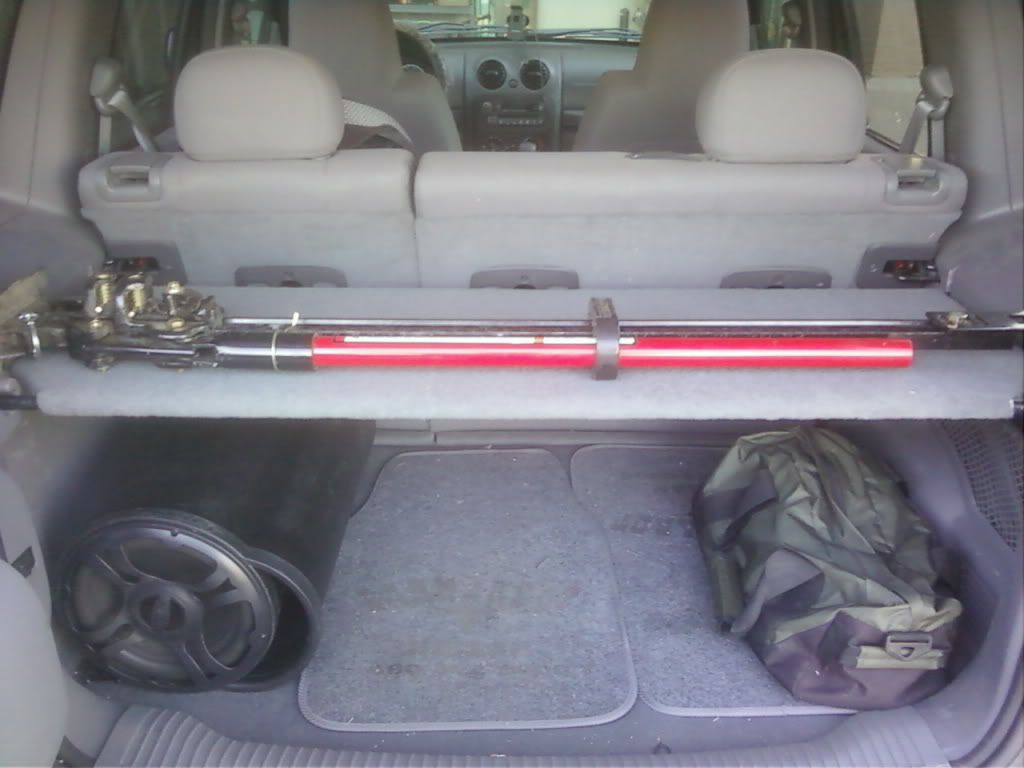
Now you’re done. Make sure it fits and trim the dowel rods if necessary, but mine fits like a glove.
This is just the skeleton work. Like I said, it could use some re-enforcement and then carpet for a finished look. I’m probably going to buy a 4-foot 2x4 and glue or screw it to the bottom along with that left-over MDF. That should make it sturdy enough to hold quite a bit.
Happy Jeeping!