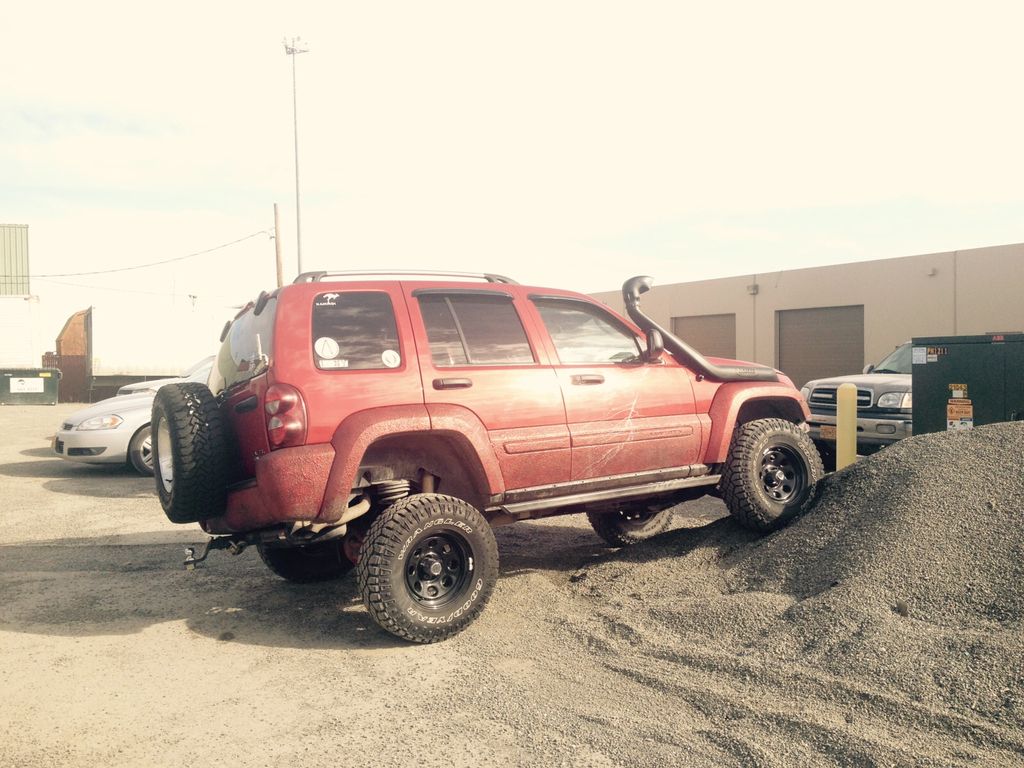
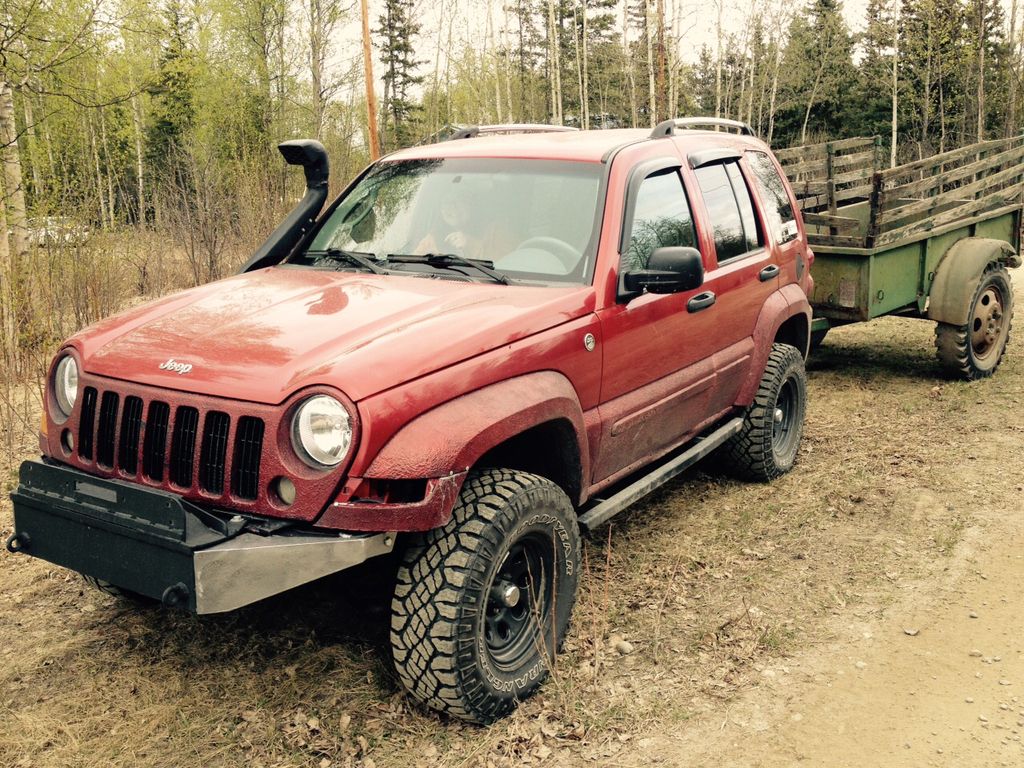
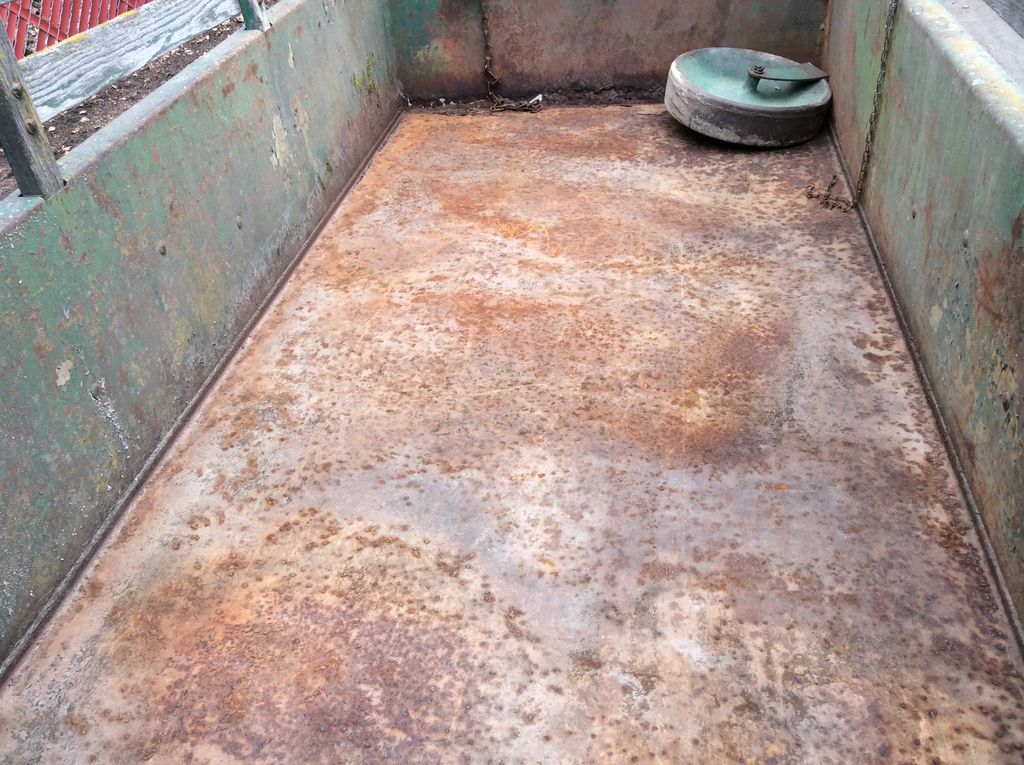
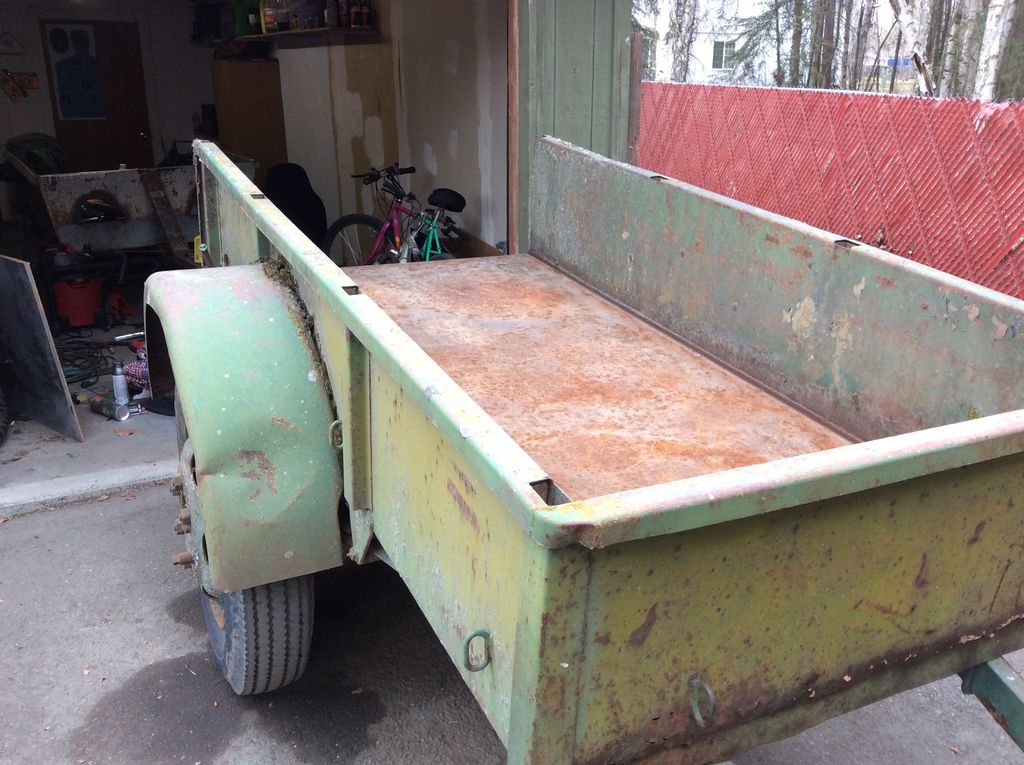
Used some dupli color spray on bed liner and the final results were lackluster at best.
I'll do touch ups and enjoy the season with it as is but it will be repainted down the road.

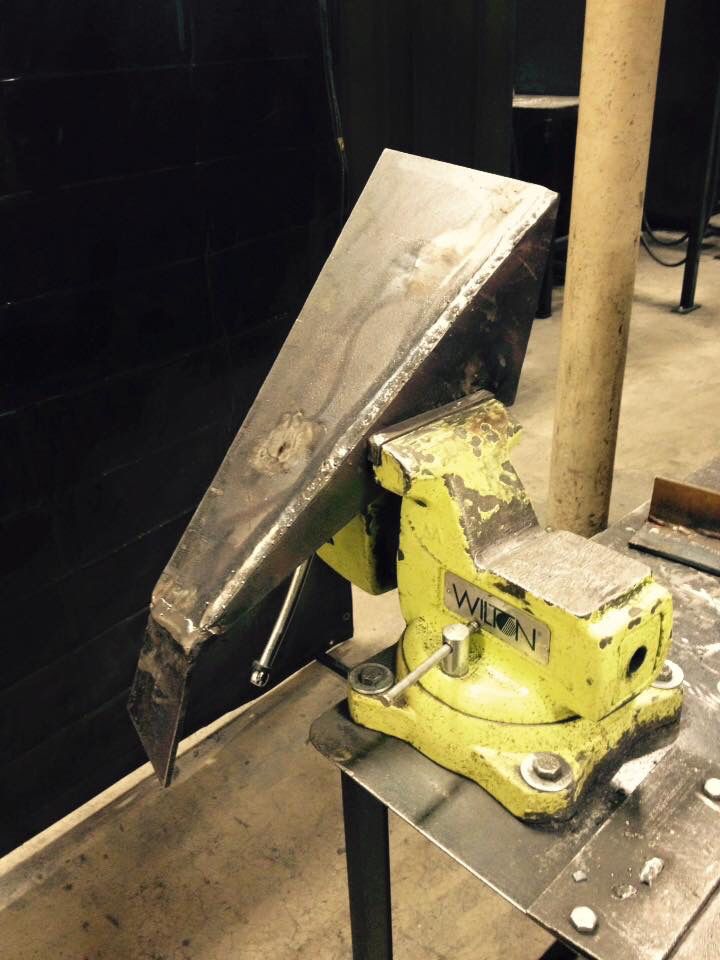
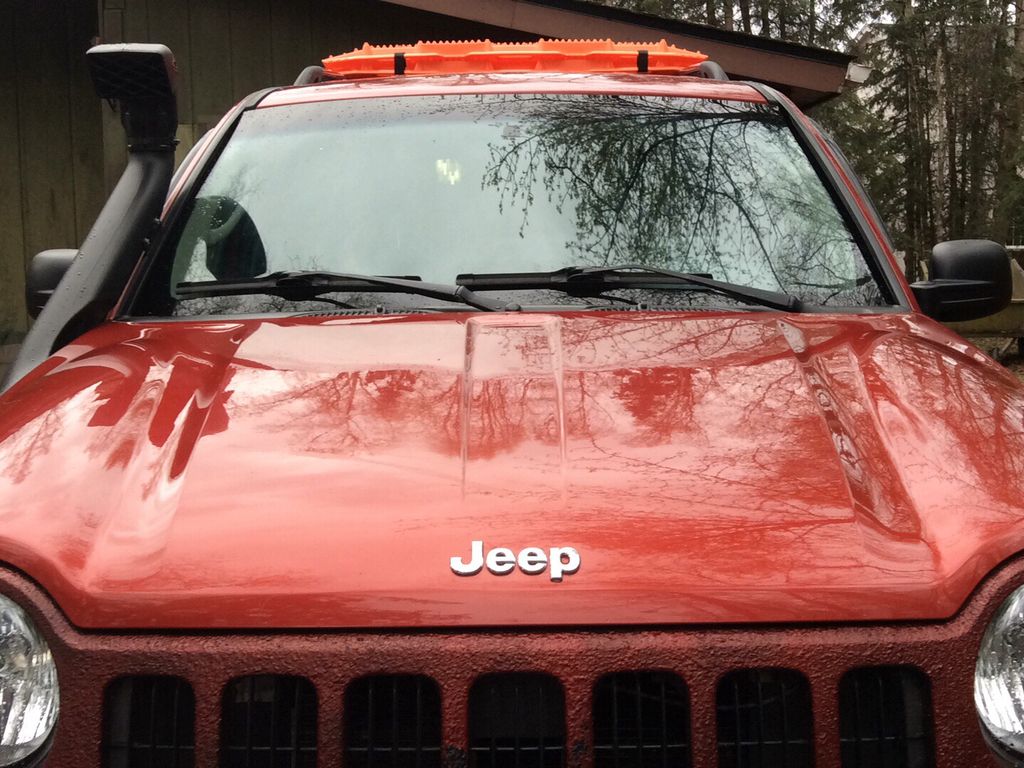
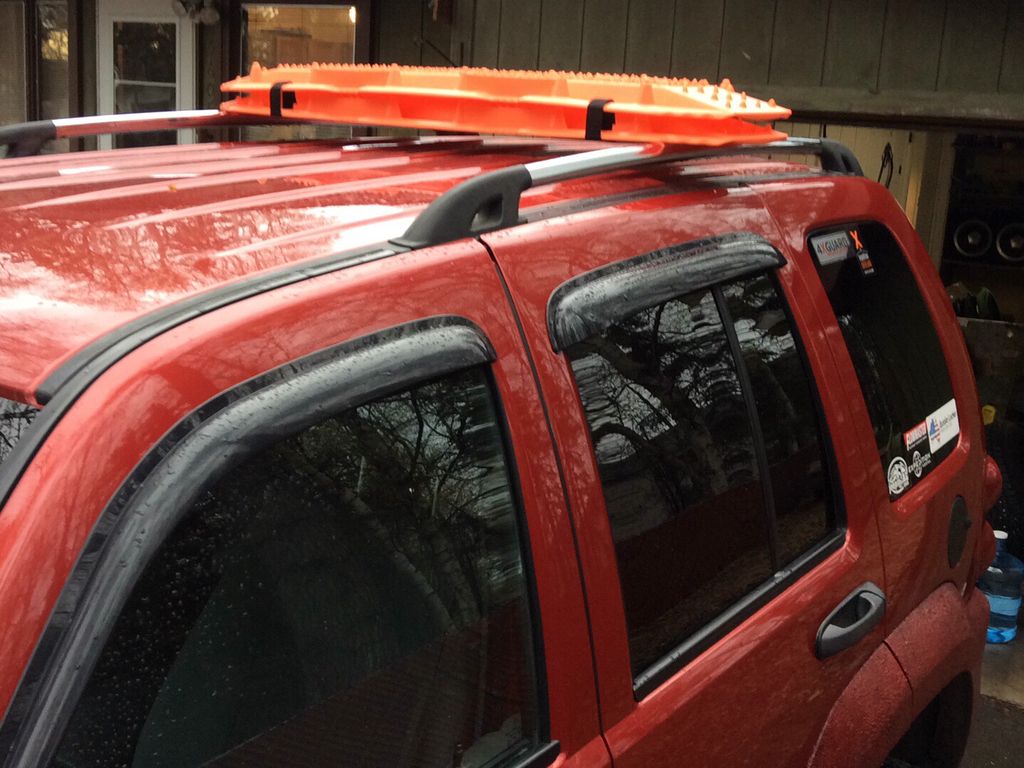
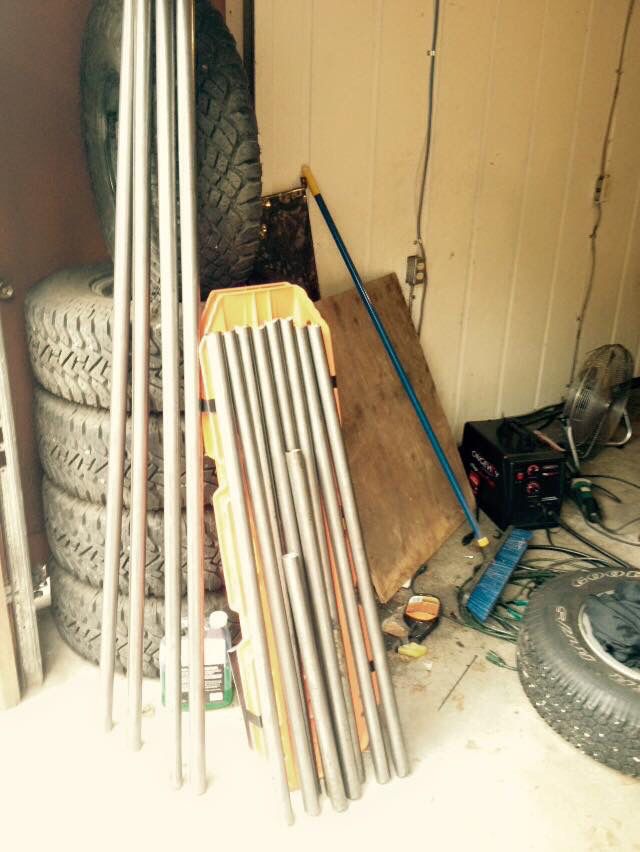
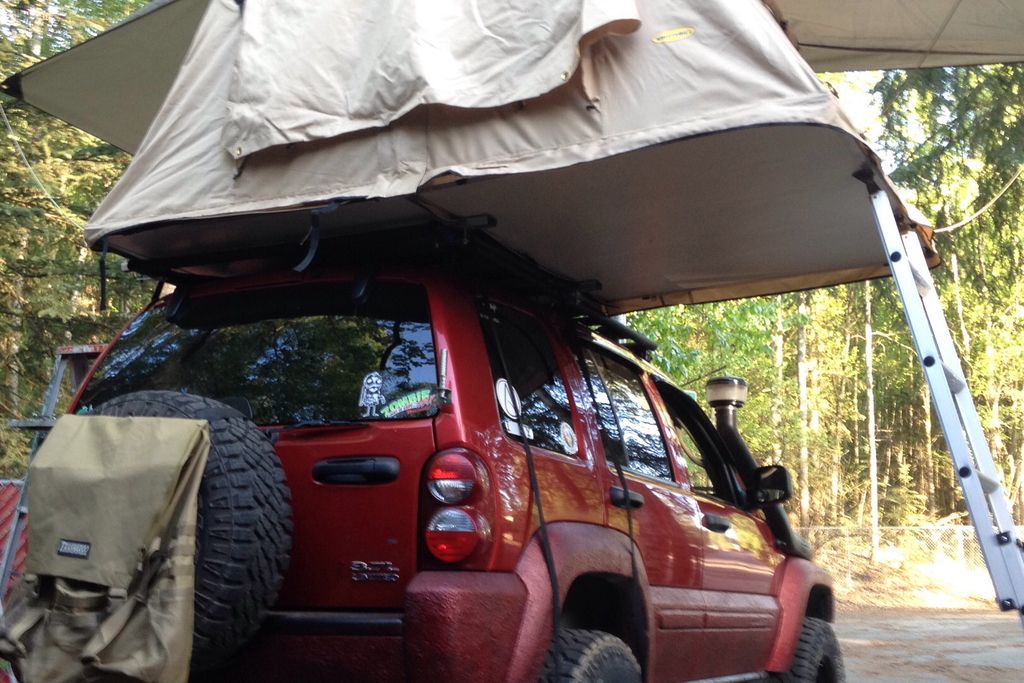
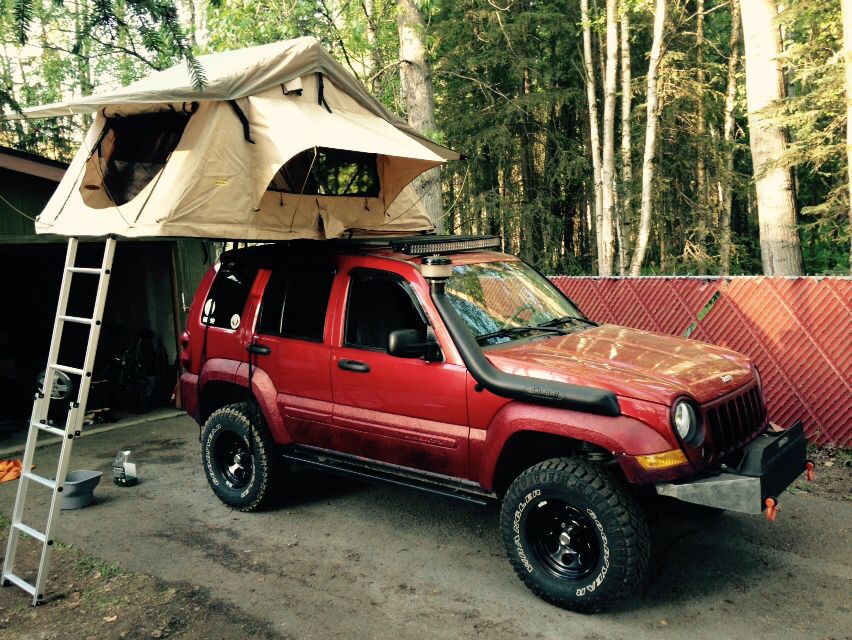
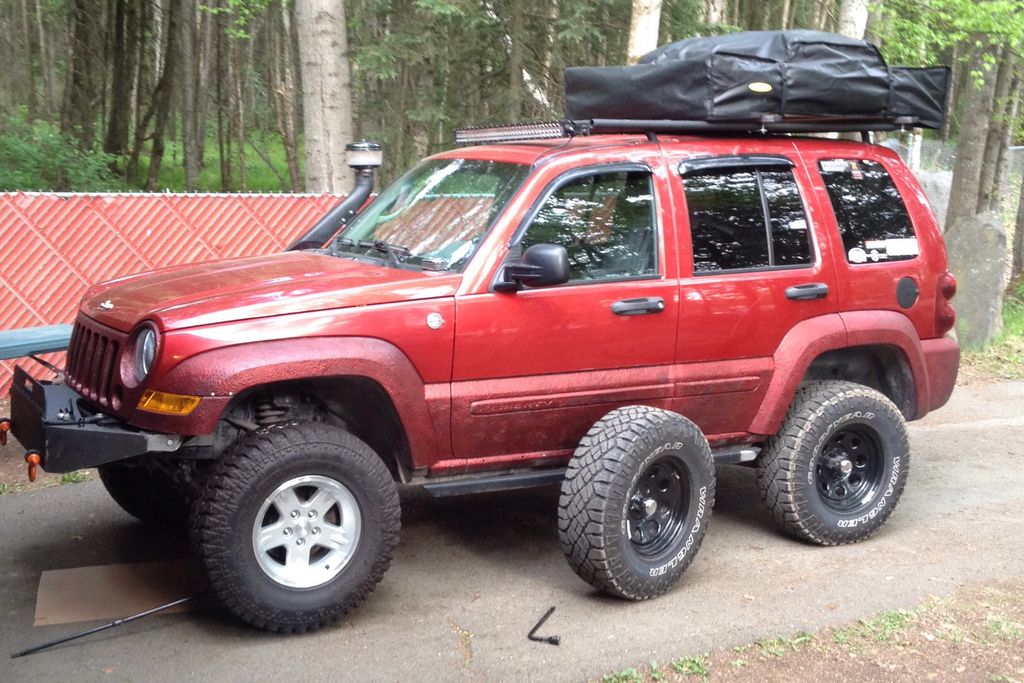
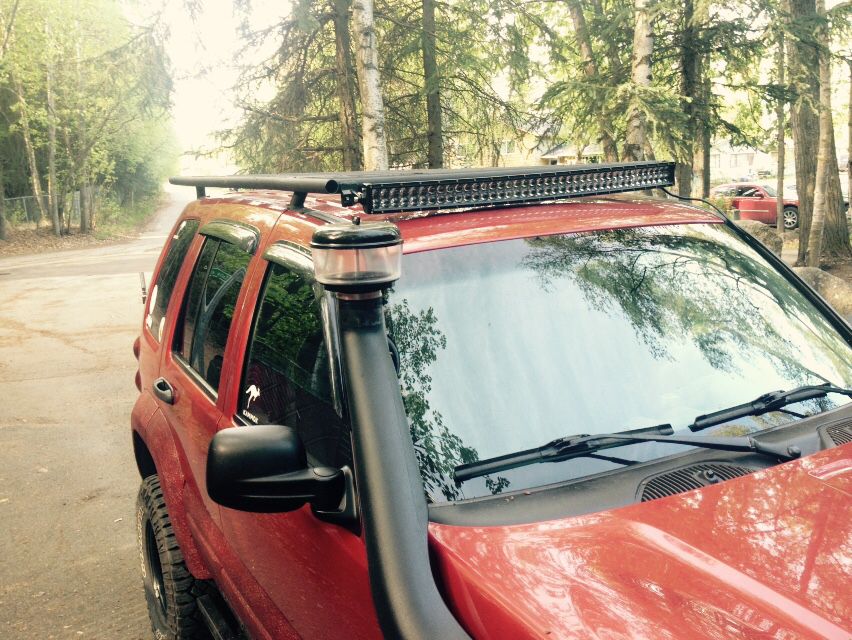
Time to mount the rack and wire the light bar in.
In order to use bolts better than the flimsy stock rails.
I bought grade 8 hardware in the form of 3/8" 2" long bolts with lock washers and nylon lock nuts. You have to drill out the nutserts completely and then clean them up with a step bit or something.
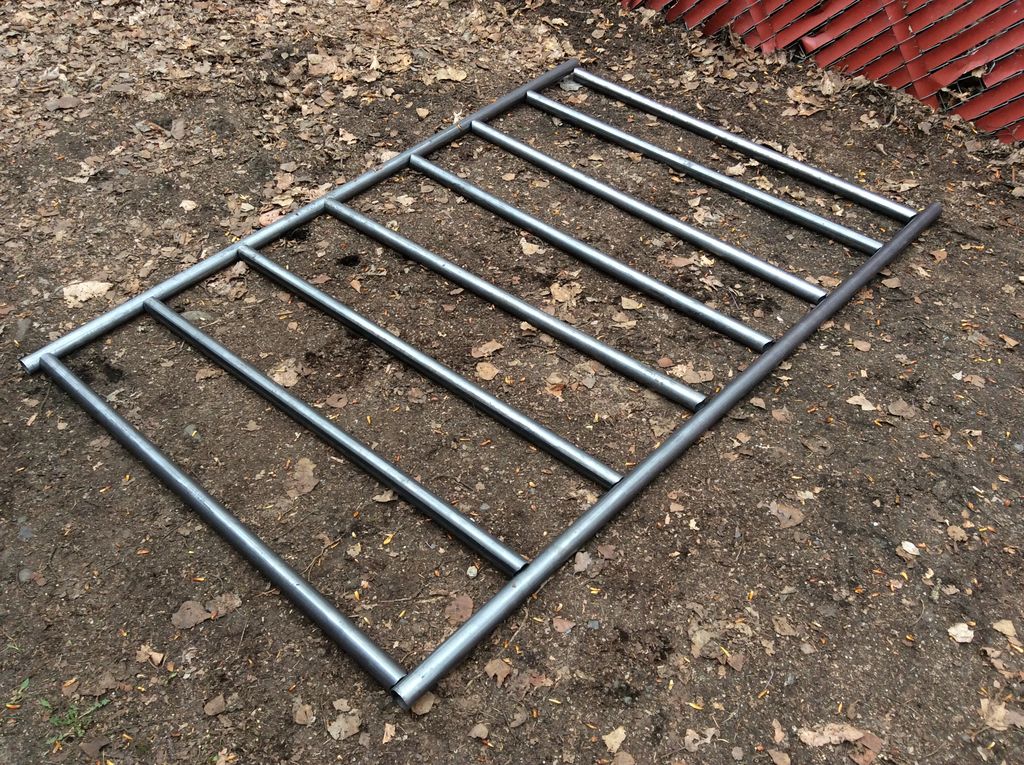
I also cut 8 squares out of 3/16" aluminum.
From the top down starting outside the vehicle I went with.
1/4" mounting plates
1/16" rubber gaskets alongside the entire contact area on the roof.
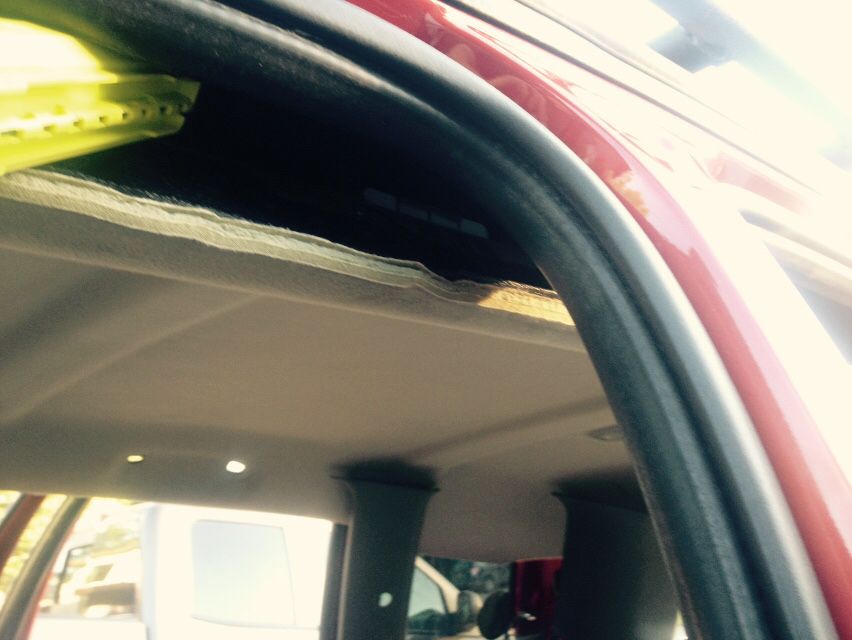
Drill out the nutserts, then step bit it out a tad.
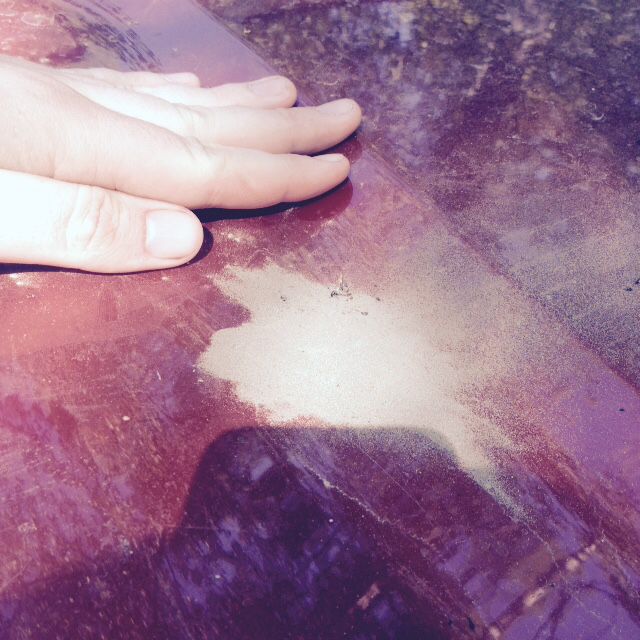
Headliner down and bolt holes "mostly" visible.
3/16" aluminum plates acting as huge washers to distribute weight better.
Lock washers
Nylon lock nuts.
Assemble all loosely then marine grade boat seal everything in the typical overkill fashion.
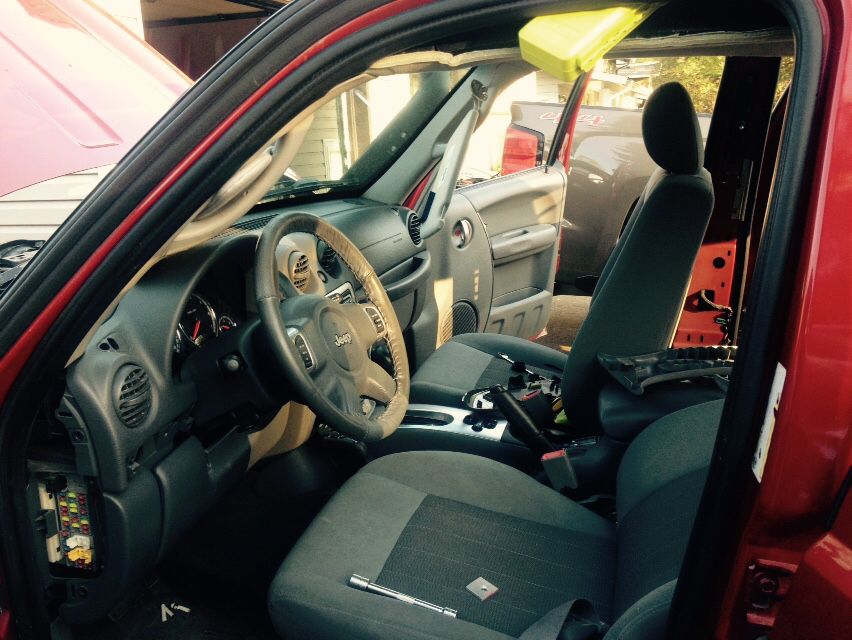
Final step, five hours in was to torque down and reassemble the interior.
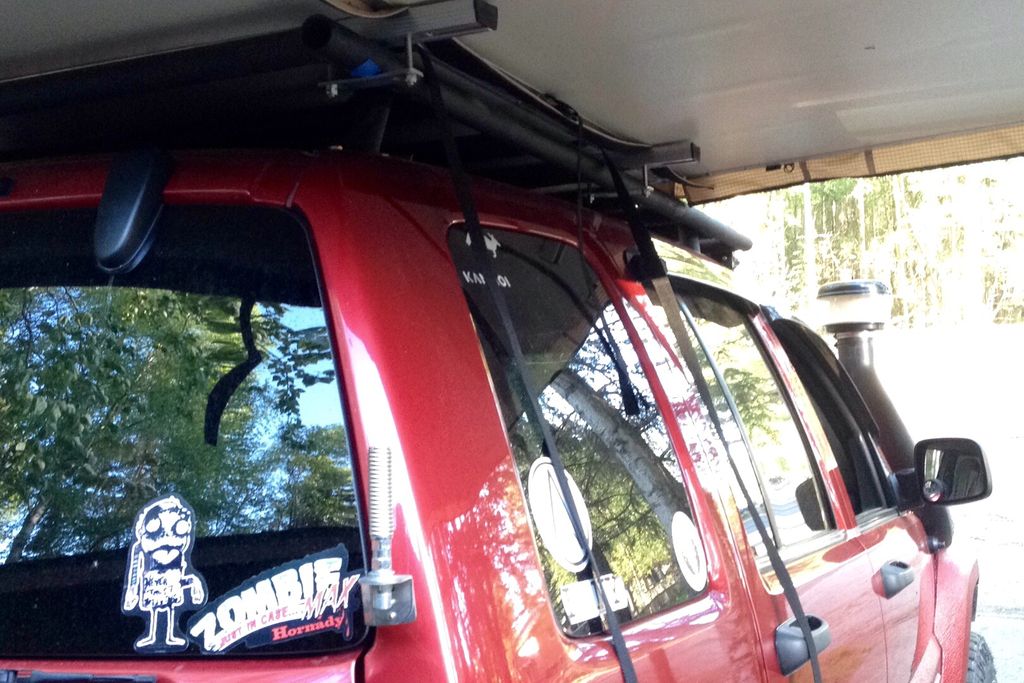
Make sure to use blue loc tite on the seat belt bolts as all four need to come down.
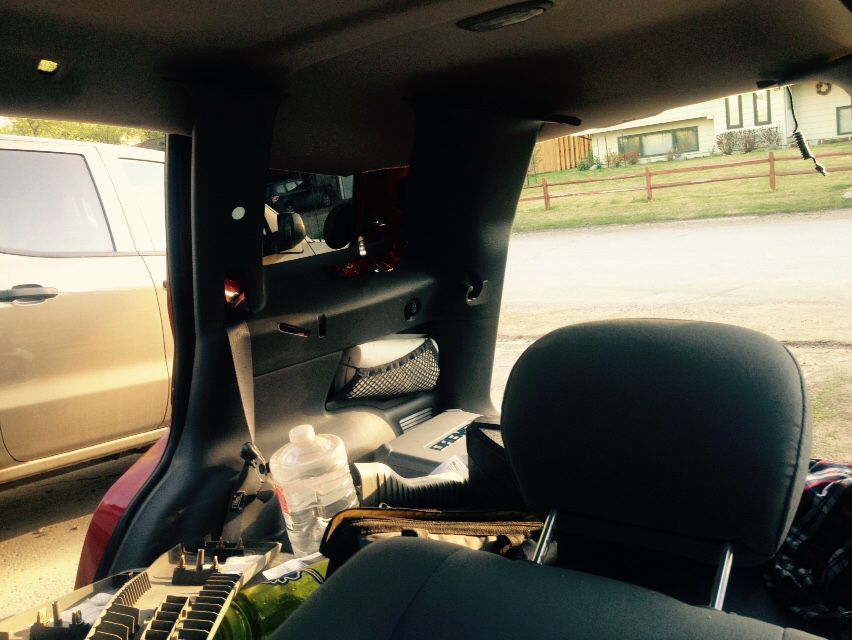
Big shout out to my friends Chris and Randy for helping me tear the interior apart and get the rack up and wiring and sealing the light bar.
I haven't added my caps on for the end of the tubing but I will
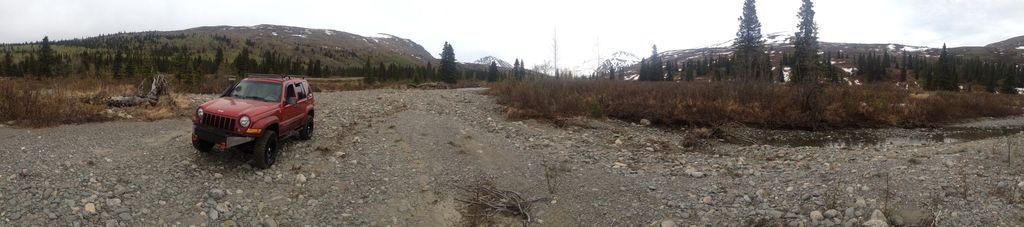
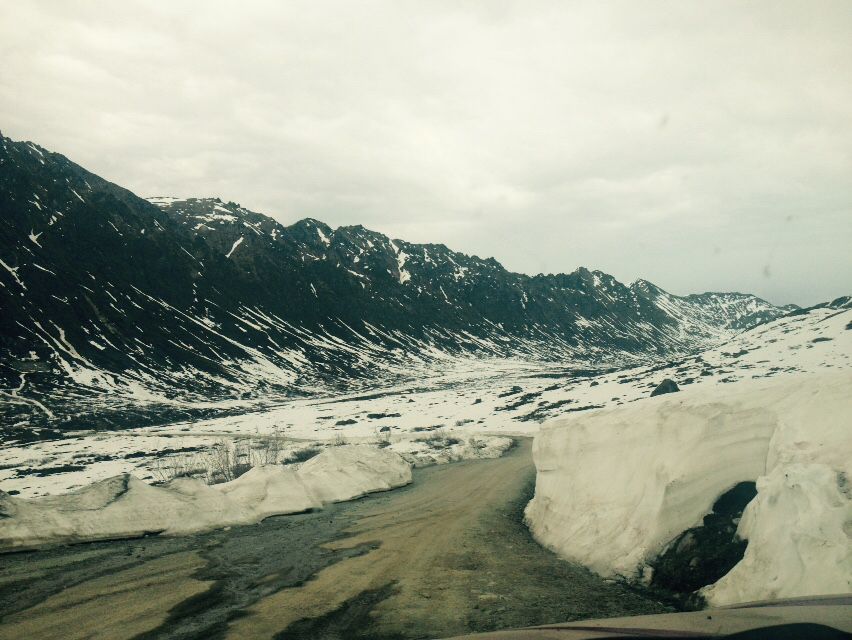
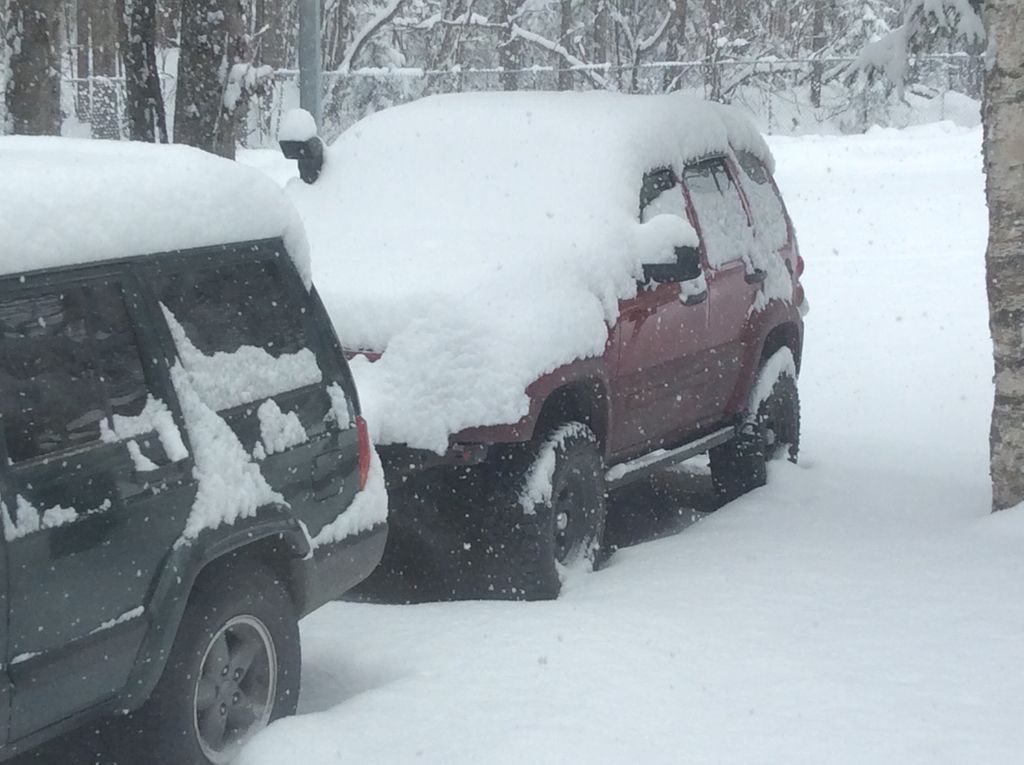
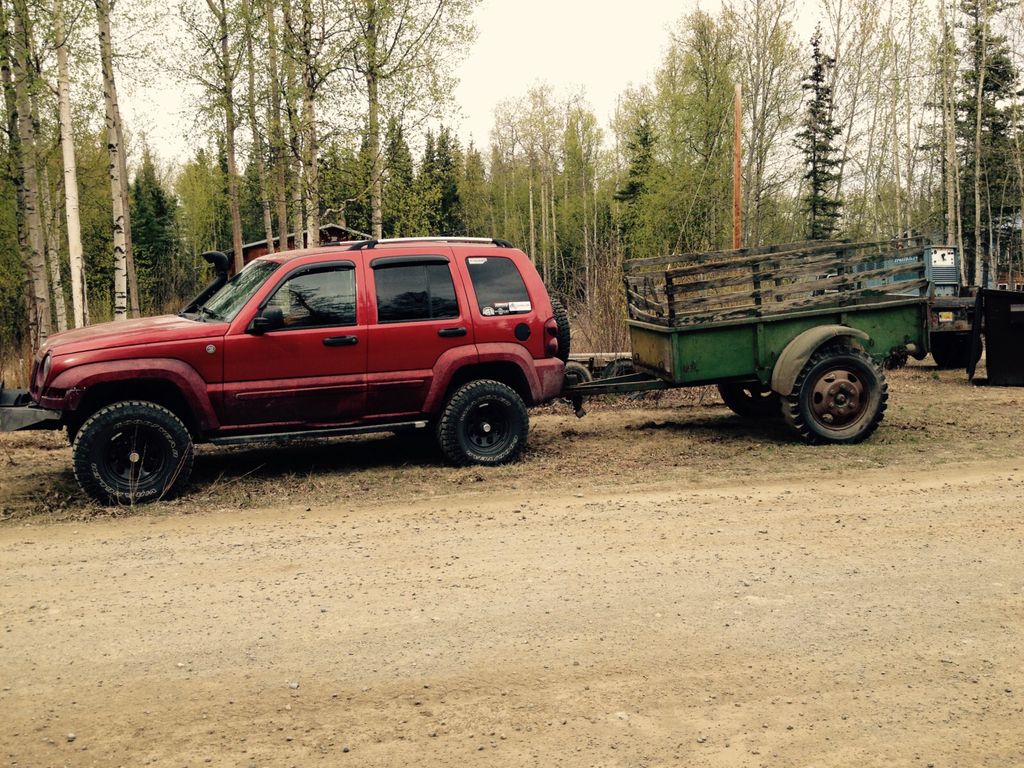
Cruised around the day after at Hatcher Pass, too much snow to do much other than sight see and cook some velveeta and reindeer sausage on the camp stove.