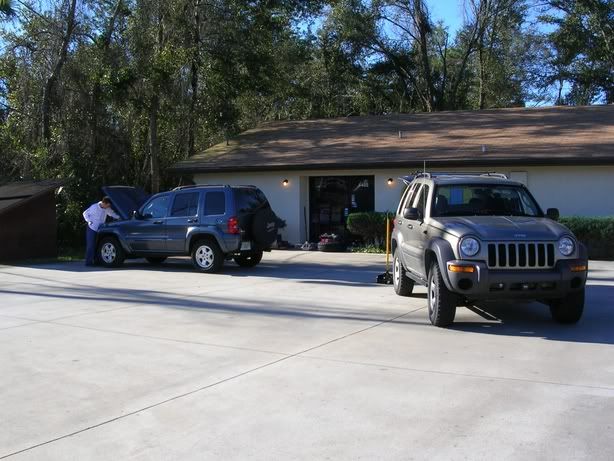
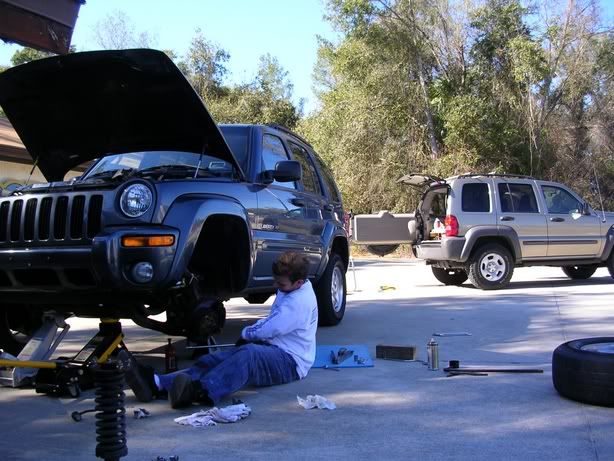
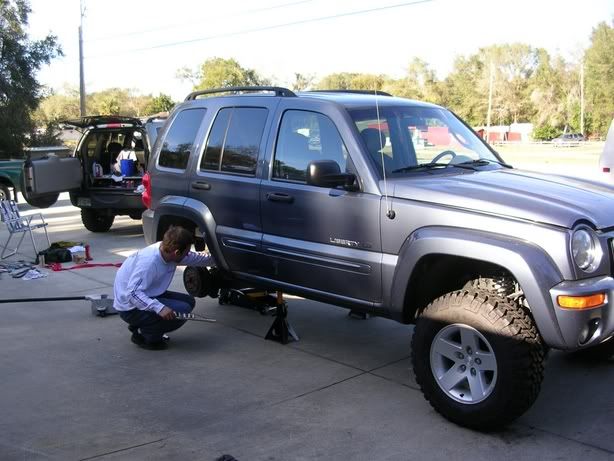
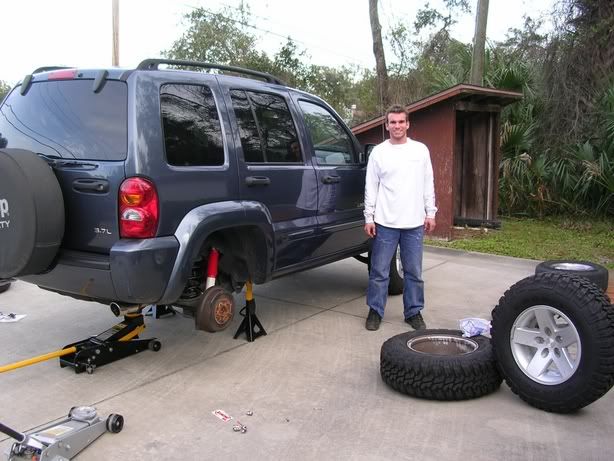
Well, after scrimping and saving and lots of waiting, my Frankenlift arrived, and it was installed on January 15th near my home by myself, and fellow LOST member Steve W. (camper). First I must give Steve more credit than merely helping to install the lift. He basically ran the operation, giving up almost all of his Sunday to make sure the job was done right. I am eternally grateful for all his wisdom, guidance, and physical labor. He told me exactly what to do and what not to do, and had me do as much myslef as I was capable of. What a great learning experience it was. And now he will probably forever be bombarded with my countless questions concerning maintenance. We started around 9:30 a.m. and it took until 5 or 6 to get it completed and packed up. We also mounted up my new moab wheels and MTRs. I am very happy with my Liberty right now, and I'm looking forward to some trail action, although I am a little concerned about my CV angles. There is some noise coming from the frontend during bumps and turns that I have yet to identify, and I'm going to get under there and check for tightness on all the fasteners tomorrow morning. Let me know what you guys think, this is the first time I've posted pictures of my Jeep. But then, it's not like y'all have never seen a Liberty before.
Pre lift
Getting started. Steve's Liberty has lots of cool goodies.
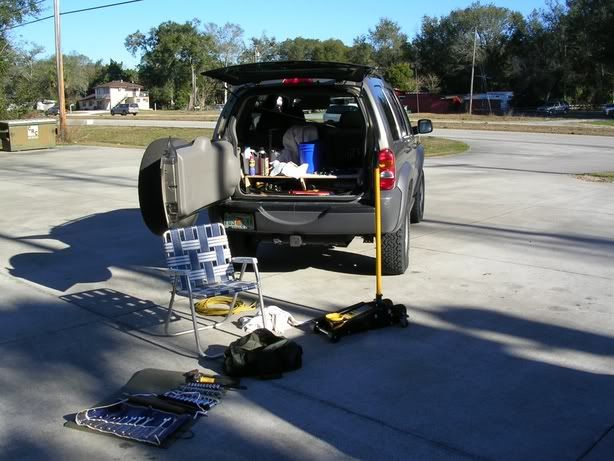
Much to Steve's dismay, that chair was empty for the better part of the day.
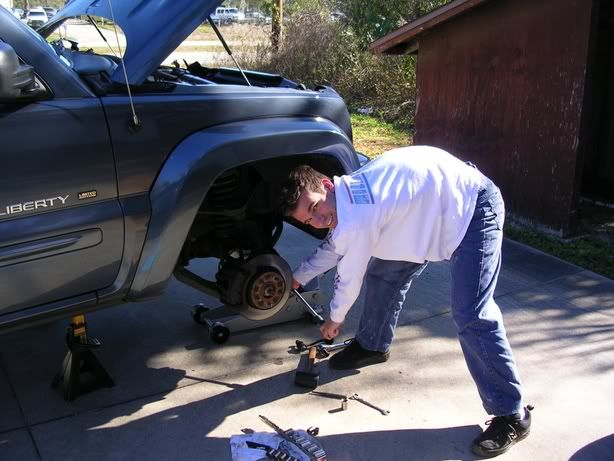
Poser shot during the disassembly of the front suspension.
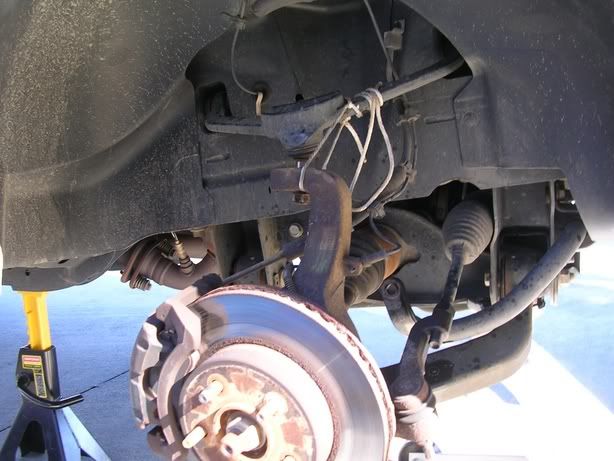
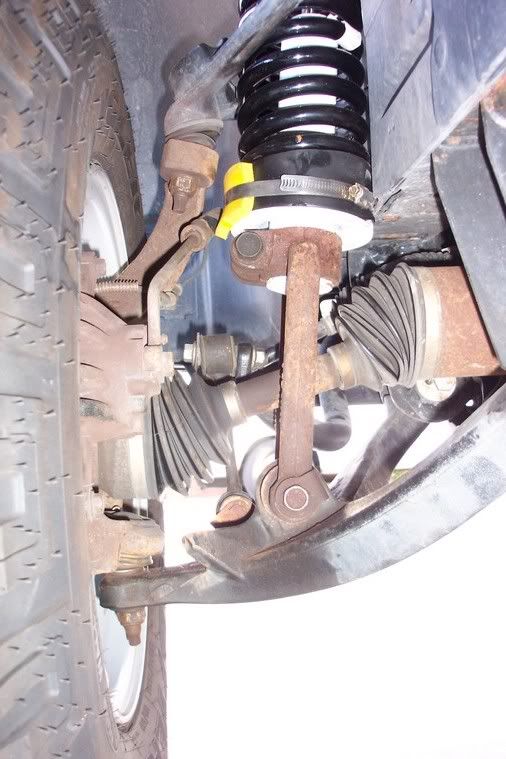
Bye bye stock struts. minutes later we learned that lower clevis bolts do not like longer strut assemblies AT ALL.
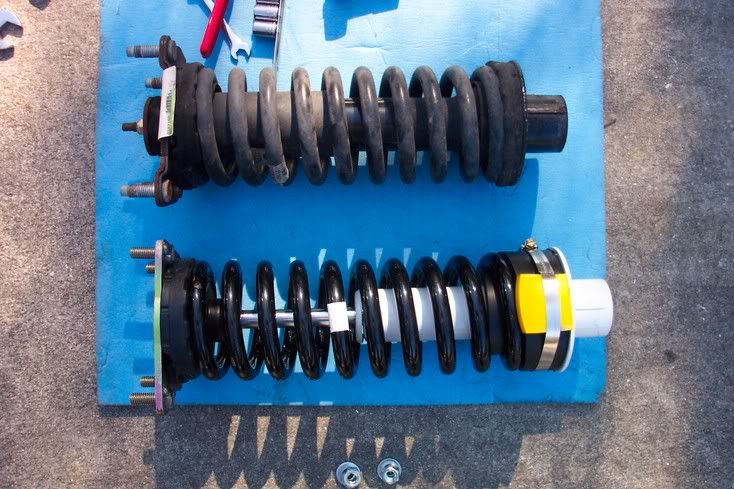
Difference between stock and frankenlift strut assemblies.
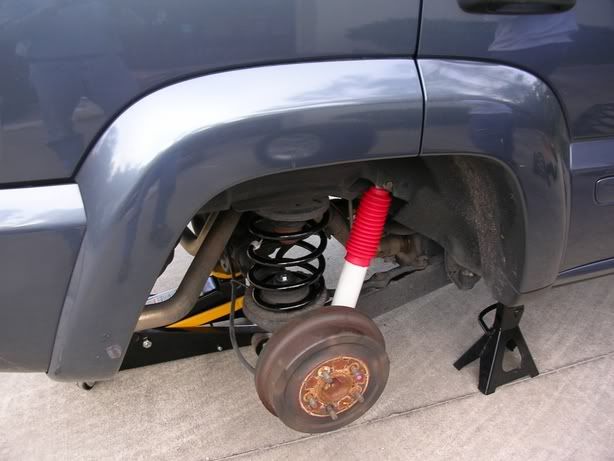
Installed.

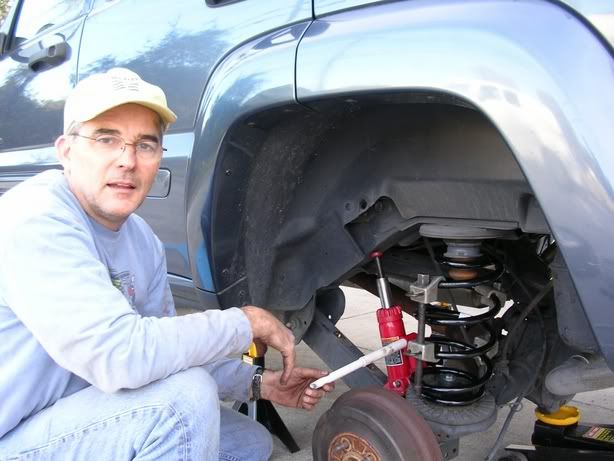
Finishing up the front. No easy feat with that lower clevis bolt.
On to the rear, sneak peak of the moabs mounted.
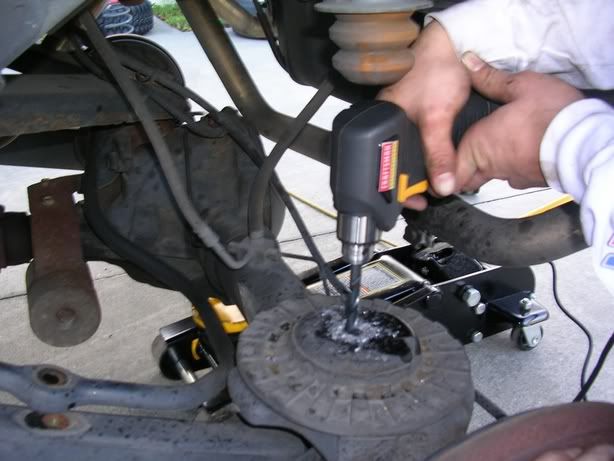
Bumpstop drilling action.
Steve's authoritative domination of the rear springs. That last one was the only time we used the compressers.
Rear suspension all done. Aside from the drilling, we had the rear done in like 20 minutes.
Myself, just before mounting up all the wheels.
WOW that's high.
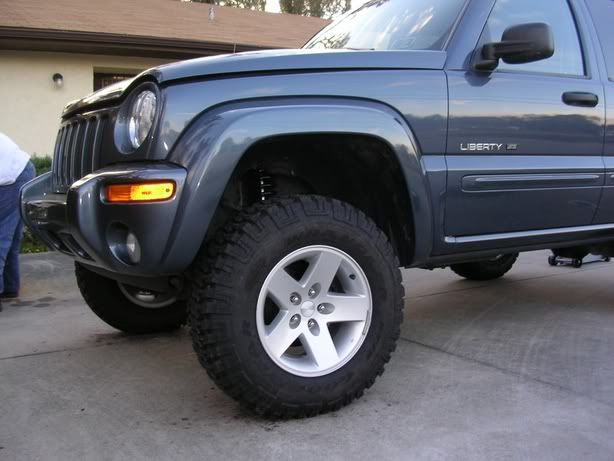
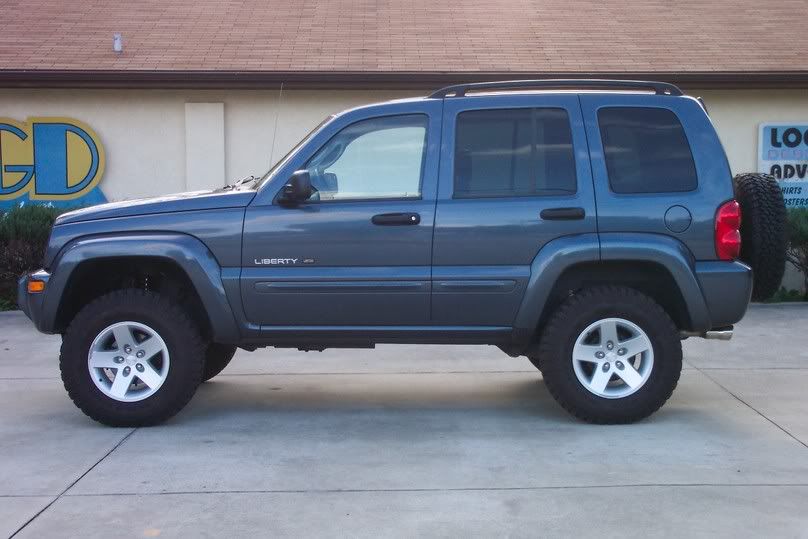
LIFTED! WOOHOO!
I think it looks great! As soon as I get all this paid for (19 years or so), I'll be picking up a slew of other stuff to make it more capable. As a daily driver, I wouldn't want it any taller, and after the allignment the ride is wonderful. I am concerned about these CV angles. What do you guys think?
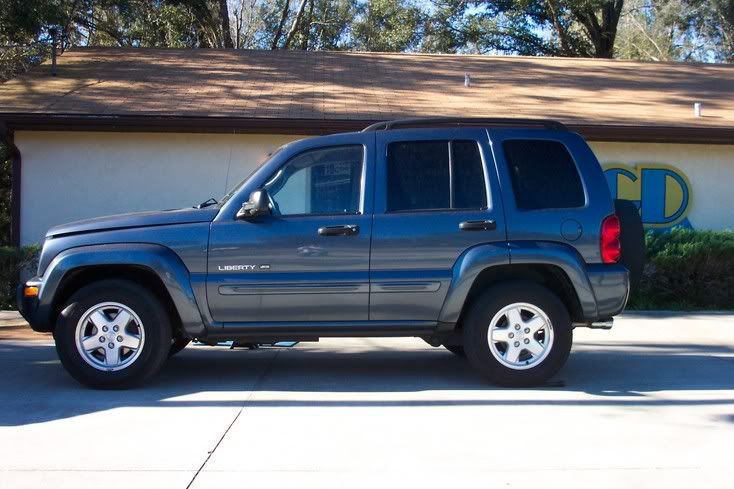
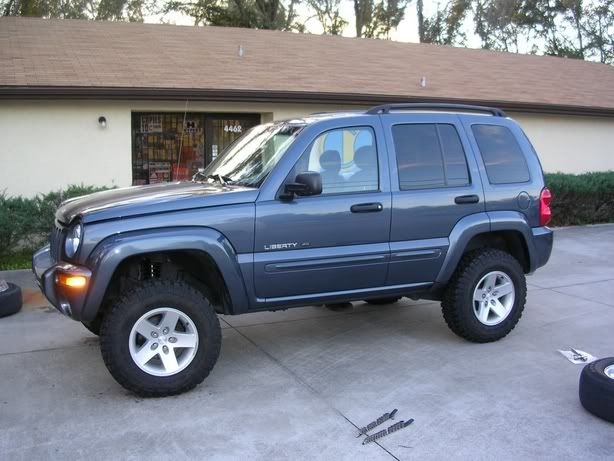
Driver's side, after 1 week.
Passenger's side, after 1 week.

After 1 week of driving.