LOST JEEPS
http://www.lostjeeps.com/forum/phpBB3/

M116A3 off-road camper build
http://www.lostjeeps.com/forum/phpBB3/viewtopic.php?f=72&t=77997
Page 15 of 18

Author:  profdlp [ Fri Sep 09, 2016 10:47 pm ]
Post subject:  Re: M116A3 off-road camper build

Top-notch job, lfhoward!

Author:  lfhoward [ Fri Sep 09, 2016 10:54 pm ]
Post subject:  Re: M116A3 off-road camper build

profdlp wrote:
Top-notch job, lfhoward!

Thanks so much, Prof!

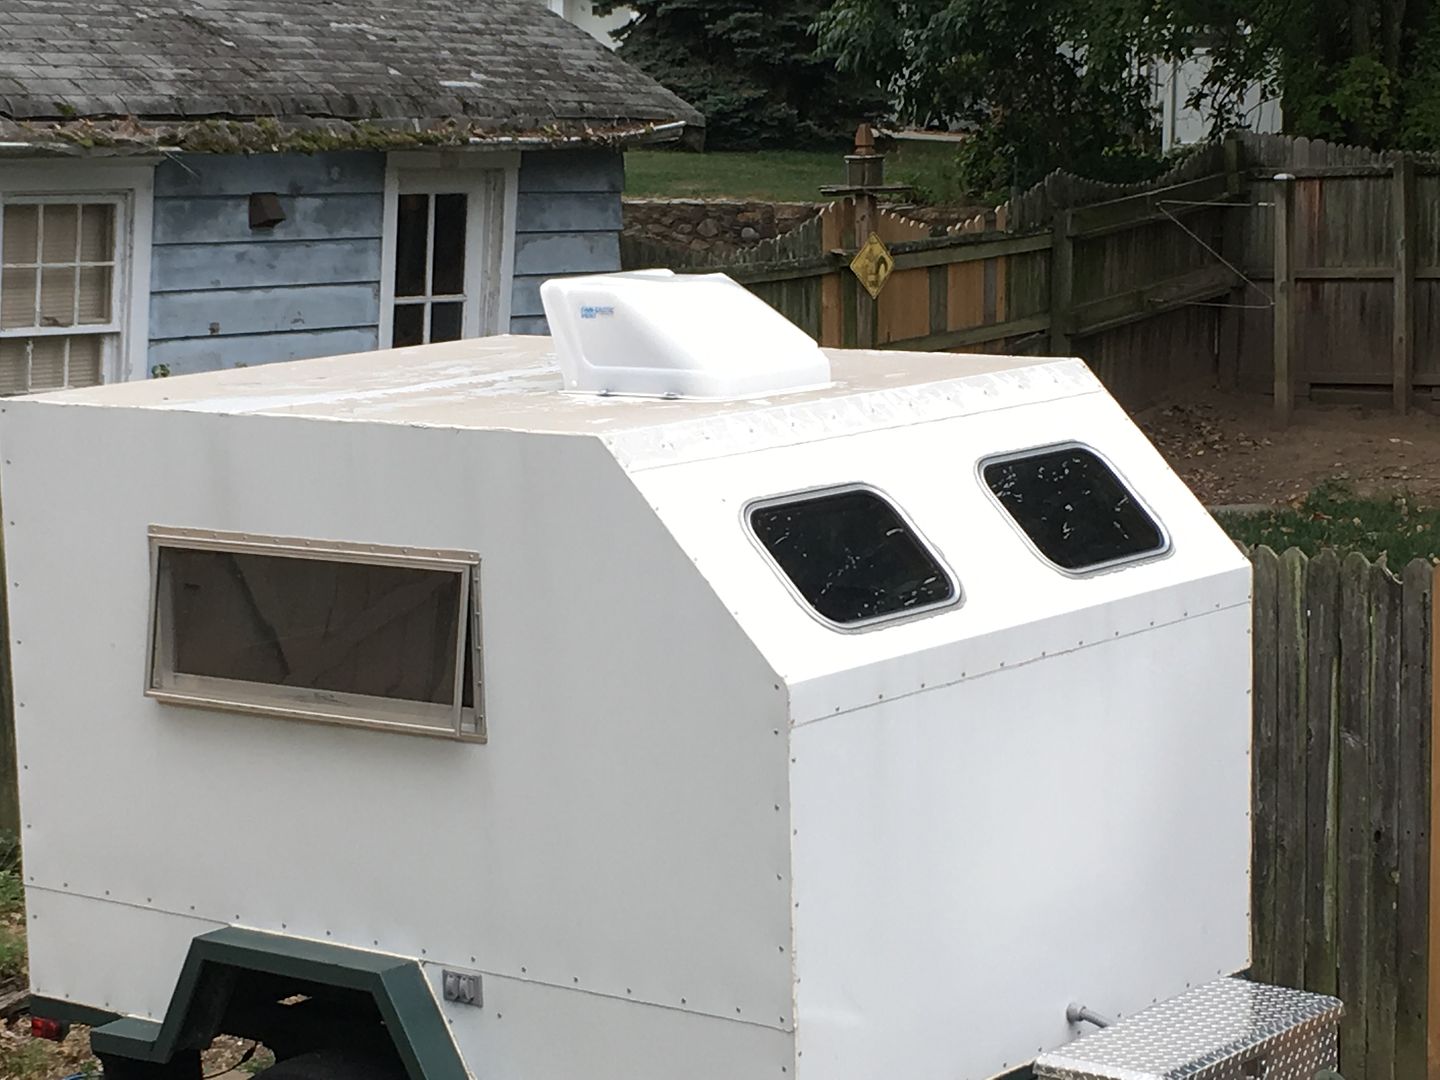
One of the cool things about camping with this trailer is that it is a vehicle for meeting all sorts of people. Lots of folks will come over to talk about the trailer, who would probably never introduce themselves otherwise, because they've never seen anything like it. They want to know if it's home made, or where they could buy one. Some people are vets and they recognize the military trailer platform underneath. It's pretty fun. :D :CAMPING:

Author:  lfhoward [ Sat Sep 10, 2016 8:00 pm ]
Post subject:  Re: M116A3 off-road camper build

Sooooo much better than sleeping in a tent!!!!

Made some progress on the interior today. I am putting off drilling holes in the roof for the solar panel until a cooler day that isn't threatening rain.

I started paneling the drivers side rear corner with 1/4 inch cedar. It smells amazing and is probably lighter weight than plywood.
Image

That's a fold-up tray table there in the corner. It isn't strong enough to lean on but it will hold odds and ends, plus be higher than foot level when the bed is deployed.
Image

I am thinking ahead to cold season camping with shore power.
Image

I paneled up to the front of the side window before I ran out of daylight.
Image

The cedar panels go behind the pine bench for a nice tight seam.
Image

And finally a look at the bench and paneled wall with the tray table in the up position.
Image

Looking forward to tomorrow. :D

Author:  KJ/toy [ Sun Sep 11, 2016 7:44 am ]
Post subject:  Re: M116A3 off-road camper build

^^^^^^^^ You should quit your day job and build these for a living....Fantastic job....

Author:  profdlp [ Sun Sep 11, 2016 3:30 pm ]
Post subject:  Re: M116A3 off-road camper build

KJ/toy wrote:
^^^^^^^^ You should quit your day job and build these for a living....Fanatic job....

I agree completely. That is nice work. :D

Author:  PALiftedKK [ Sun Sep 11, 2016 7:20 pm ]
Post subject:  Re: M116A3 off-road camper build

I agree with both above. Nice build progress.

Author:  lfhoward [ Sun Sep 11, 2016 8:17 pm ]
Post subject:  Re: M116A3 off-road camper build

Thanks everyone!!!
For now I will keep the day job, but I am enjoying the build so much that I may build a second one after this one is done. Then I could see if it sells!

Today was more woodworking. First I installed the cedar paneling in the passengers side rear corner and under the window, so that I could reinstall the bench. Then, I built a corner cabinet that will be for clothes, towels, and bathroom kits.

Here is the skeleton of the cabinet as it is going up. I built it as a module then installed it in the camper.
Image

The cabinet has a built in nook to hide all of the wiring and switches.
Image

Here is the cabinet clad in cedar paneling.
Image

The switch panel from top to bottom contains: Inverter remote switch for 120VAC, Solar charge controller remote display with battery voltage, and light switches. The one closest to the outside is for the porch light and the one closest to the interior is for the inside lights.
Image

Here are a couple more shots of the completed corner cabinet. It contains three shelves that face the bed for easy access when inside the trailer. That stray wiring in the lower cubby has since been tacked up.
Image

Image

Author:  Bmxer524 [ Tue Sep 13, 2016 4:28 pm ]
Post subject:  Re: M116A3 off-road camper build

Looks great! Pretty close to being finished now, right?

Author:  lfhoward [ Tue Sep 13, 2016 6:39 pm ]
Post subject:  Re: M116A3 off-road camper build

Bmxer524 wrote:
Looks great! Pretty close to being finished now, right?

Thanks! I would say the interior is about half finished. The front end still needs interior paneling and a wooden dashboard that contains all the electrical stuff, and the trailer needs an interior ceiling. On the exterior, it needs edge moldings on the body and the solar panel setup to be installed on the roof. But it is getting there! One thing I have left out for now is the little side utility doors, because I haven't had time to make them yet. I figure this is something I could add later. I covered up the door openings with the body aluminum for now.

Author:  lfhoward [ Wed Sep 14, 2016 9:55 pm ]
Post subject:  Re: M116A3 off-road camper build

Hey, I experimented this morning with ways to remove the sticky adhesive residue on the roof that was left over from the protective plastic sheeting. Goof Off wins hands down. It dissolved that sticky stuff on the first pass with hardly any scrubbing. I also tested it on a piece of scrap first and the paint is unaffected. :BANANA: 
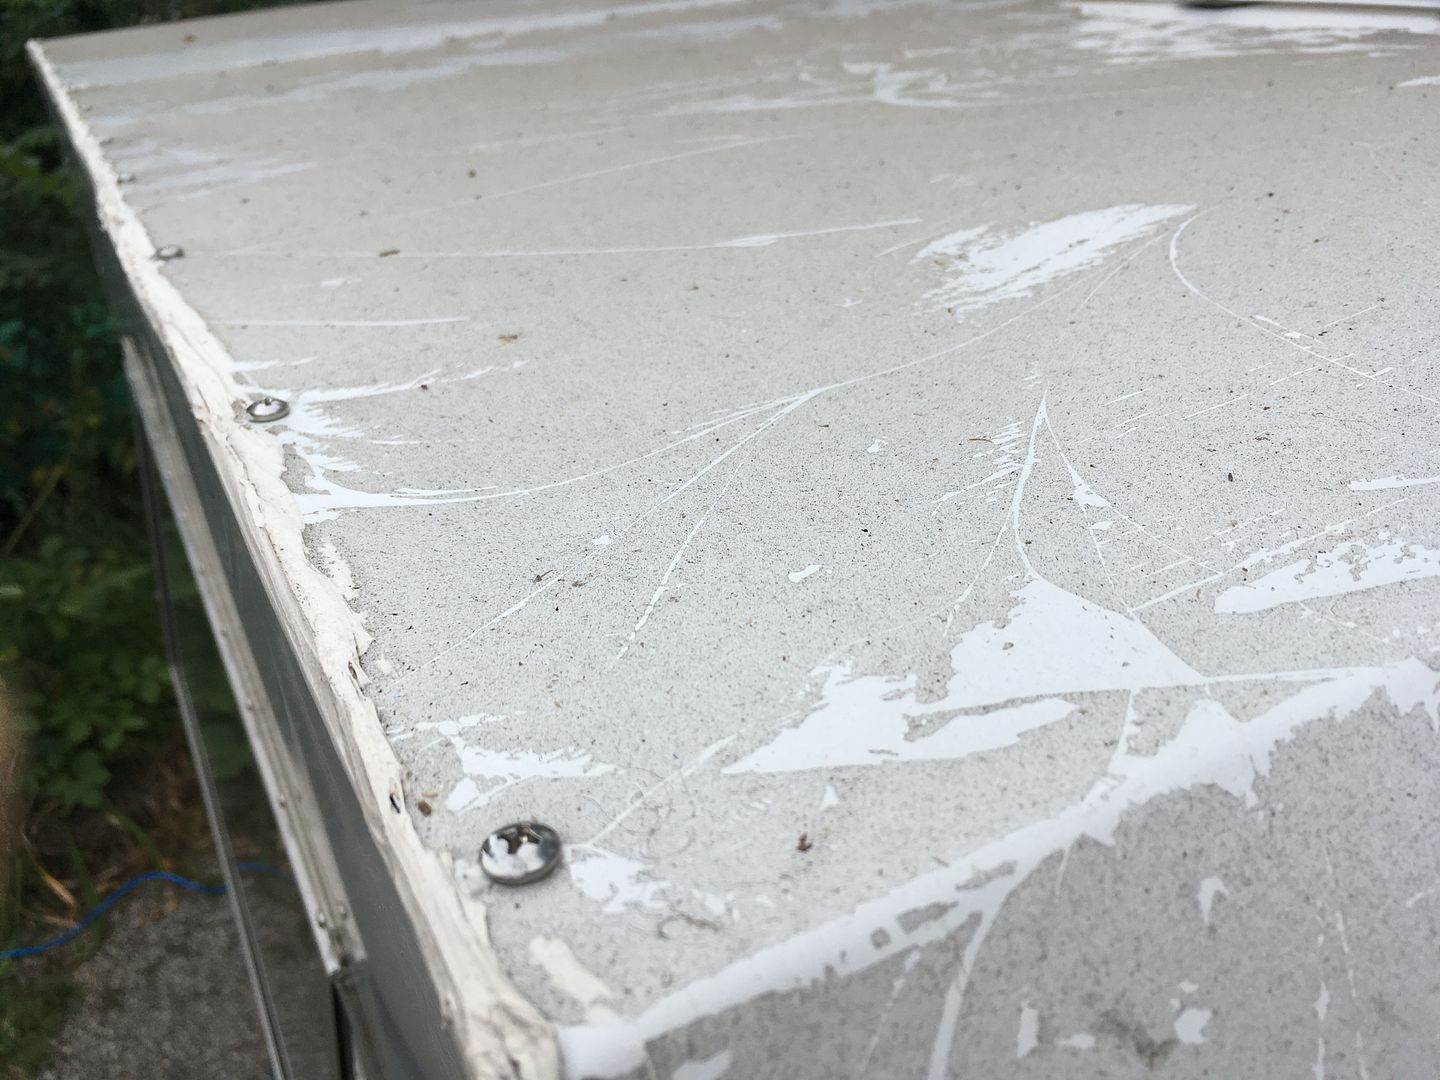
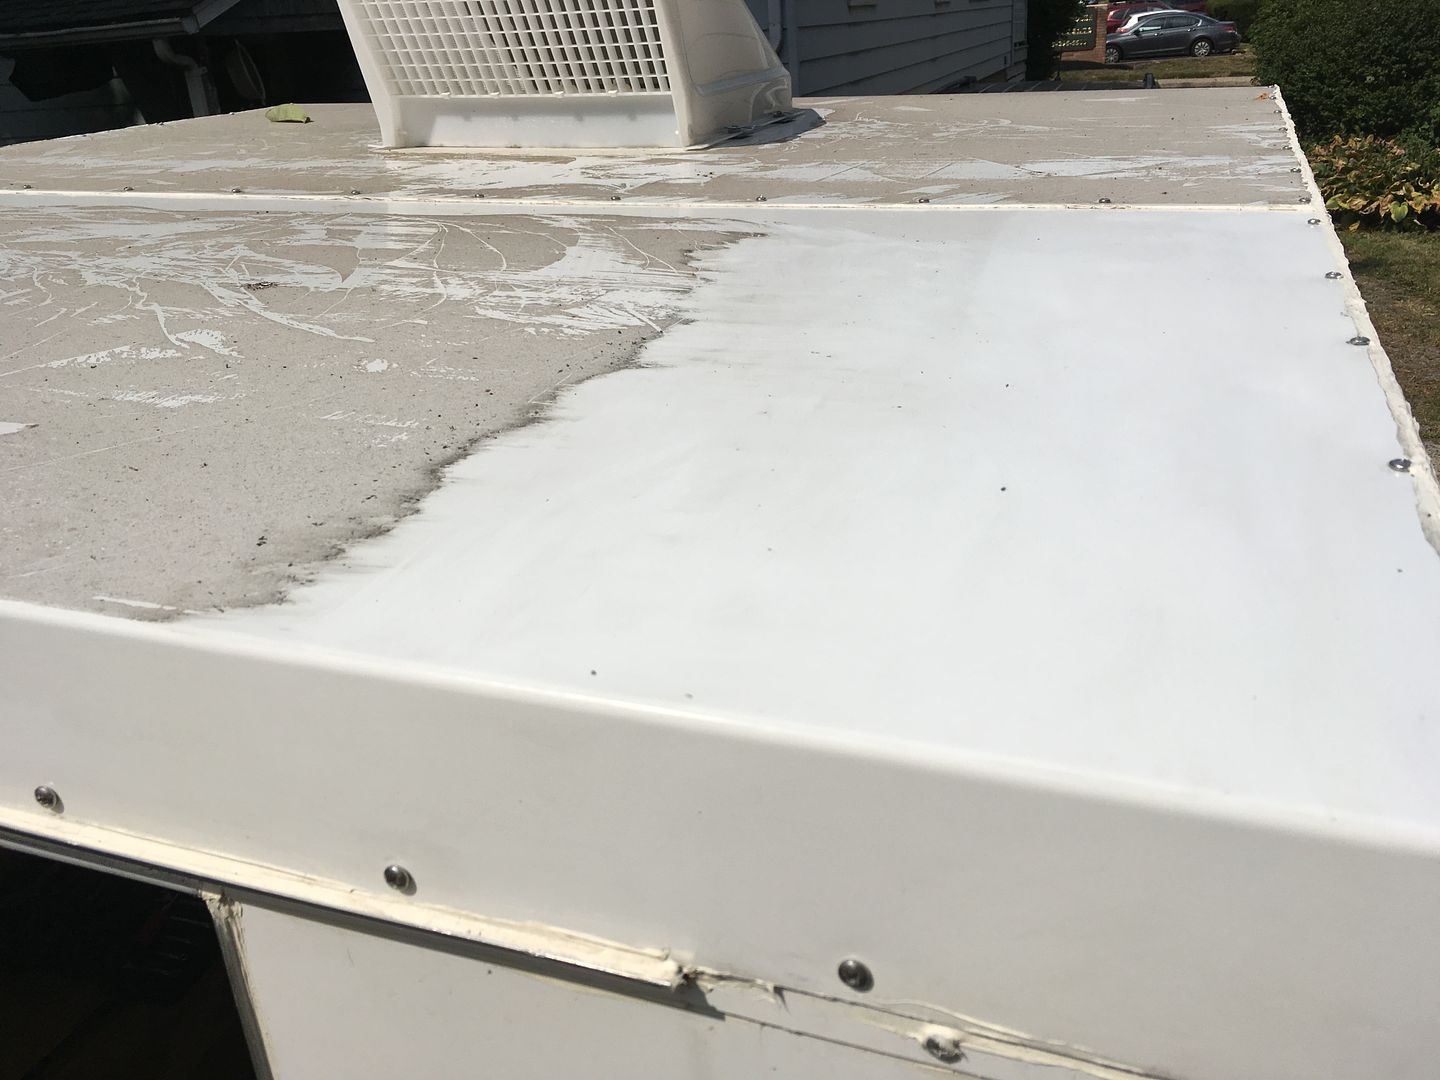
(some automotive paints may be damaged but apparently not the paint on roofing aluminum) Now to find some solvent resistant gloves before I tackle the whole 8' x 6' roof area with the stuff. I hear xylene and acetone aren't too good for you. :grim:

Author:  lfhoward [ Sat Sep 17, 2016 8:38 pm ]
Post subject:  Re: M116A3 off-road camper build

Today I built the dashboard for the trailer that houses outlets and switches and serves as a conduit for wires.

Here is the front of the trailer's interior with all the wires taken down, ready to begin.
Image

My materials on the workbench. It was a nice day to work outside today.
Image

And here it is all finished. The plywood wall below it will be covered in cedar planks to match the rest of the interior later.
Image

And some close ups. The right and left sides are alike. There is 120VAC, 12 volt DC, and a switch to turn the 12V outlet on and off. Right now it has a USB charger in it and is charging my iPad. Later it could power 12V electric blankets.
Image

In the center are the reading lights. They swivel like on an airplane. :BANANA:
Image

Author:  profdlp [ Sat Sep 17, 2016 11:19 pm ]
Post subject:  Re: M116A3 off-road camper build

That is great. His 'n hers electrical connections. :D

Author:  lfhoward [ Sun Sep 18, 2016 11:18 am ]
Post subject:  Re: M116A3 off-road camper build

profdlp wrote:
That is great. His 'n hers electrical connections. :D

Yeah, two power supplies for electric blankets that can be set at different temperatures! Also, we have phones and other devices to charge, so 4 USB slots ought to do the trick. It is far more energy efficient to charge from USB directly from the 12V system than to convert to AC and back to DC via the inverter and a plug in USB charger.

Author:  lfhoward [ Sun Sep 18, 2016 11:43 am ]
Post subject:  Re: M116A3 off-road camper build

I thought I would post a couple of pictures to show the extent of the adhesive residue that I need to remove from the roof.

Image

Image

The sticky goo has to go before I can install edge moldings or the roof solar panels, because I must have a clean surface for the waterproof sealers (butyl putty tape and Sikaflex 221 caulk).

Author:  lfhoward [ Sun Sep 18, 2016 1:01 pm ]
Post subject:  Re: M116A3 off-road camper build

I went to work with Goof Off and scrubbed about 1/10 of the adhesive residue off the roof in about 30 mins.
Image

The problem is, Goof Off is so strong that it eats nitrile gloves. A glove lasts 10 minutes before it starts to fall apart, getting chemicals all over my hands. These gloves came from the auto parts store and are supposed to resist solvents, but I think they have met their match with Goof Off.
Image

Can anyone recommend a good brand of solvent resistant gloves? Thanks!

Author:  WWDiesel [ Sun Sep 18, 2016 1:30 pm ]
Post subject:  Re: M116A3 off-road camper build

What you need are chemical gloves (PVC coated), Google them, Lowes, Amazon, Ebay, Grainger, Walmart, and many others list them, they will handle most acids with ease.... :wink:
Some are even elbow length!!!

Image

Author:  lfhoward [ Sun Sep 18, 2016 3:43 pm ]
Post subject:  Re: M116A3 off-road camper build

:BINGO: 
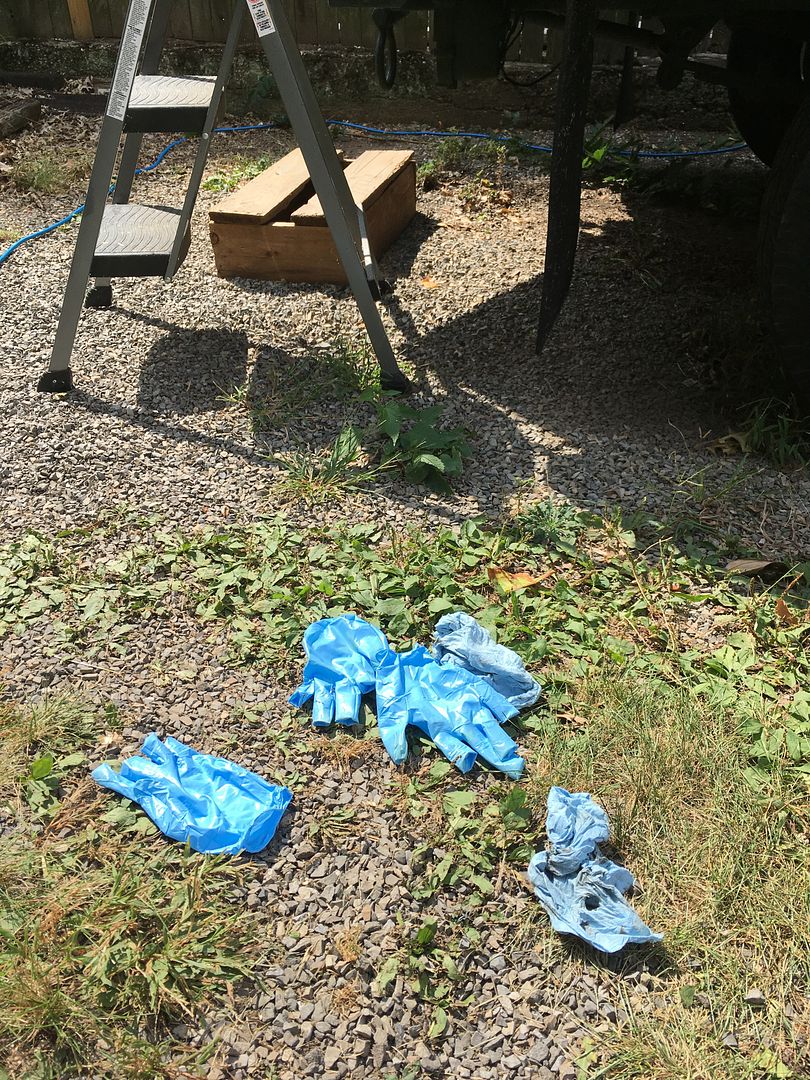
Thank you. Just stopped by HD and picked some up.

Author:  dieselenthusiast [ Tue Sep 20, 2016 11:20 pm ]
Post subject:  Re: M116A3 off-road camper build

Lookin' good! Buy yourself an Ecodiesel and tow her this way. :mrgreen:

Author:  lfhoward [ Wed Sep 21, 2016 10:09 am ]
Post subject:  Re: M116A3 off-road camper build

Thanks!! Wish I had the funds to get an Ecodiesel someday. For now I'm very happy with the Liberty. I have an oil change and transmission service scheduled on Friday. She's about 135,000 miles young.

In terms of the camper, I am definitely getting there in terms of finishing the interior and the exterior bodywork. In another month of chipping away at it I may have it done, if I'm optimistic. I'm hoping to do some weekend trips with my wife to the Poconos later this fall to "get away" and we can both bring our computers and do some writing. Sometimes writing comes easier with few distractions and pretty surroundings!

Author:  lfhoward [ Sun Oct 30, 2016 8:13 pm ]
Post subject:  Re: M116A3 off-road camper build

I know I've been needing to permanently seal the roof edges for quite a while now, but haven't had the time. Unfortunately the trailer developed some bad leaks once the cold nights hit and the aluminum shrunk, splitting the caulk sealer I had used temporarily over the summer. To keep the water at bay for a few weeks, I used clear packing tape on the trailer seams. Worked decently well, except that when I did get time to make a permanent seal using the aluminum edge moldings, I had tons of sticky tape residue to deal with. Elbow grease + Goof Off did the trick, about 4 hours per side! (Ugh.)

The good news is that I got the edge moldings installed. Here are some pics.

Before:
Image

Image

Image

After:
Image

Image

Image

Should be waterproof! We had quite a gullywasher this evening, so I will go out and check for leaks in the morning. Hoping to find none.

The only other waterproofing measure I can think of is to remove all the exterior screws, shoot Sikaflex caulk into the holes, then reinstall the screws. The screw holes didn't get this treatment before, although screws usually went into the wood through a line of caulk sealer under the aluminum. Overkill? I may do it just for peace of mind.

Also, can anyone recommend a good waterproof sealer tape for under my solar panel rails? I want to make sure the places where I bolt my solar panel to the roof is good and watertight also. Are there best practices for sealing bolt holes for roof-mounted equipment like solar panels?

Thanks all!

Page 15 of 18 All times are UTC - 5 hours [ DST ]
Powered by phpBB © 2000, 2002, 2005, 2007 phpBB Group
http://www.phpbb.com/