I REALLY

| LOST JEEPS http://www.lostjeeps.com/forum/phpBB3/ |
|
| Blacked out headlight how-to (With Pics!) http://www.lostjeeps.com/forum/phpBB3/viewtopic.php?f=88&t=55424 |
Page 2 of 9 |
| Author: | DetroitKK [ Wed Dec 08, 2010 12:17 pm ] |
| Post subject: | Re: Blacked out headlight how-to (With Pics!) |
808JEEP_KK wrote: Hey I have a question did you ever decide to use a heat gun I got one and I wanna try it to use it instead of putting it in the oven it kinda makes me a little nervous to that. How did you get it so the other light didn't melt? And did you put a primer for the very first coat or was it just the black? I never did it with a heat gun, you could try it, but I'm guessing it would take a really long time to get the whole seam evenly heated enough to remove the plastic lens. The key to no melting is just Reynolds wrap on a cookie sheet. That stuff is non conductive so it won't allow the cookie sheet to heat up the plastic touching the surface. I know the oven thing sounds scary, but once you get it in there you'l find its no big deal. As far as the paint goes, I just sprayed the chrome part with flat black. No sanding, no primer. Its been a few months now and still looks great! |
|
| Author: | black and blue [ Fri May 13, 2011 10:28 pm ] |
| Post subject: | Re: Blacked out headlight how-to (With Pics!) |
whew, that was tougher than it looked. i got it done, but i think i am going to have to sand the exterior of the lens now. kind of knicked it up a bit. pics soon |
|
| Author: | jdizzle [ Thu Aug 18, 2011 11:23 pm ] |
| Post subject: | Re: Blacked out headlight how-to (With Pics!) |
I REALLY
|
|
| Author: | OG_Toucan [ Fri Aug 19, 2011 12:03 am ] |
| Post subject: | Blacked out headlight how-to (With Pics!) |
Just follow the write up. It's really pretty simple. I haven't dine the KK's yet but I have done many others. Given the size of the KK's lights you may have to bake the lights. Work 'em a bit and reheat. Use gentle force and DON'T try to do it in a day. Remove the lens clean up the extra silicone and paint. Definitely let the paint dry. I typically wIt until the following afternoon to put everything back together. I know the mentioned putting silicone back on as an option but I feel it is required. It will seal the lenses and keep all the crap out. I am planning to do mine once I have my A-pillar light mounts completed. |
|
| Author: | OG_Toucan [ Sun Sep 04, 2011 12:34 am ] |
| Post subject: | Blacked out headlight how-to (With Pics!) |
Started mine today. 300 degrees in the oven for 12 minutes is absolutely perfect! As stated in the write up and as you would expect the assemblies are hot coming out of the oven but separated with very little effort. The paint is drying as we speak and reassembly is scheduled for tomorrow. One thing to note. I have done this before on numerous vehicles, but this is the first one that I have seen with a formed gasket around the headlight assembly. Usually alit of time is spent removing the factory silicone. However in the case as the write up explains if you are carefully it appears as though you can re-use the factory weather stripping. I'm gonna run a bead of clear silicone just to be sure but this was by far one if the easiest lights for disassembly that I have come across. Pictures to cone as soon as I am done. |
|
| Author: | OG_Toucan [ Sun Sep 04, 2011 12:53 pm ] |
| Post subject: | Re: Blacked out headlight how-to (With Pics!) |
All done! One thing to take away from my previous post. There is not a gasket that seals the lens to the assembly. It is like all the other manufactures, just done a lot better, they used black silicone. With this being said you have two options during reassembly. 1) if the lenses seperated with little effort and the majority of the factory seal remained in tact you can just trim it for the reapplication of the lens, then apply a bead of silicone around the perimeter paying particular attention to the spots that you had to trim. The press the lens into place. or 2) (I prefer this method, though it is more work) continuosly bake the lense as discribed earlier and remove all of the factory silicone. Then when you are ready for reassembly run a thick, sealing bead of new silicone around the main assembly then press the lense into place.  
|
|
| Author: | chris_22 [ Sun Sep 04, 2011 5:12 pm ] |
| Post subject: | Re: Blacked out headlight how-to (With Pics!) |
looks so awesome, i definitely want this on my kk. I'm all blacked out, and the chrome headlights are such an eye sore sometimes. |
|
| Author: | giles08KK [ Mon Sep 05, 2011 1:00 am ] |
| Post subject: | Re: Blacked out headlight how-to (With Pics!) |
thanks for the how-to. went with the blue instead of black, i think it turned out alright... before: 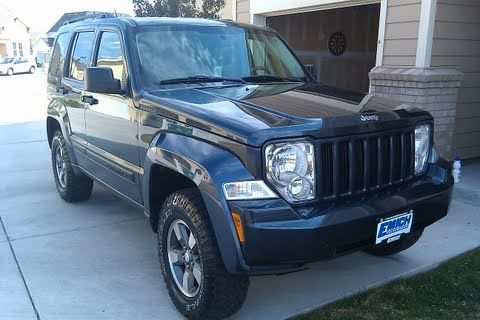 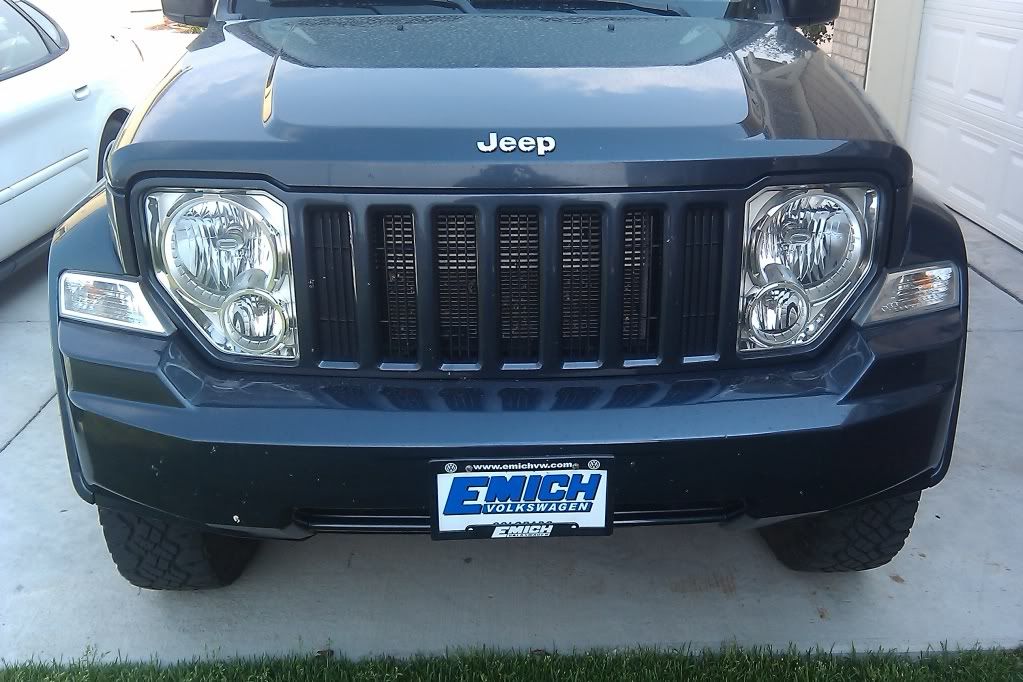 after: 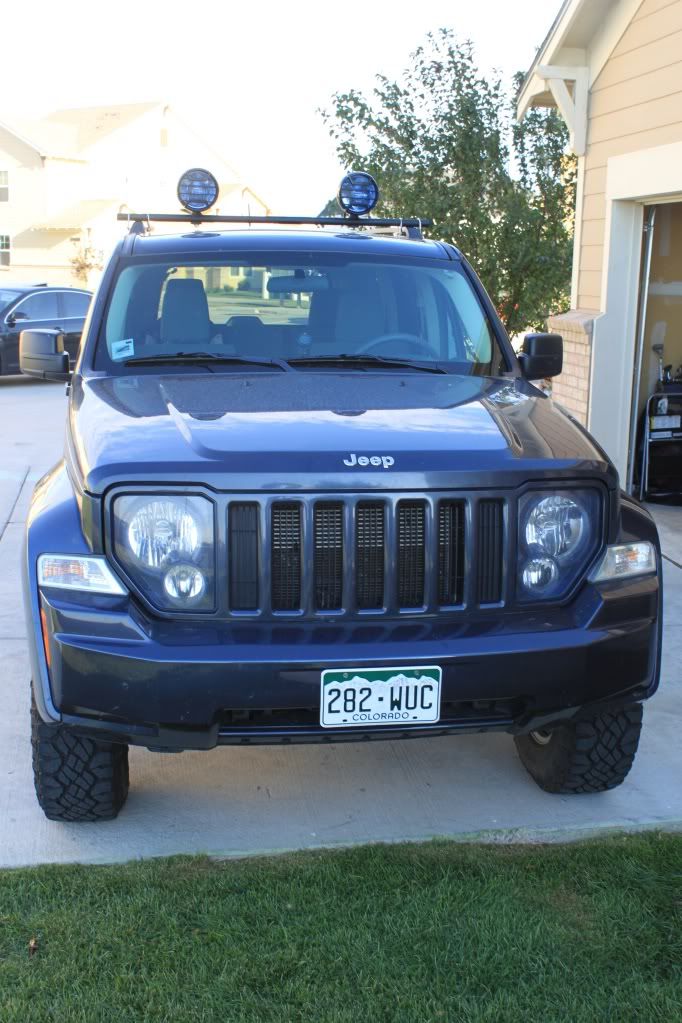
|
|
| Author: | black and blue [ Mon Sep 05, 2011 5:48 pm ] |
| Post subject: | Re: Blacked out headlight how-to (With Pics!) |
OG_Toucan wrote: looks great. did you do a little something extra to the fogs? they look really dark. |
|
| Author: | OG_Toucan [ Mon Sep 05, 2011 5:53 pm ] |
| Post subject: | Blacked out headlight how-to (With Pics!) |
Thanks! And No, I've got the basic basic sport model. So no fog lights equipped. |
|
| Author: | Speeder [ Mon Sep 05, 2011 10:35 pm ] |
| Post subject: | Re: Blacked out headlight how-to (With Pics!) |
OG_Toucan that look awesome black and red always looks good... |
|
| Author: | OG_Toucan [ Mon Sep 05, 2011 10:46 pm ] |
| Post subject: | Blacked out headlight how-to (With Pics!) |
Thanks! I'm pretty happy with it. |
|
| Author: | gtommec [ Mon Sep 05, 2011 10:51 pm ] |
| Post subject: | Re: Blacked out headlight how-to (With Pics!) |
These all look good, but Toucan yours really is sharp! |
|
| Author: | OG_Toucan [ Tue Sep 06, 2011 11:46 am ] |
| Post subject: | Blacked out headlight how-to (With Pics!) |
Thank you! |
|
| Author: | torpedone [ Tue Sep 06, 2011 5:05 pm ] |
| Post subject: | Re: Blacked out headlight how-to (With Pics!) |
Hi, I'm interested this mod... I would try to paint my headlights. my question about reassemble step: do you need to bake the parts again before reassemble them with silicone? |
|
| Author: | OG_Toucan [ Tue Sep 06, 2011 5:17 pm ] |
| Post subject: | Blacked out headlight how-to (With Pics!) |
You would only need to bake them again if you are going to try and reuse the factory silicone. If you have removed all of the factory stuff then you will just need to apply a bead of your own and reassemble. |
|
| Author: | torpedone [ Wed Sep 07, 2011 1:38 pm ] |
| Post subject: | Re: Blacked out headlight how-to (With Pics!) |
Many thanks Toucan |
|
| Author: | torpedone [ Thu Sep 08, 2011 4:24 am ] |
| Post subject: | Re: Blacked out headlight how-to (With Pics!) |
OG_Toucan wrote: 300 degrees in the oven for 12 minutes is absolutely perfect! I'm planing the mod (probably) next week, so I've new question about temperature: 300 degrees, it's Fahrenheit degrees? Right? For me it's about 150° Celsius. |
|
| Author: | giles08KK [ Thu Sep 08, 2011 9:37 am ] |
| Post subject: | Re: Blacked out headlight how-to (With Pics!) |
torpedone wrote: OG_Toucan wrote: 300 degrees in the oven for 12 minutes is absolutely perfect! I'm planing the mod (probably) next week, so I've new question about temperature: 300 degrees, it's Fahrenheit degrees? Right? For me it's about 150° Celsius. Yes, 300° Fahrenheit. Wear gloves, those lights get HOT! And use aluminum foil so you don't melt the plastic. Good luck with the mod, its worth the time and effort. |
|
| Author: | torpedone [ Thu Sep 08, 2011 11:18 am ] |
| Post subject: | Re: Blacked out headlight how-to (With Pics!) |
Ok... thanks again. Last question (I hope many thanks |
|
| Page 2 of 9 | All times are UTC - 5 hours [ DST ] |
| Powered by phpBB © 2000, 2002, 2005, 2007 phpBB Group http://www.phpbb.com/ |
|