I'll add my write here as well as my build.
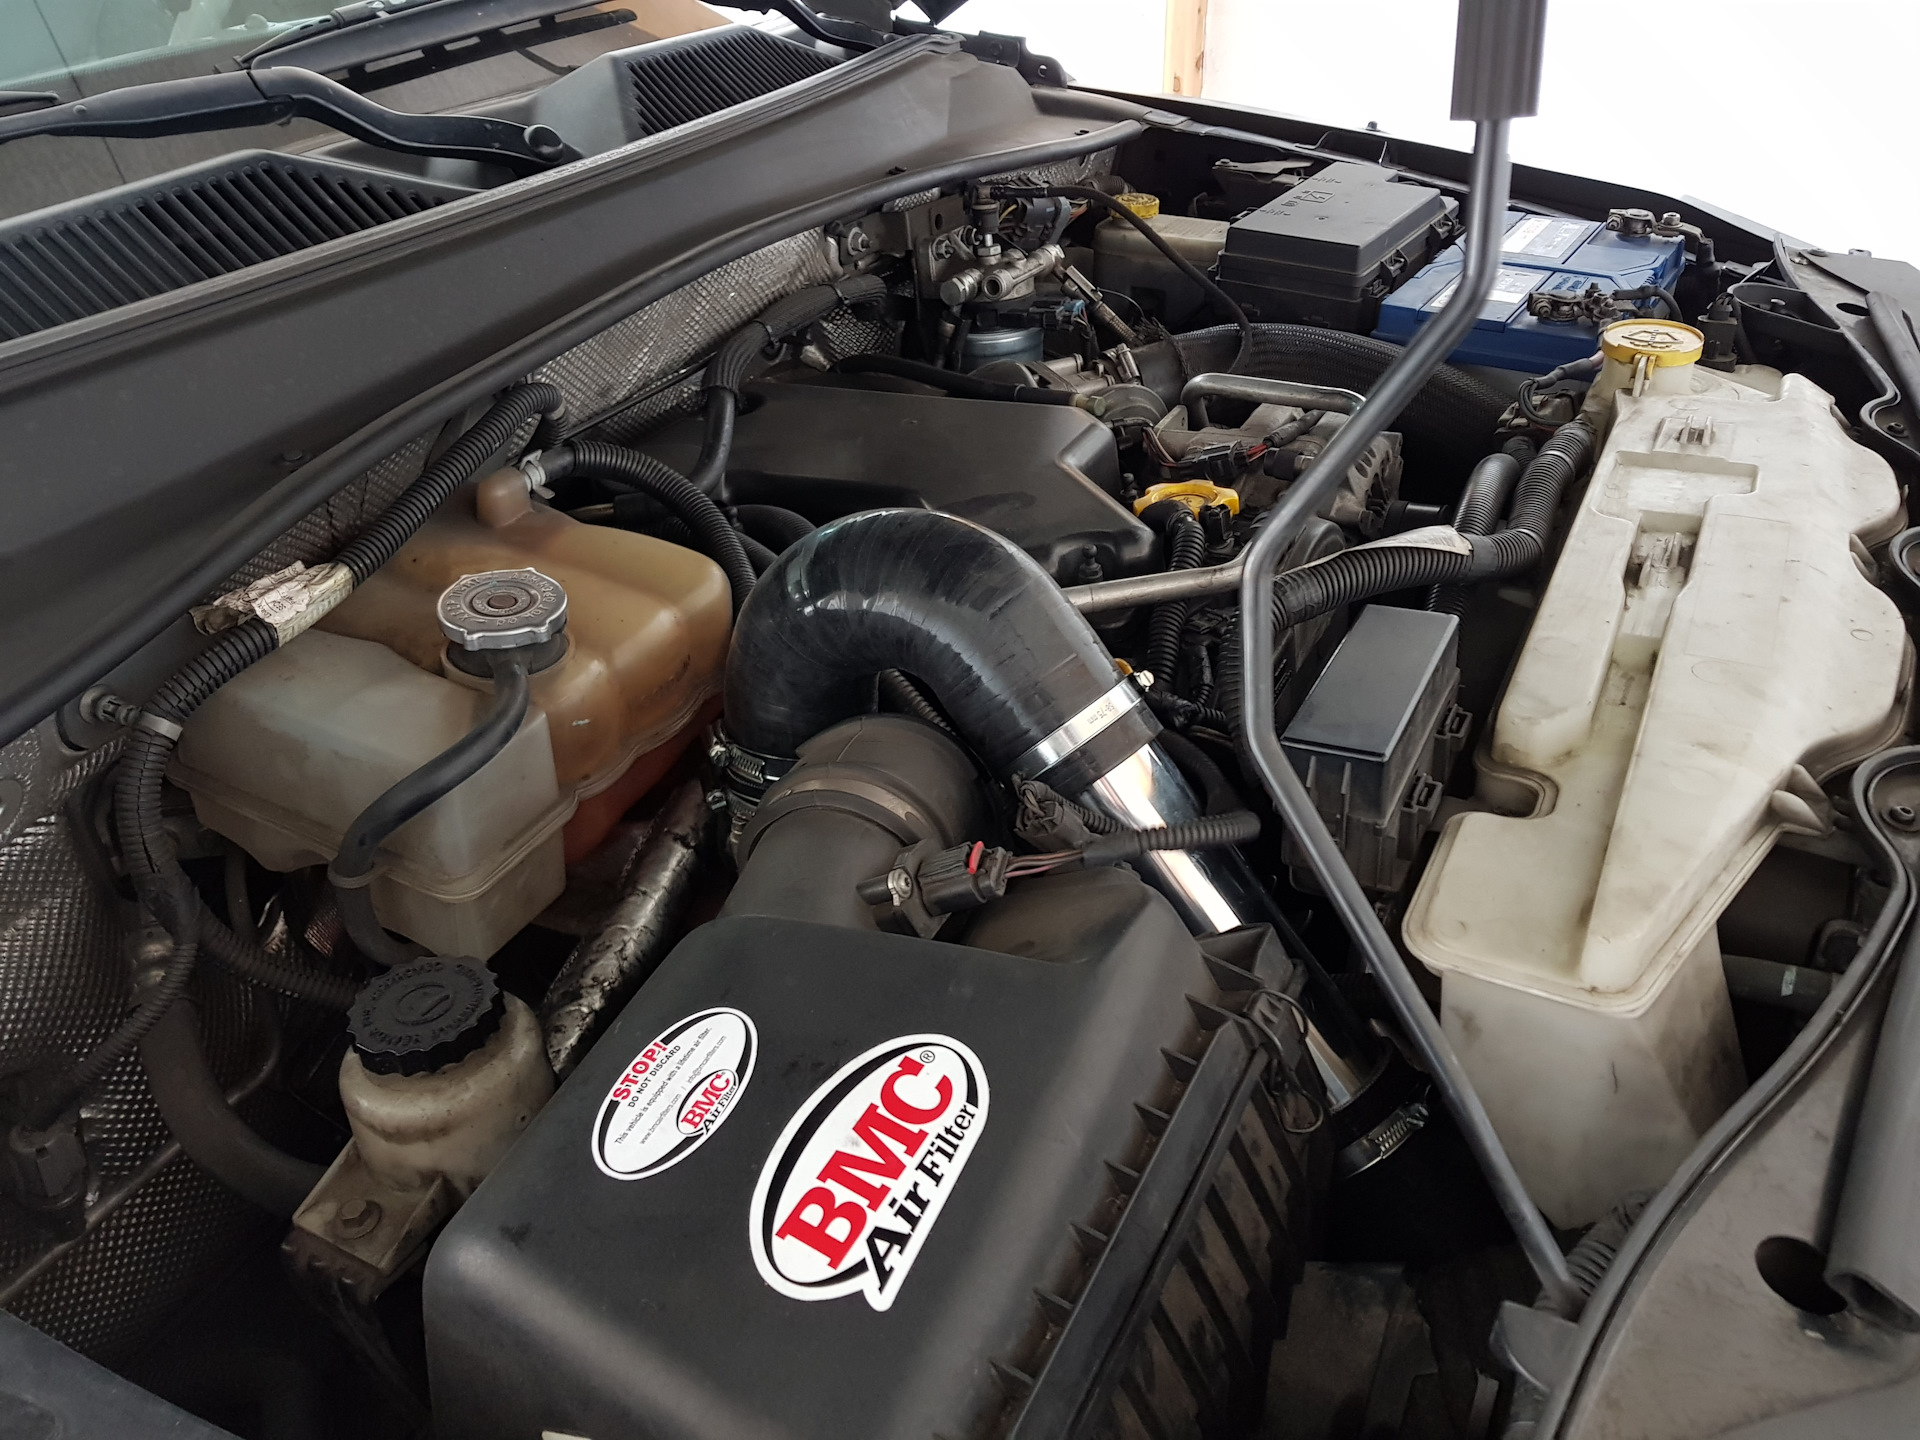
The stock lights are pretty bad on the KK. With the plastic lenses, I couldn't run the 145/100W bulbs like my XJ, as would melt them! So thought I would give LED replacement bulbs a try. The Australian and European versions of the Jeep have H4 bulbs with a high and low in one.
https://www.stedi.com.au/led-headlight-conversion-daytime-running-lights-drl/led-headlight-conversion-kits.html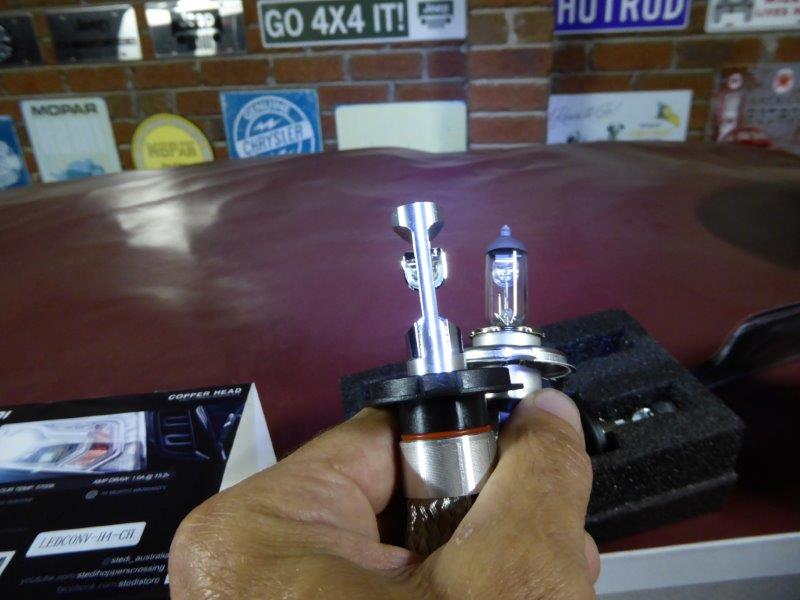
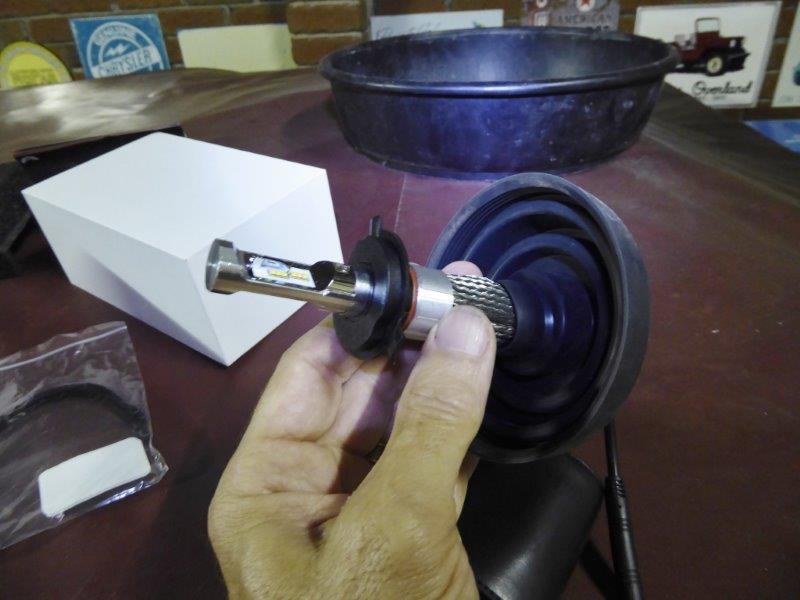
I did a lot of research into picking the right design and a polished solid billet stem with the hooded top set of LEDs to mimic the stock bulbs was best. Learnt a lot after watching this for which type of designs to look out for.
https://www.youtube.com/watch?v=DeaDrH0gXZk and this one, although over a year old now.
https://www.youtube.com/watch?v=SQF5ESBHLrw If you have the extra cash to spend the GTR Lighting Gen 3 Ultra seems to be the way to go and can see the similar design and LEDs used..
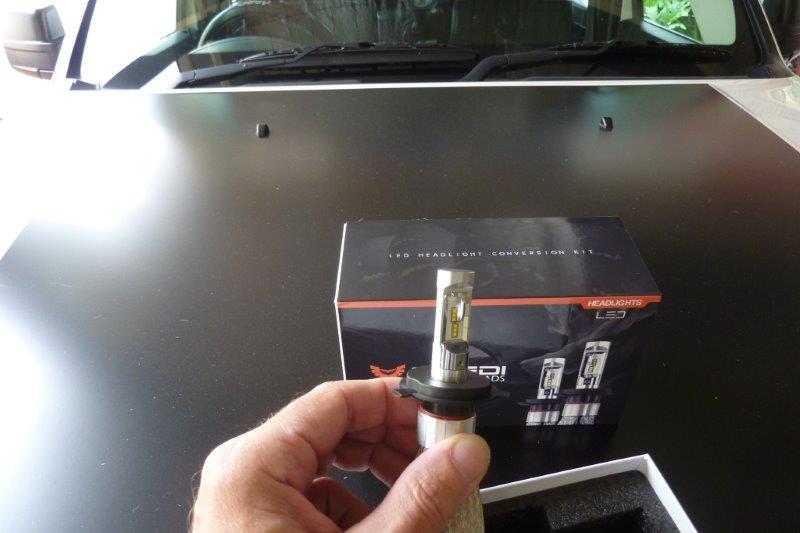
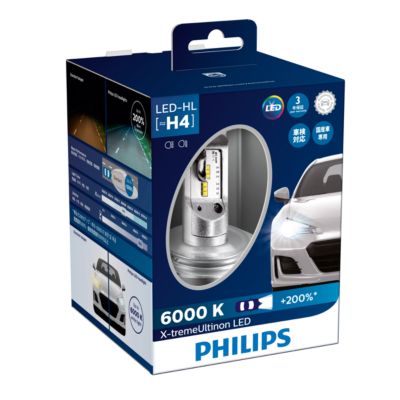
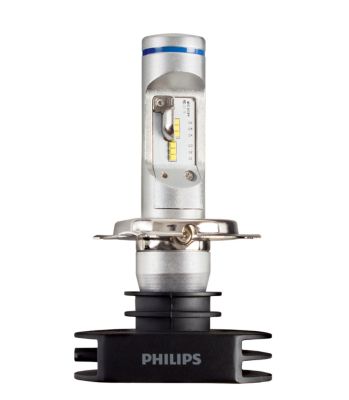
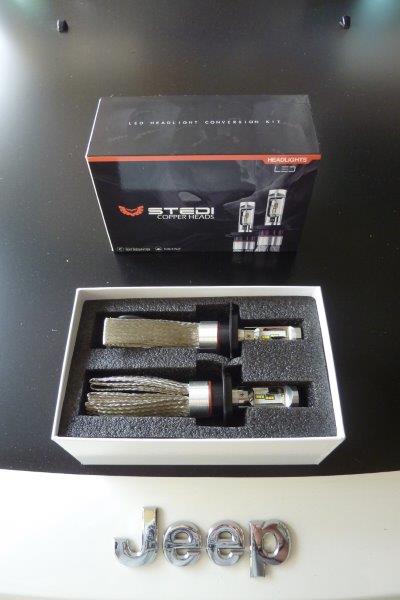
These run three hooded for high beam and three hooded for low beam on each side giving a total of 12 LEDs per bulb. They are 5700K to give a clean white light at over 200% more lumens than stock light per bulb. See all the specs here.
https://www.stedi.com.au/copper-head-h4-led-head-light-conversion-kit.html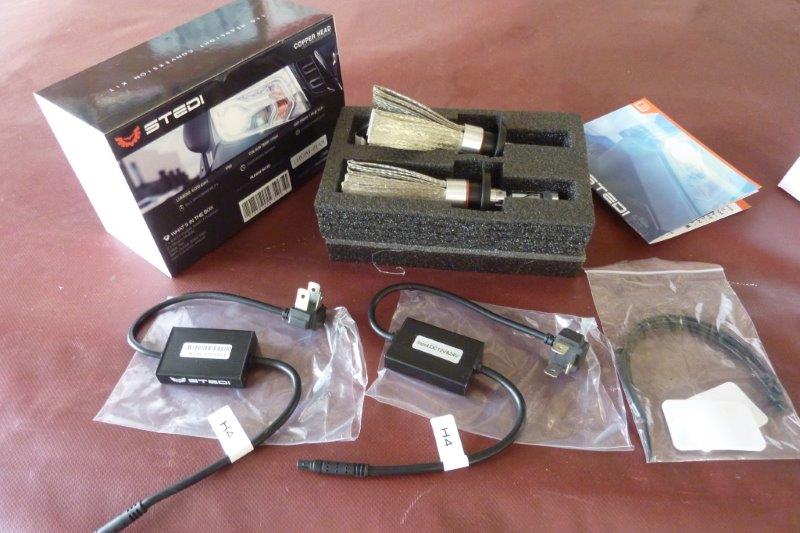
Kit comes with 2 LED bulbs and 2 drivers. Some cars need an extra module to stop the warning light as the CANBUS detects low draw. Just pull the plug off one headlight before ordering and see if a warning comes up. If it does a resister type module is needed to simulate a higher draw. If the LEDs flicker once installed you need a capacitor type module. Usually only a problem if you have DRL lights that run the headlights at a lower voltage by pulsing the power to drop the voltage. I didn't need anything else for this installation.
Did a quick test before installing them to make sure there was no flickering or warning light coming up.
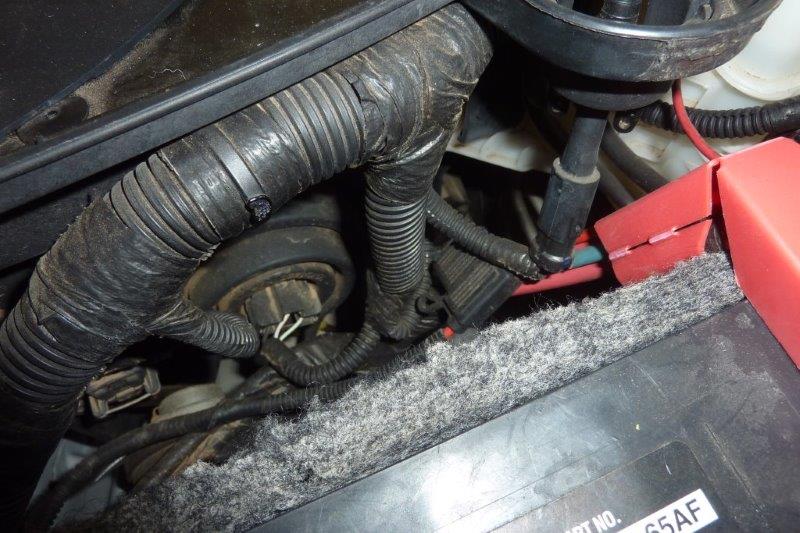
On my version with the H4 bulbs/globes, it is just a matter of pressing the tags on the sides of the plug and pulling the plug off. Then the rubber boot pulls off as well. On the US versions you have to twist a plastic cap to get to the plug.
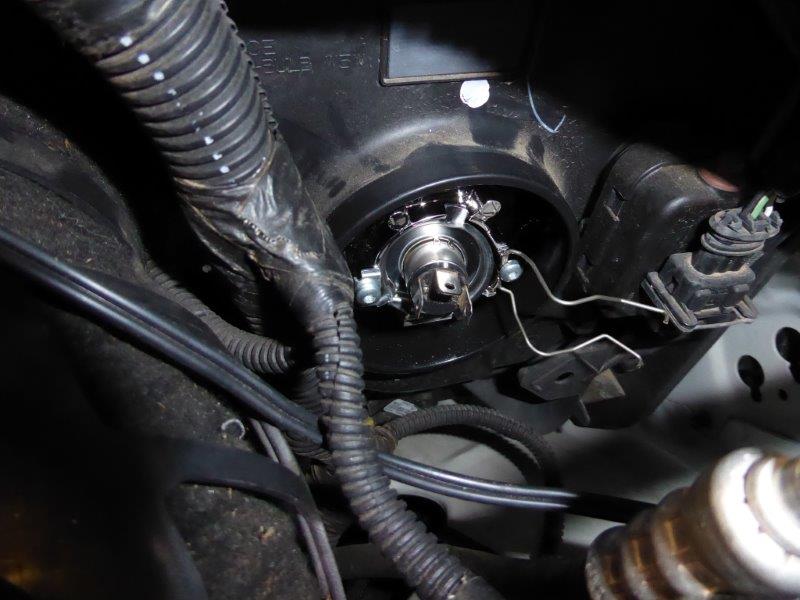
Release the two springs that hold the bulb in place from the metal clip on the left side. Bulb will now come straight out.
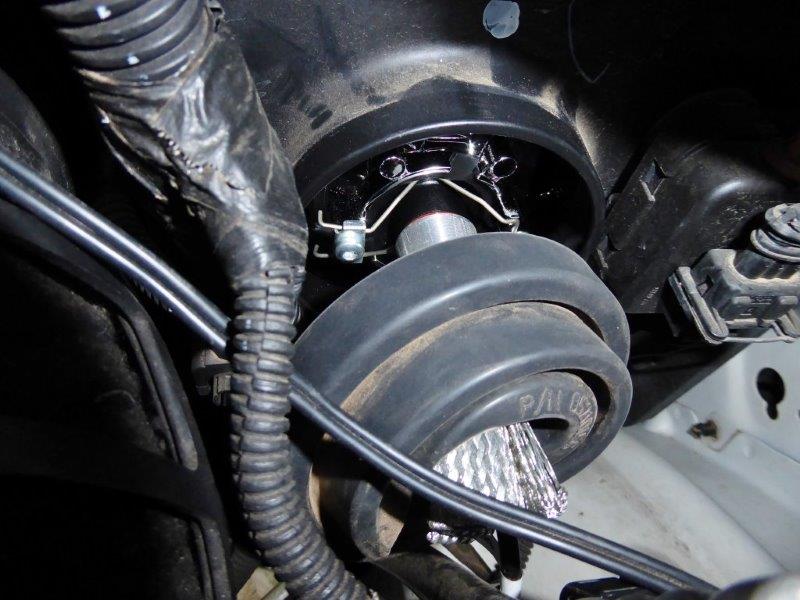
I pushed through the wire and braided heat sinks through the boot, just part of the way to leave enough room to for the holding clips next.
Put the bulb back in and the clips as well.
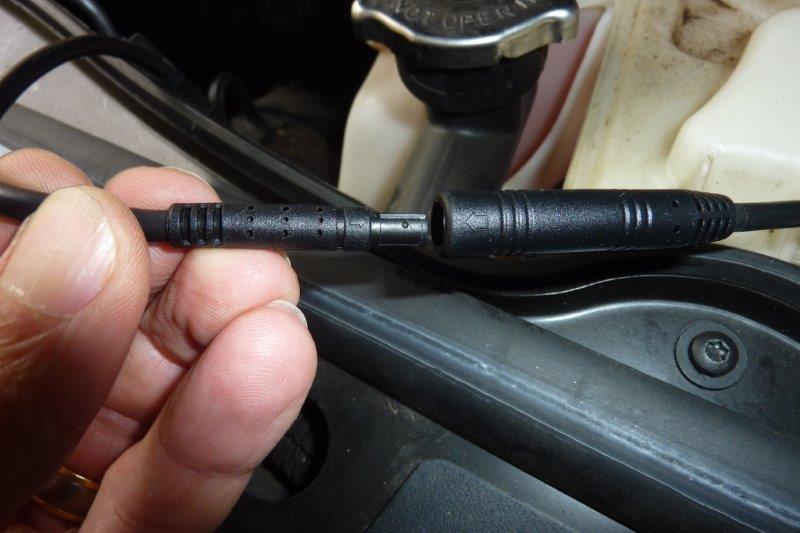
The wire from the bulbs plug straight into one end of the driver. Make sure you match up the arrows. The other end of the driver cable just plugs into the Jeep's headlight plug and that is all there is to it!

I used the provided cable ties to hold the driver in place on the harness. The braids also need to be fanned out to dissipate the heat.
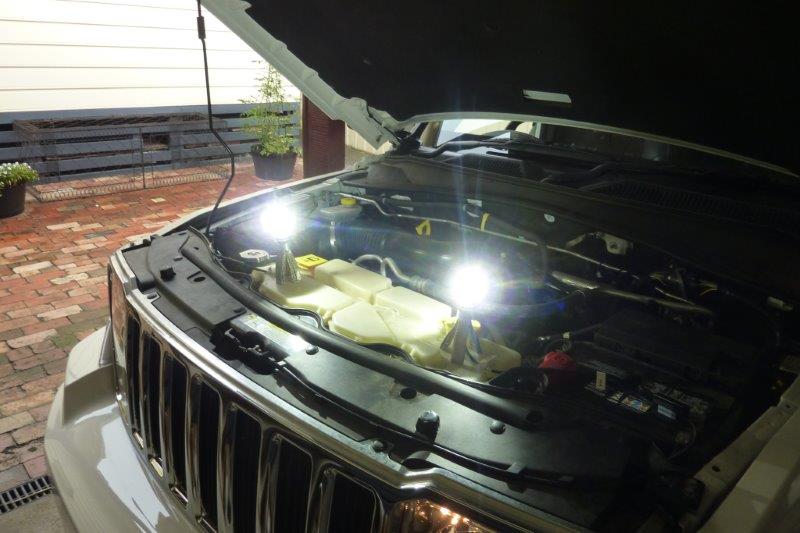
Left side halogen and right side LED, low beam.
Left side halogen and right side LED, high beam.
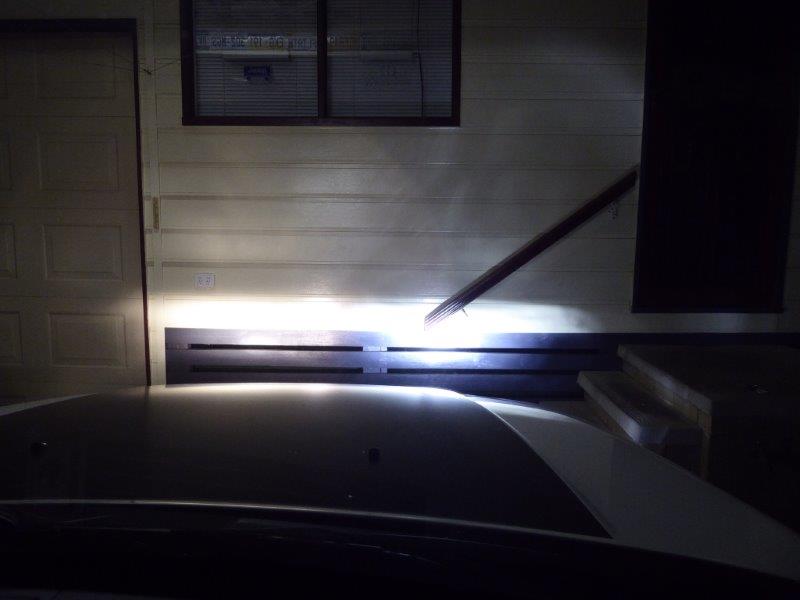
Low beam halogen from about 6 meters or 20' away. Notice the stray light stock above the base boards. Any brighter lights are only going to make that worse I'm afraid.
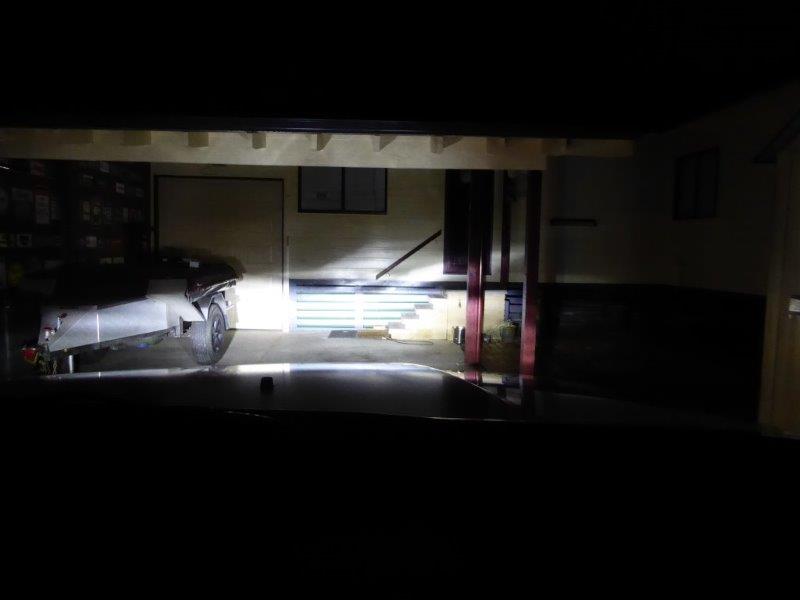
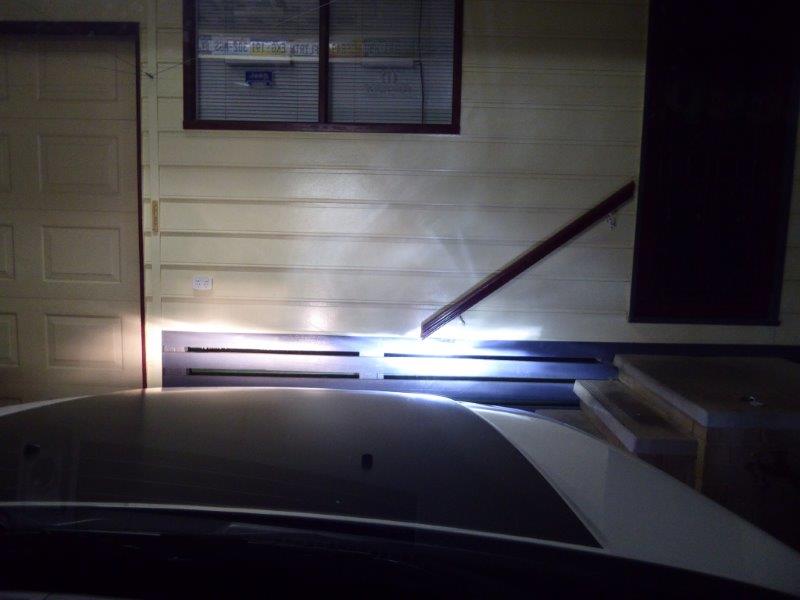
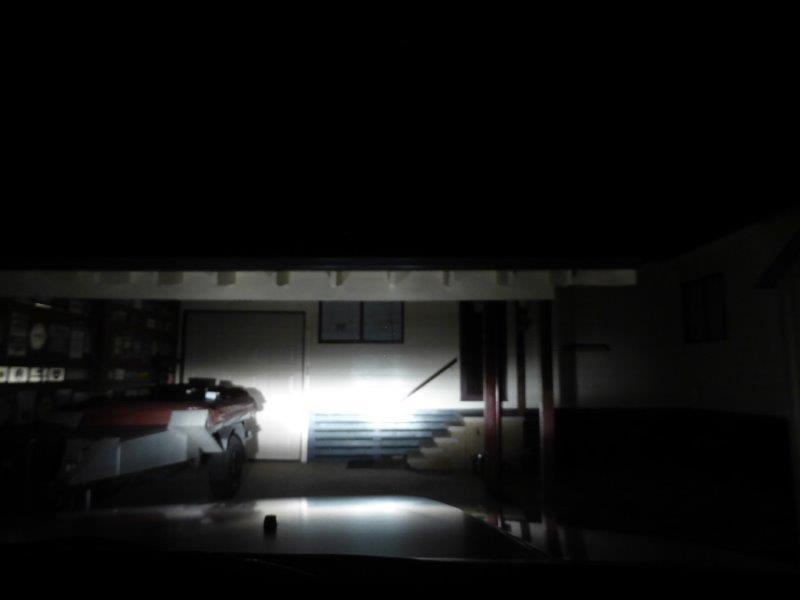
Low beam LED. It does show up the stray light more that was also there with the halogen bulbs. Looks a lot worse in this photo than it really is though and the stray light is less than a cheap torch.
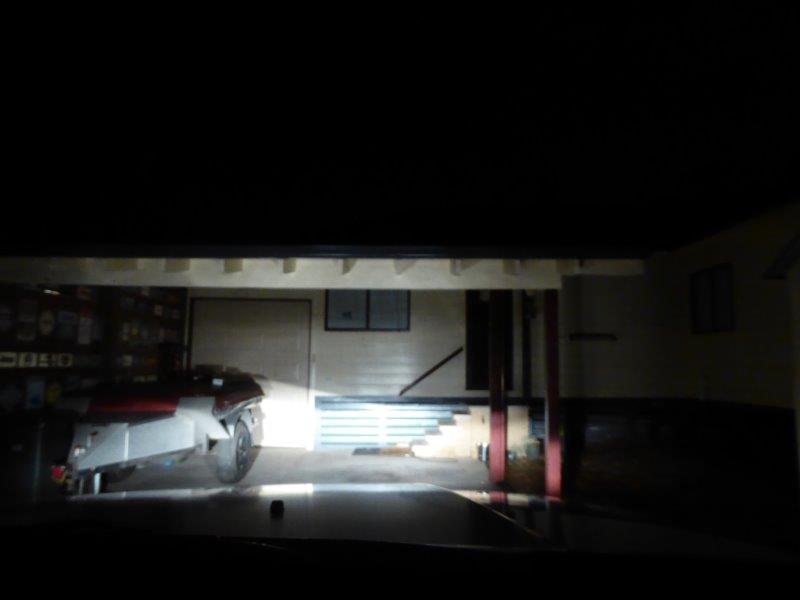
High beam halogen.
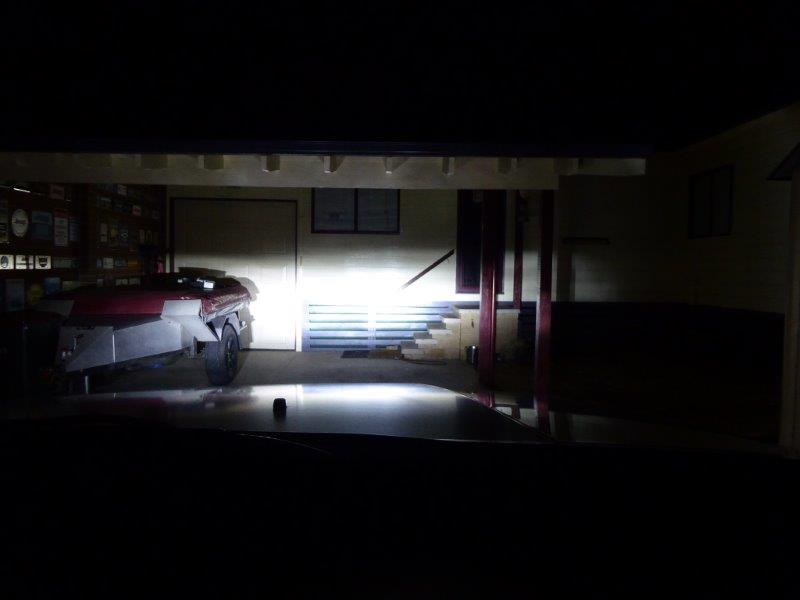
High beam LED.
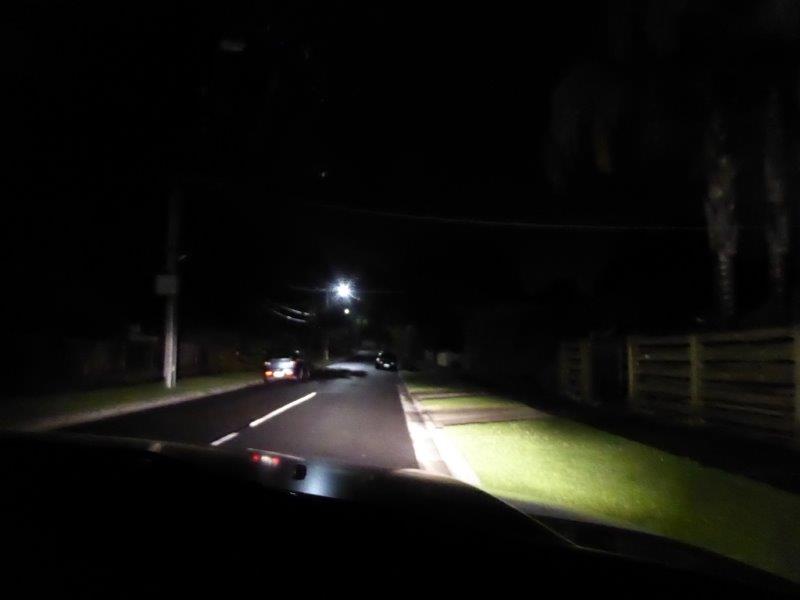
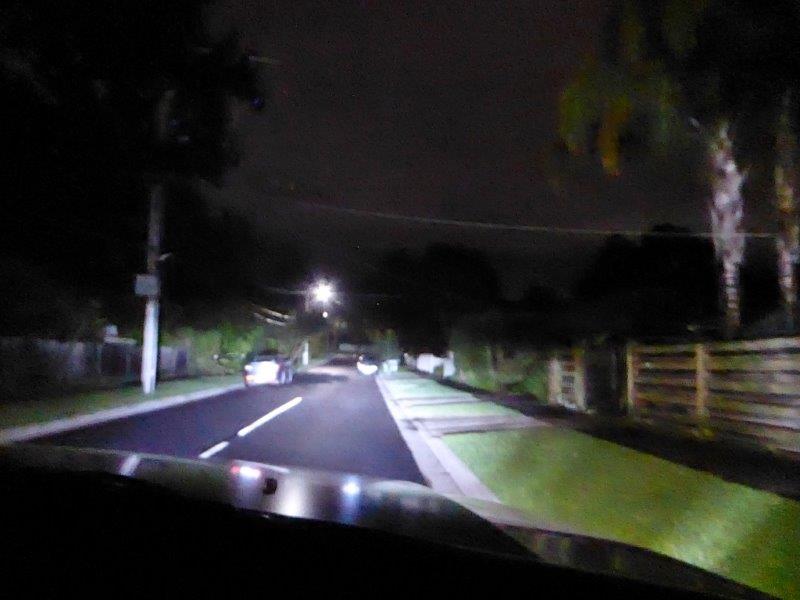
Low beam halogens. Notice the yellow shade. Have to apologise for the street photos as forgot to set the camera to glass through, so the focus is not good. It was nearly 1 am, so didn't feel like shooting them all again!
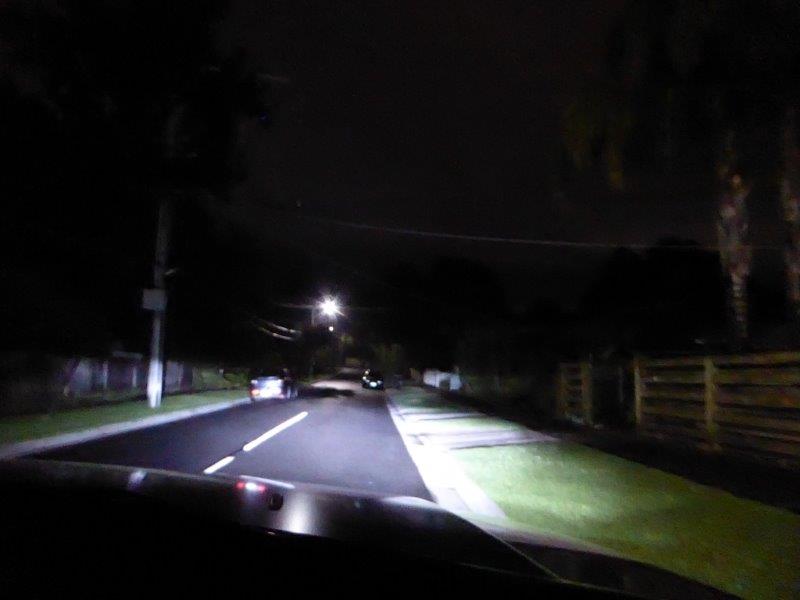
Low beam LED. Much whiter and brighter light.
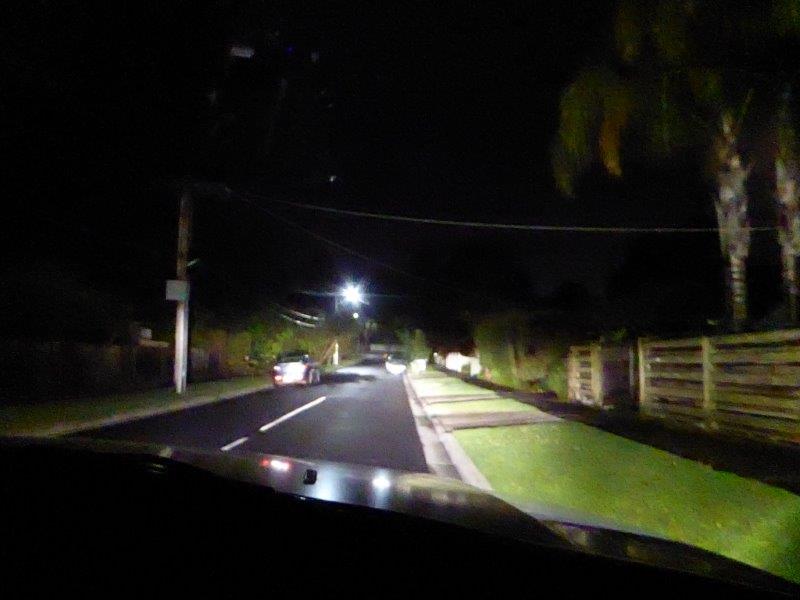
High beam halogens.
High beam LED.
_________________
Marcus
To try where there is little hope, is to risk failure.
Not to try at all, is to guarantee it!
http://willyshotrod.com ____| \______\
|/¯\ |¯ |--O||||O
()_)-o-)¯¯()_)-o-)_)