Link to the document with the walkthrough, including pictures:
https://onedrive.live.com/redir?resid=E ... ile%2cdocxThanks to Papaindigo.
Hey Guys,
I had some funny noises right from the steering wheel area, and I started to research what is going on. It sounded like a relay that was going on/off, but very irregular. With acceleration, the noise dissapeared. Since I had the engine mounts already, I said to myself why wouldn't I spend my Sunday under the jeep?

So, this is a mini-walkthrough on how I did the replacement.
1. Prerequisites
Required tools: All we need is Metric sockets some breaker bar and extensions
- metric 15 for the shield(s) – engine and/or transmission
- metric 18 (deep and regular) for the engine mount nuts
- at least 2 ft of 1/2 in extension
- 1/2 flex joint
- ratchets and breaking bars.
- some pb blaster can help loosen up the nuts.

2. Removal & Installation
Lift the jeep on jack stands as high as possible. I did not have access to a shop so I had to do this on the floor of my garage, and honestly, as much space you have under the jeep, as easier is to work.
Proceed with removing the Engine shield and/or transmission shield. Transmission shield (if equipped) must be removed to allow more space for the tools and removal of the driver side mount. So unbolt the 4 bolts from engine skid, remove it then loosen up the transmission skid plate bolts from the transmission crossbar. Do not remove them, only loosen them up since the tranny skid will slide to the rear and come out.
Once the skids are out, proceed to one of the mounts, I started with the Driver side since I’ve heard from people it is the hardest to take out. To be honest, it is not much harder than the passenger side (the one with the heat shield), the difficulty in removing it is due to lack of access. You can squeeze the metric 18 regular socket (the deep is too big) with a flex joint and extension through in between the axle and jeep chassis:

I loosened up both sides while under the car, but only remove one (this case driver side) nut, since we need the passenger side mount secured to the engine and chassis till we change the driver side, to make sure the engine will not move left or right while mounts are removed.
Once the lower nut is removed, proceed to the upper driver mount nut. Here we need a deep socket metric 18, since a regular one won’t reach the nut due to the length of the bolt the mount has. BTW, can’t find a reason why they made those bolts so long, it doesn’t make any sense… Mount the deep socked on a flex joint and use at least a 2 ft extension and make your way to the driver mount upper bolt:


Once the top nut gets loosen up and moves to the top of the mount bolt, you will have to pull out the deep socket and replace it with the regular metric 18 socket, since (at least in my case) the deep socket is too tall and touches the FCV body.
Once both nuts are out, get a small piece of wood (I had a leftover from a 2x4), put that under the engine’s oil pan, then raise the driver side of the vehicle little by little, till the upper bolt of the mount has about 1/4 inch left through the engine mount bracket. As a note, this pic is from raising the passenger side of the engine.

Get under the car, grip the mount and raise it up through the engine mount bracket, then slide the bottom of the mount out and pull down the mount to permanently remove it from the car. Replace it with a new one by inserting the top bolt of the mount through the engine mount bracket, then lower it down on the chassis bracket. Once the new mount is in place, lower the engine back to have it sat on the new mount and place both top and bottom nuts while under the car since it easier. Tighten them and then move to the next, passenger side.
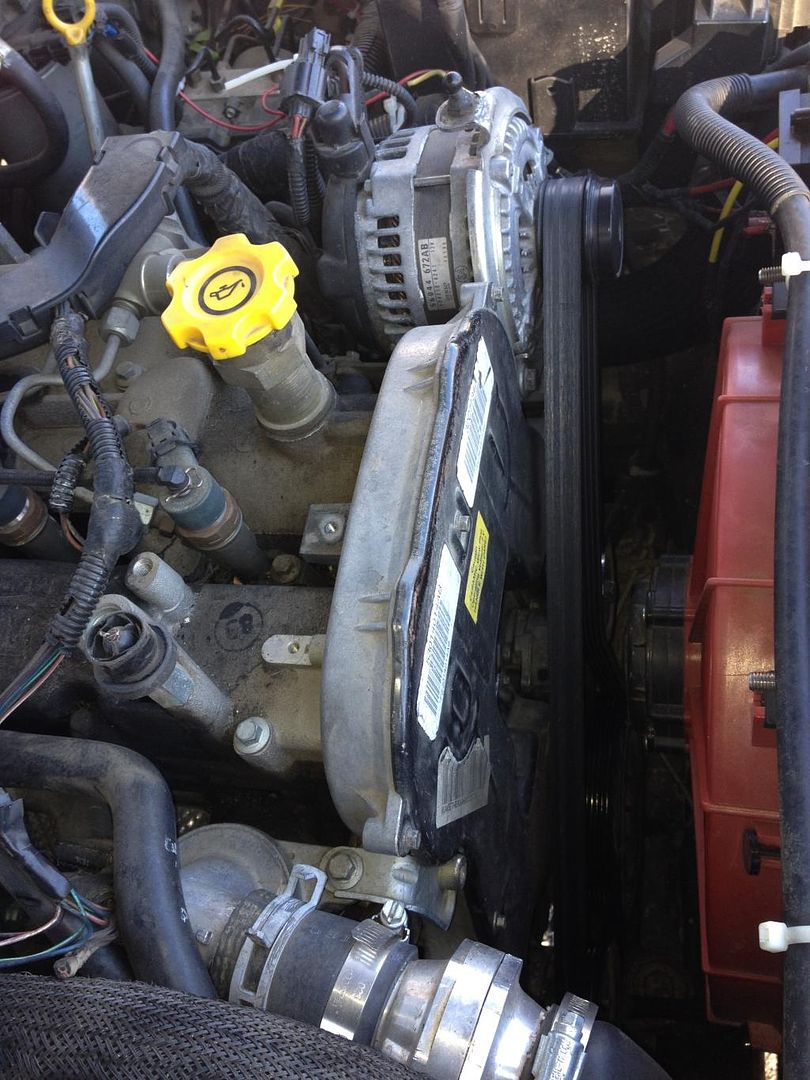
Passenger side is a little easier since the lower nut can be removed without any flex joint. Once the lower nut is out, proceed to the top one. Removing the air filter cover would make everything easier. No need to remove the whole box, just take out the cover and the air filter.


I’d like to highlight the importance of properly seating the socket on the nut, especially when using a flex joint it may not be so easy right away, maybe the nut is dirty, or maybe just a bad day, take your time and properly seat the socket on the nut, so it will untie nice and easy, without rounding the edges. Especially with this cramped space in this car’s under the hood, rounding the edges of the nut can result in few more days of work.
Once the passenger side mount is out, replace it with the new one using a similar approach like for the driver one. I’d like to note something, regarding the passenger mount: You can go away ordering 2 driver side mounts, both passenger and driver mounts are identical, the passenger has a heat shield due to exhaust being nearby. Now, in my opinion it is not worth to get 2 driver side mounts to save few bucks, I also ordered 2 driver mounts and had to remove the heat shield from the existing, old passenger side to one of the new driver mounts. Honestly, it is not worth the hassle. The head shield is somehow “stamped” on the engine mount upper bolt, and it won’t come out easy. It is doable, but not worth the wasted time, at least if I had to do it again, I would just get the passenger side as new.

This picture has the heat shield on the new mount, and I ended up using a 1/2 washer to replace the “factory” one that somehow was cracked (and not by me for sure). You can see the factory washer on the top of the upper bolt. The new 1/2 washer would definitely resist better than original.
Overall, this is easy a couple hours job, if you know what to do from the beginning. It took me I think about 4, because every time I end up under the jeep, I start looking at this and that and I zone out for few minutes thinking what else needs attention.
If you have any suggestions to the process, please let me know, so I can edit this post and update it accordingly.


 I sure hope so, it will be replacing the old 4runner, so I hope to make it as reliable.