UPDATE: DONT BUY A KENNEDY OR ANY OTHER NON SELF-PRIMING LIFT PUMP! I'm kicking myself! Read entire thread for details. The following is my misguided original post:
My Kennedy install in pics. Obviously, you can zoom-in to view detail:
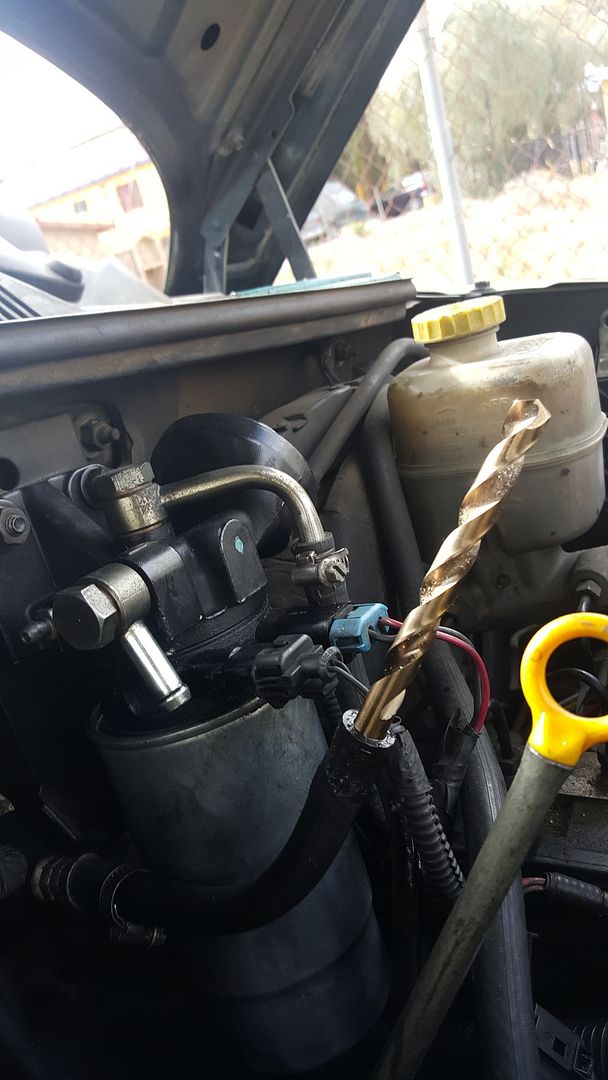
Before you touch rear fuel-lines, remove and cap (I prefer clean drill-bit shanks) supply at the fuel-head; this nearly eliminates fuel-spillage when you remove the rear line ("finger-over-a-straw").
Remove the 3 screws securng the cap-housing to permit lowering the fuel tank:

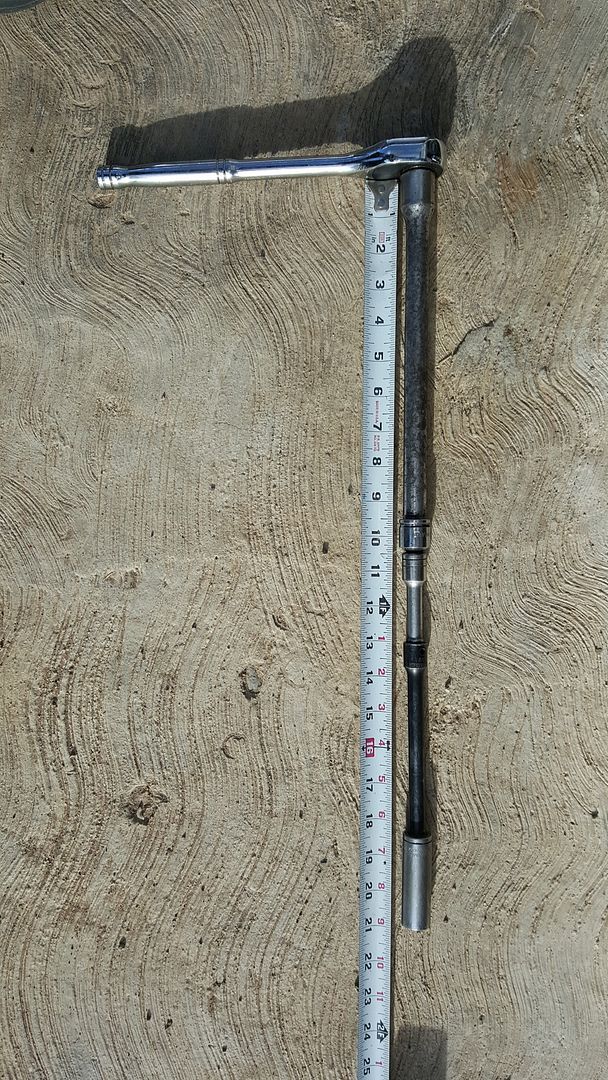
Socket extensions required for easing removal of the 2 forward fuel-tank strap-bolts(15mm?):
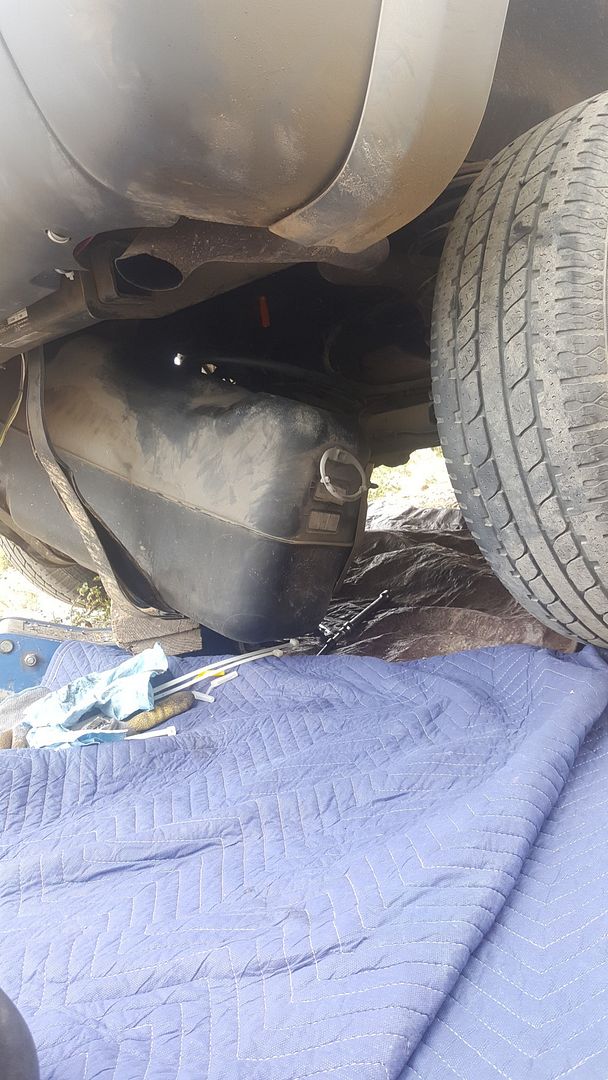
Tank lowered to right, providing excellent top-access (floor-jack obscured by blanket):
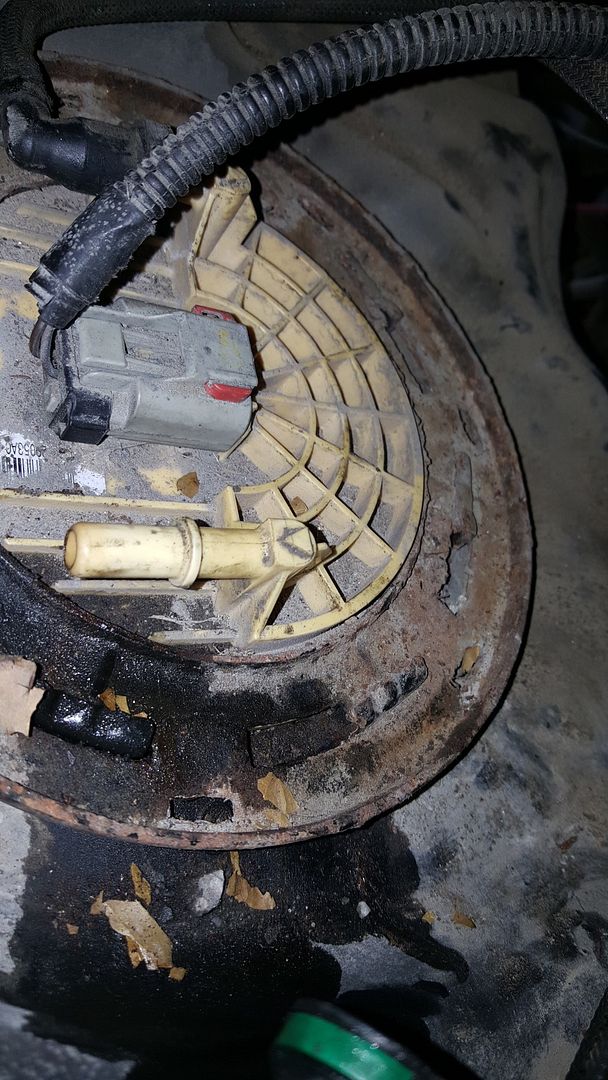
Green push-tab to remove OEM tank-top fuel-fitting (obviously, connector is off-vehicle in pic):

Yellow push-tab at other-end of OEM fuel-line:

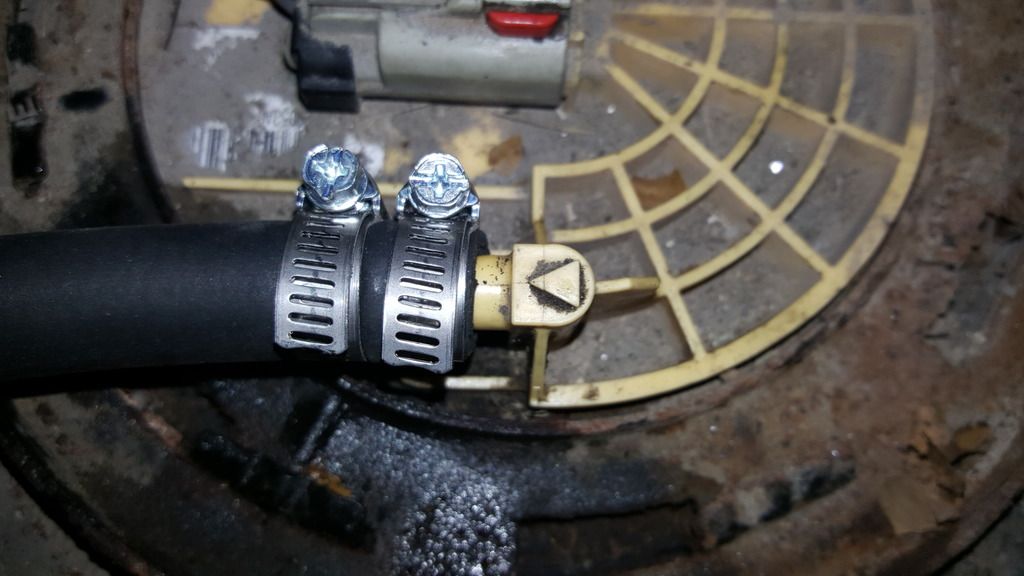
Fuel-supply fitting at tank (OEM fuel-line removed),l; it's the LARGEST line (right-side, mine). Notice SINGLE hose barb; you may need to heat the end of your new hose to get it to slide over the barb:
Double-clamp new hose, one on each side of the barb:
To reduce possibility of damage, I located my Kennedy between the tank and rear diff, on this relatively-protected horizontal frame tube (in pic, tank lowered). The frame-tube is 1 15/16" wide:
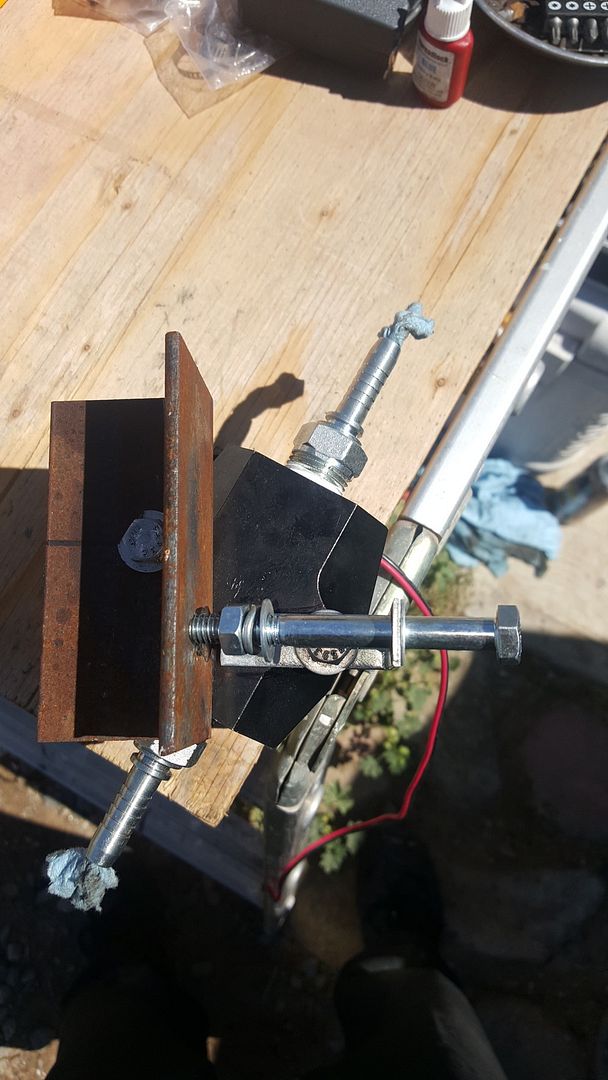
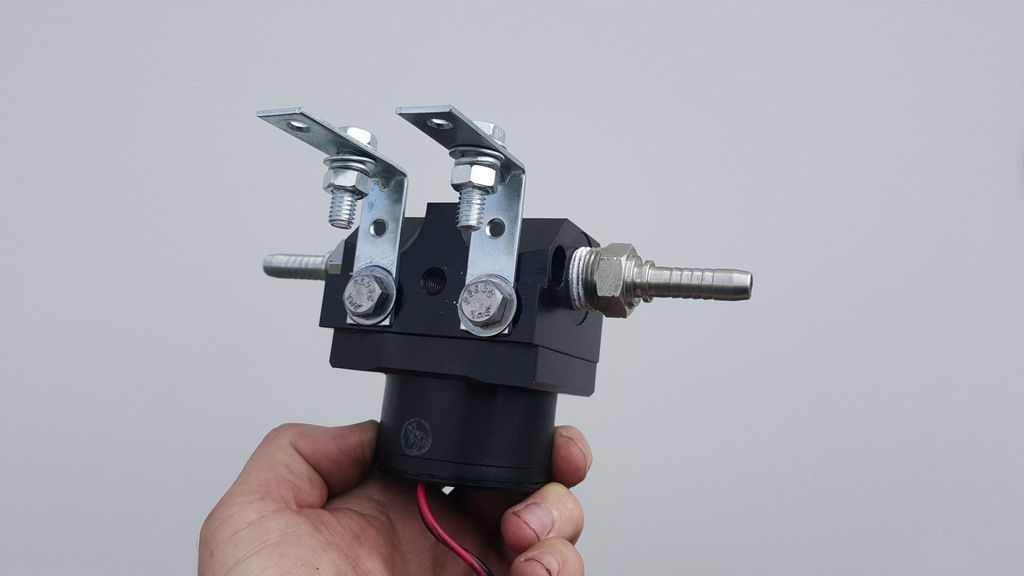
This also permitted me to design a single-bolt mounting system (using an L-bracket and a piece of angle-iron) for easier Kennedy R&R (hopefully, never). To obtain the best fuel-line orientation, I installed the mounting brackets at an angle on top of the Kennedy (as pictured). Establishing and implementing that angle takes TIME (I suppose you could duplicate angle from pic). Also note pieces of clean towel inserted in Kennedy's hose-barbs to prevent contamination during design and install (use teflon-tape when installing hose-barbs on Kennedy).
If available, use all grade-8 hardware (here, pedaling for parts, not practical). The Kennedy's 2 included mounting-bolts tend to cross-thread; if you've got them started correctly there should be no resistance whatsoever when turning.
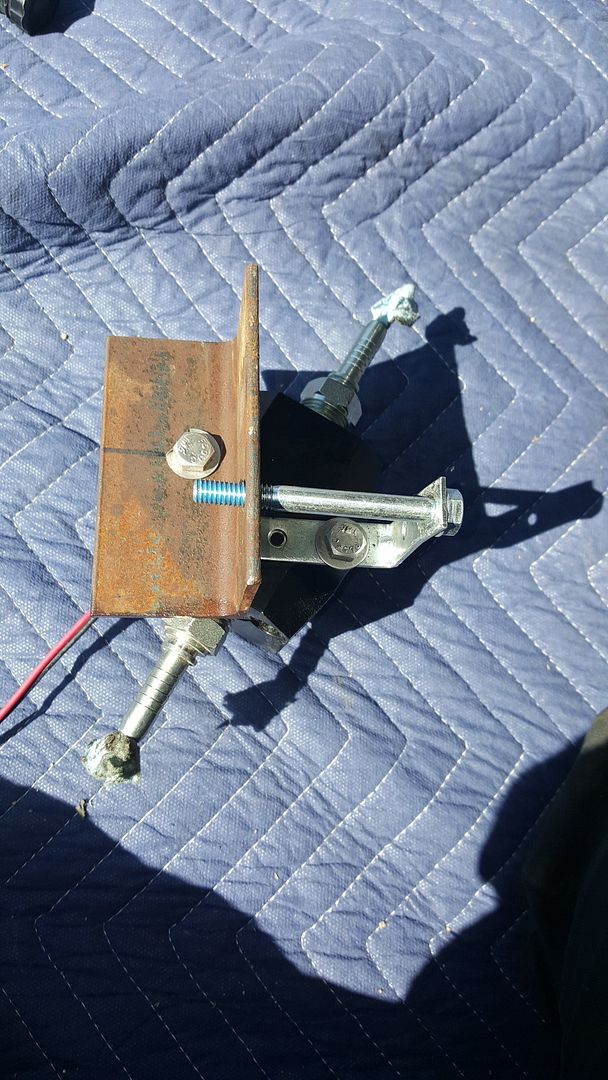
USE BLUE THREAD-LOCKER ON EVERYTHING.:
TOP-VIEW, before drilling angle-iron:
Top View, after drilling angle-iron:
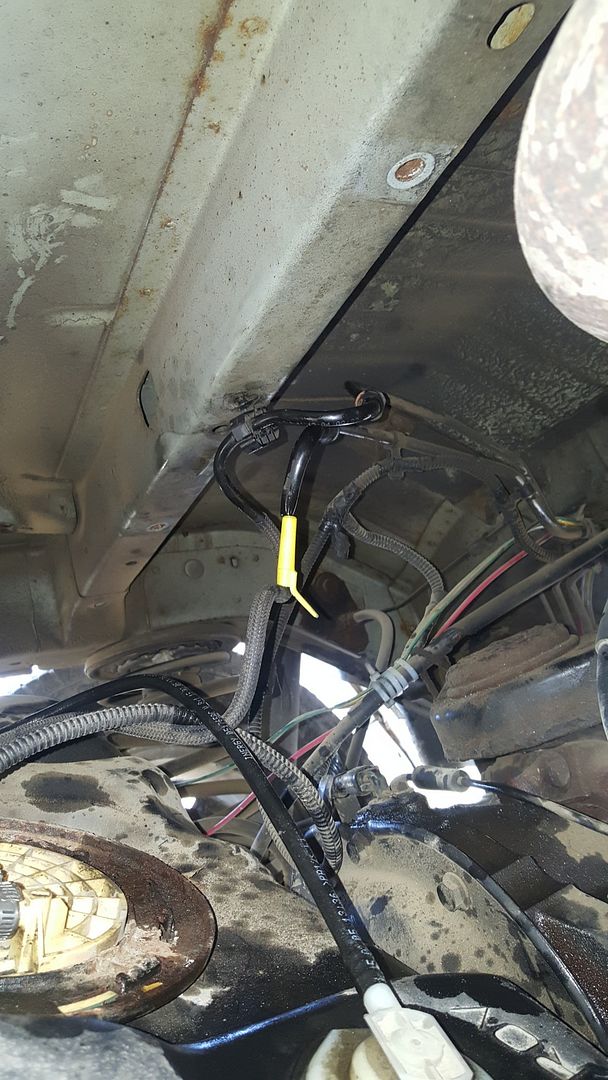
Kennedy, installed.
Gorilla-tape wrapped any potential chaffing points. Shrink-wrapped Kennedy wiring past floor-grommet. Zip-tied where logical:

I REJECTED a through-floor location so I wouldn't have to cut the stock METAL line for installation of new fuel line. That approach provides the added assurance of sliding/clamping the new line over OEM "barbs" at BOTH ends.
However, if that's your preferred mounting location, fine. Here's a simple bracket-setup option for through-floor alternative.
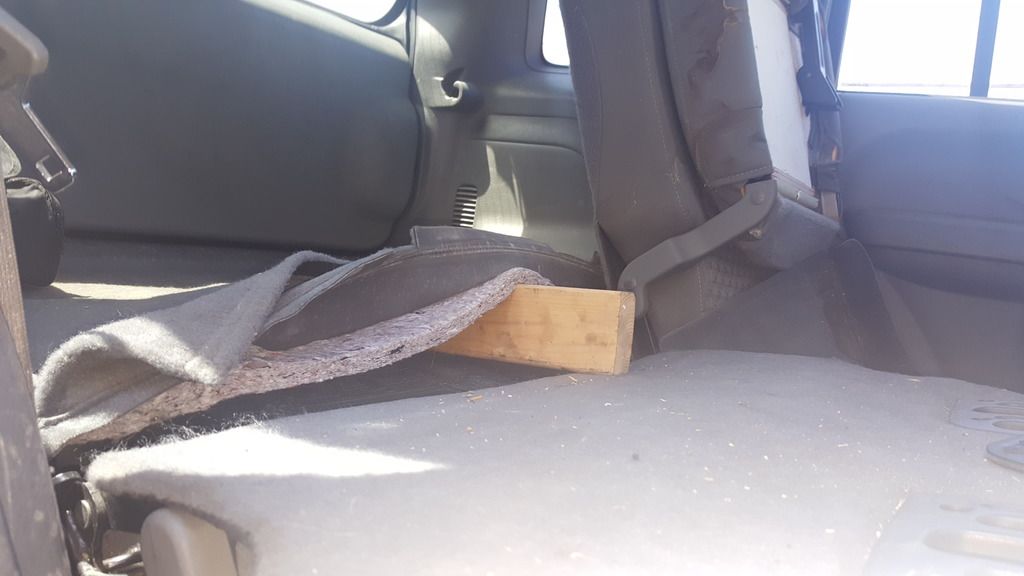
If you elect to mount your Kennedy vertically through the back-deck (my initial intention), to reduce the possibility of carpet-damage when you mark and drill your bolt-holes from under-vehicle, slide a 2x4 (or firewood, etc) under the rear-deck's carpet; if your drill-bit hits scrap-wood, no worries:
Here in Baja, I did battle with these rat-bastard bugs crawling all over me on the concrete pad. It didn't help that they look like the bugs from Star Trek that eat through your eardrum and latch onto your brain-stem...
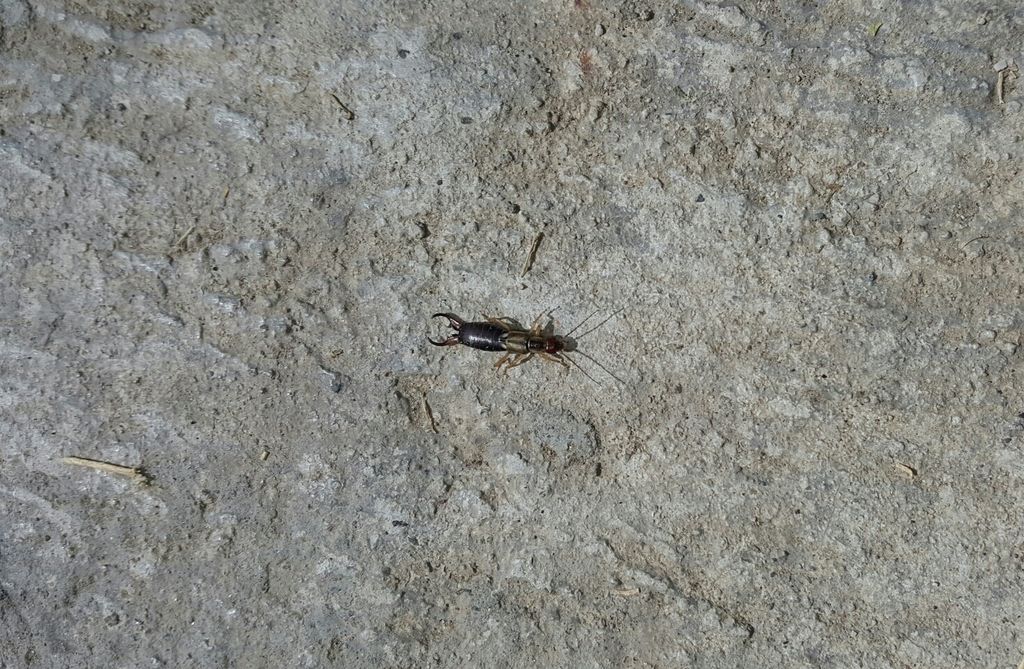
But this is post-nuke, trench-warfare; bugs are protein!
Suerte


