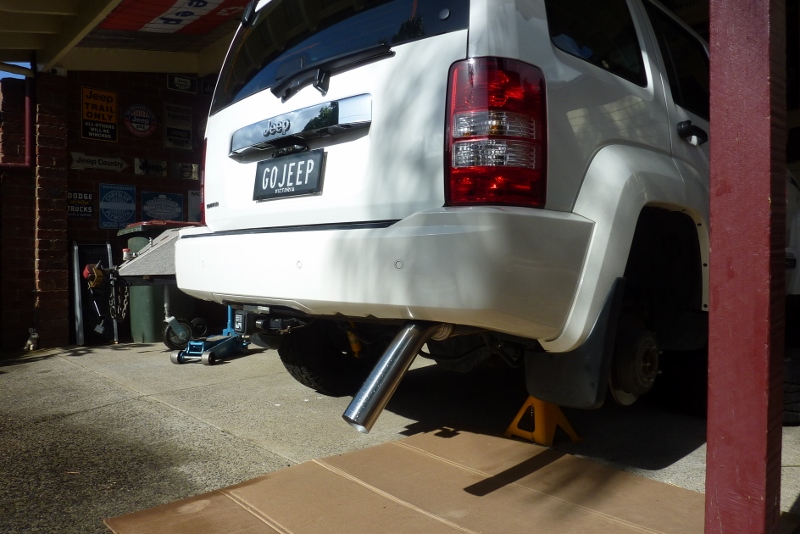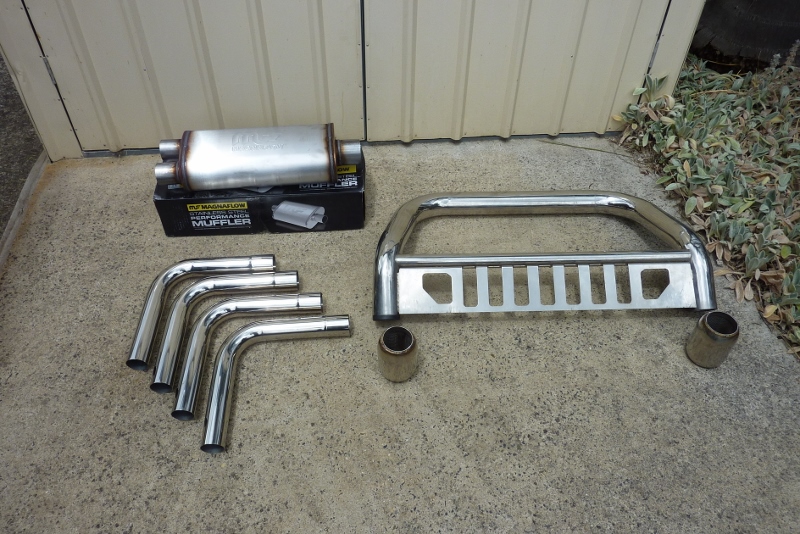
The Jeep is a bit breathless at higher revs, especially while towing in the hills. So going to upgrade the exhaust from the cats back using dual 2.25" tubes from the cats back and into the muffler. I'm using the Mopar nudge bar that came on it, to make the 3" stainless tail pipe along with left over resonators from the 5.7 HEMI system on the Willys.
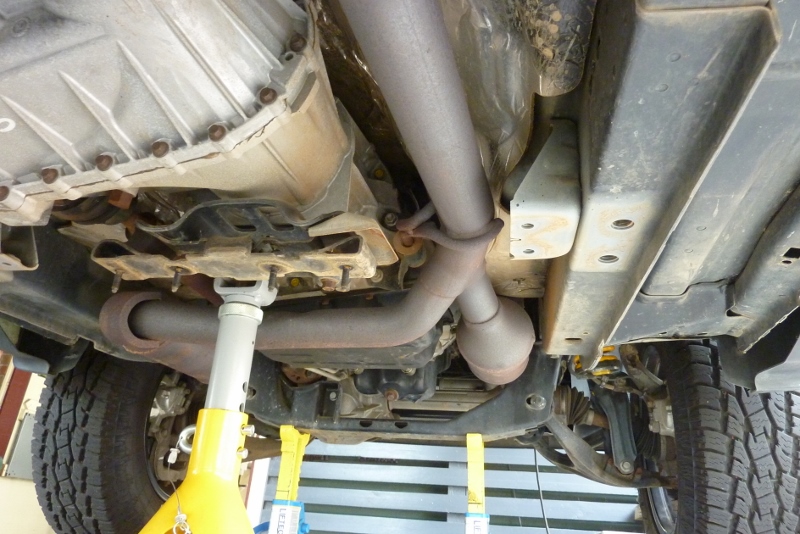
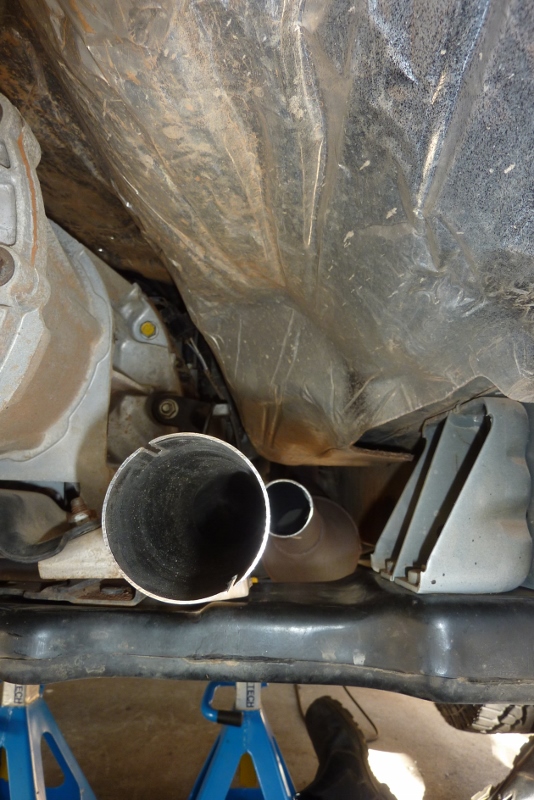
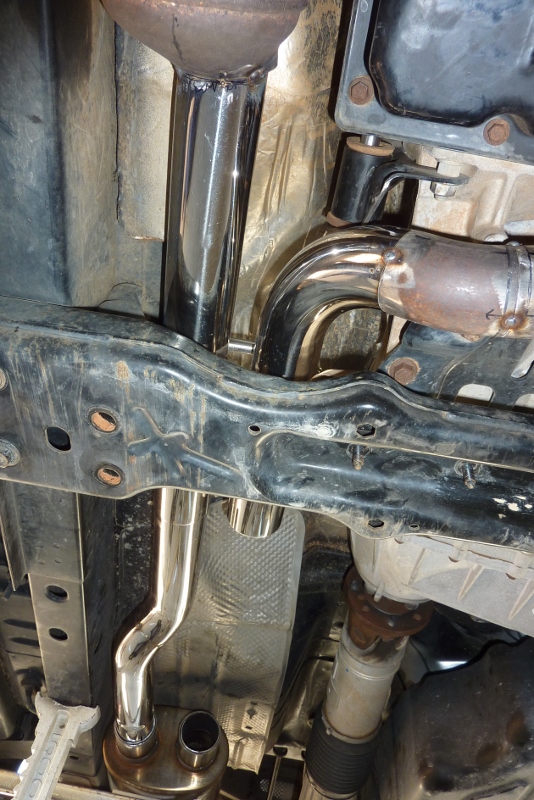
The hard part is going to be getting two 2.25" tubes through the gap after the merge next to the gearbox mount.
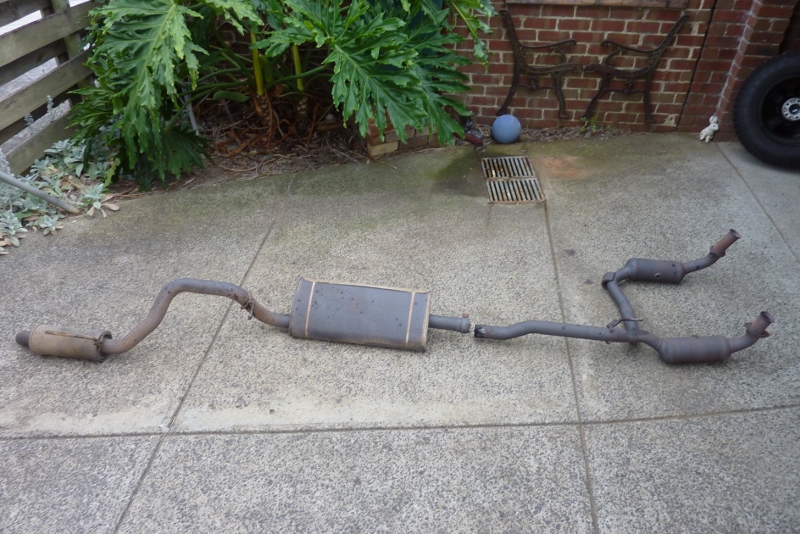
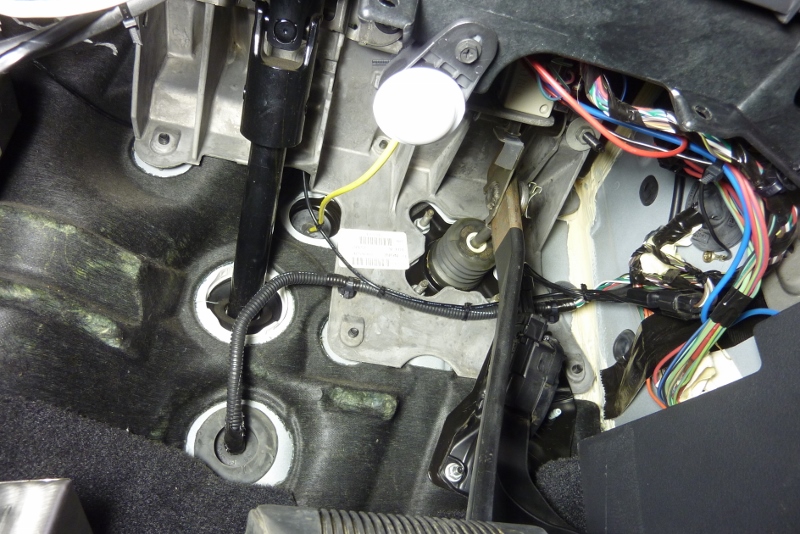
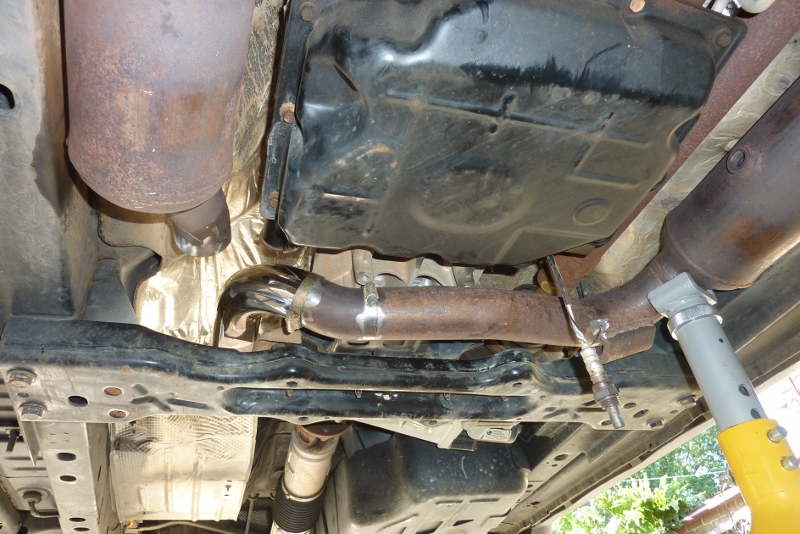
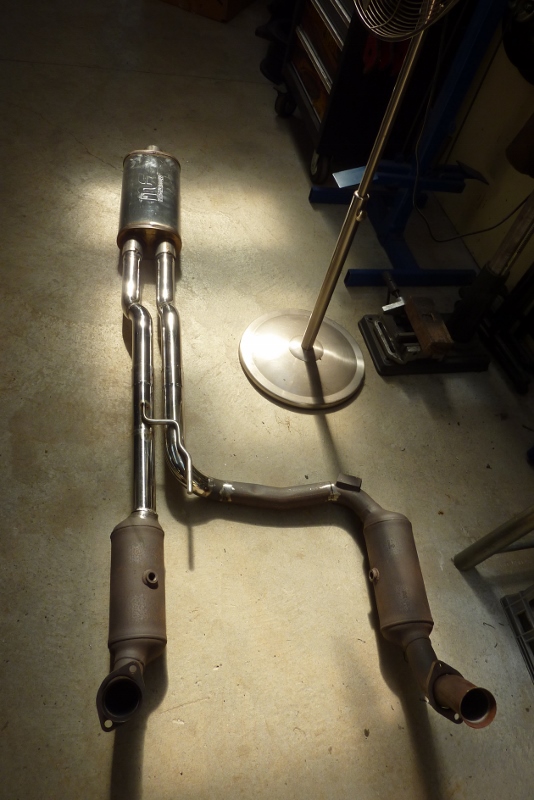
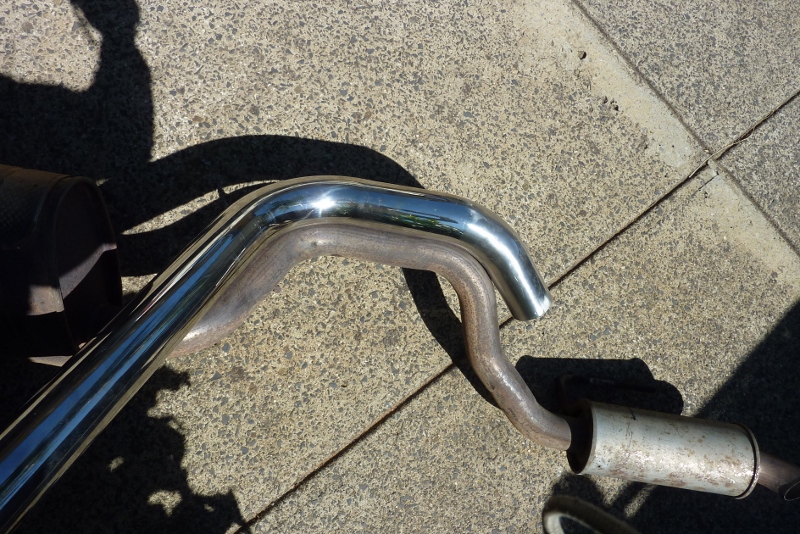
This is the stock complete system. The down pipes and out of the cats is dual 2.25" tubes. Then they merge in a short distance into only 2.5" the rest of the way. That is 38% smaller tube before the exhaust volume has had time to shrink after being heated by the engine and the cats!
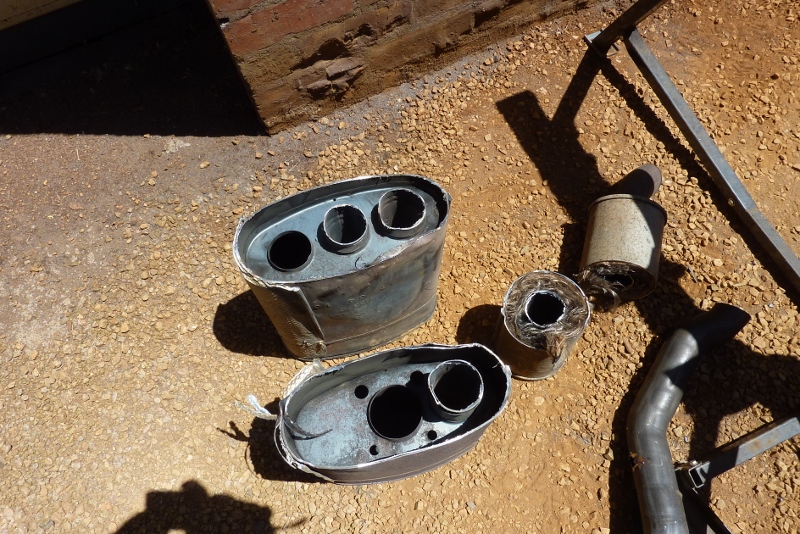
I cut the stock muffler in half to show how restrictive it is. I show a cutaway of one to show how they work. The resonator on the other hand is not a restriction at all, apart from the factory tube size, as it is just a straight through design with acoustic material. Cutting it off the end of the stock exhaust will give you no performance gain at all.
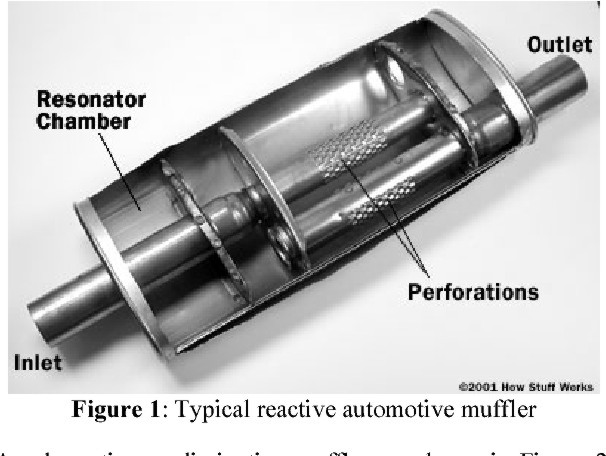
This is the same as the stock muffler and the exhaust enters on the left in the middle and slams into the other end of the muffler. Then has to find its way up the left side of the muffler before hitting the next chamber. Then eventually across to the right hand side and out!

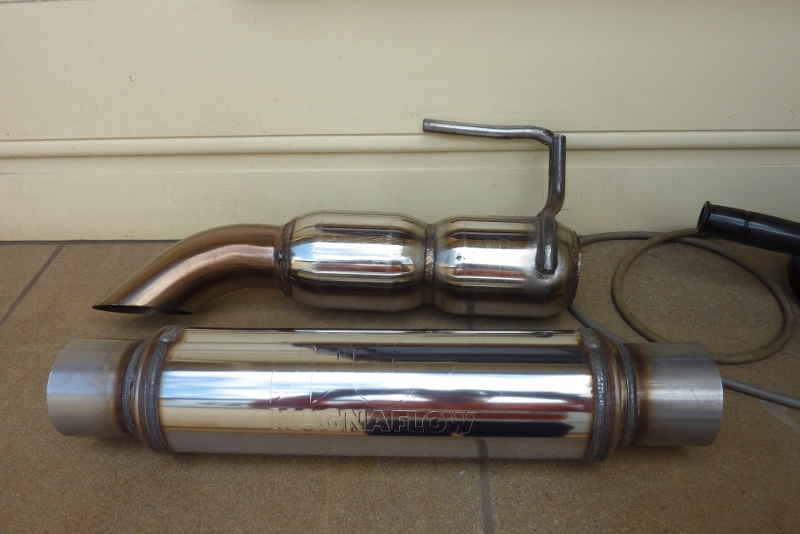
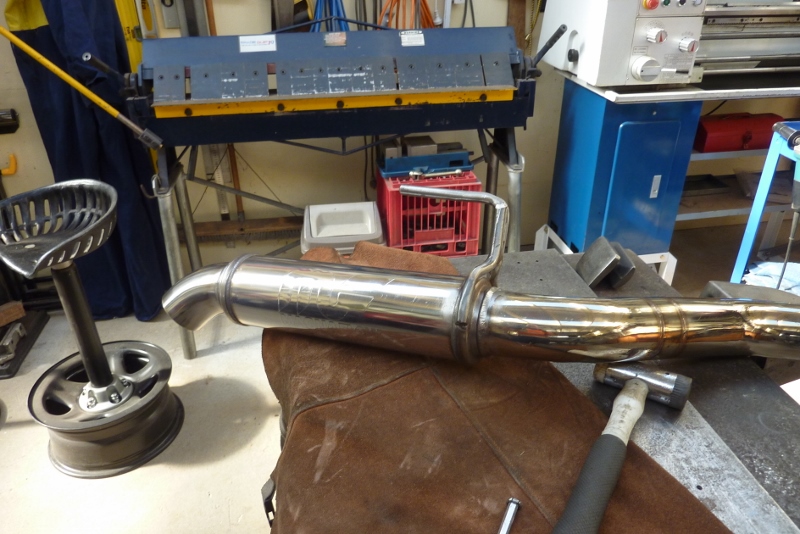
I'm replacing this with a straight through design like the resonator. Magnaflow 12288 that actually has dual 2.5" inlets and a 3" outlet. They are normally used on Ford, Chevy and Dodge V8 pickup trucks. The merge of the two tubes will be inside the muffler of my two 2.25" tubes into one 3" outlet. That is only 11% smaller but the exhaust has had time to cool and lose volume over the longer distance.

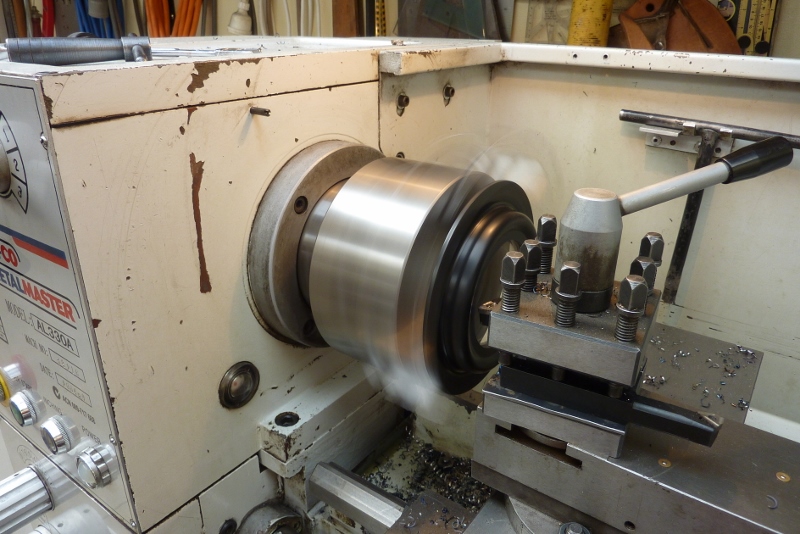
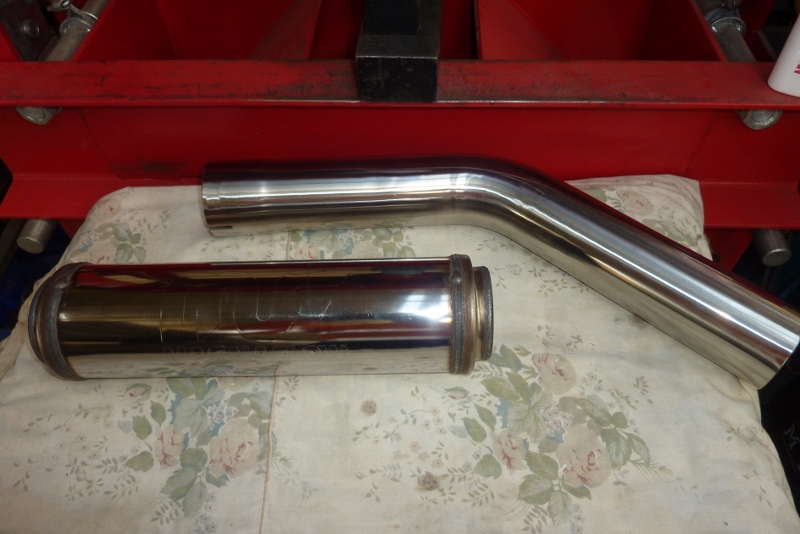
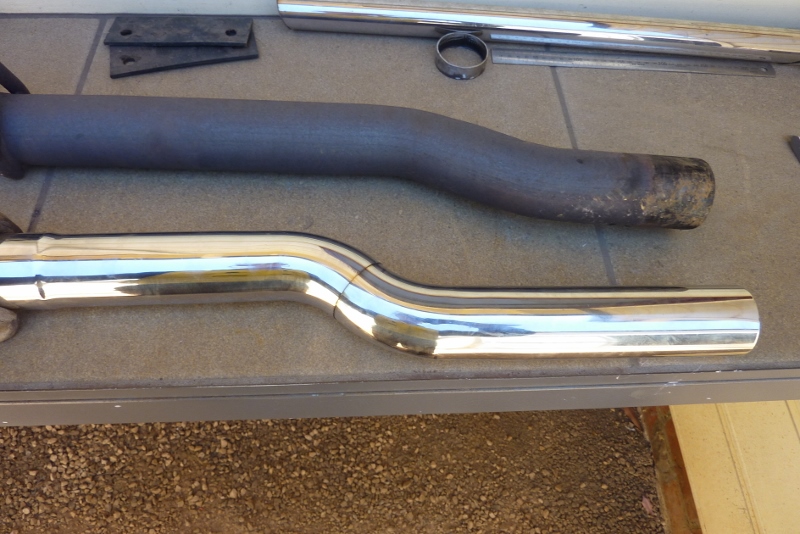
To mark smaller tubes for cutting I just use a hose clamp to scribe around and then take it off before cutting. I am shortening this tube and rotating the bend to where I want it before welding it back together again.
I also had to cut the first bend out of the cat on the back of it part of the way so I could reduce the bend to get it where I wanted. I have got the tube now over the crossmember leaving as much space as I could for the other tube.
The right side tube will need to move over more to fit through the space left.
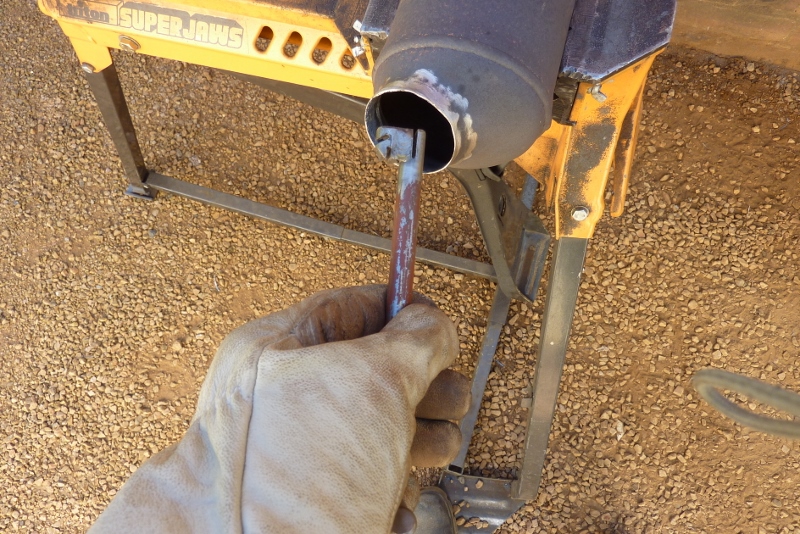
I cut the tubes out of the end of the cat and am moving the flare over in the direction I need as much as possible. Made this little tool from solid rod.
My old farriers anvil still gets used. Just flaring the end on part of the tube so it matches up with the hole shape left in the cat.
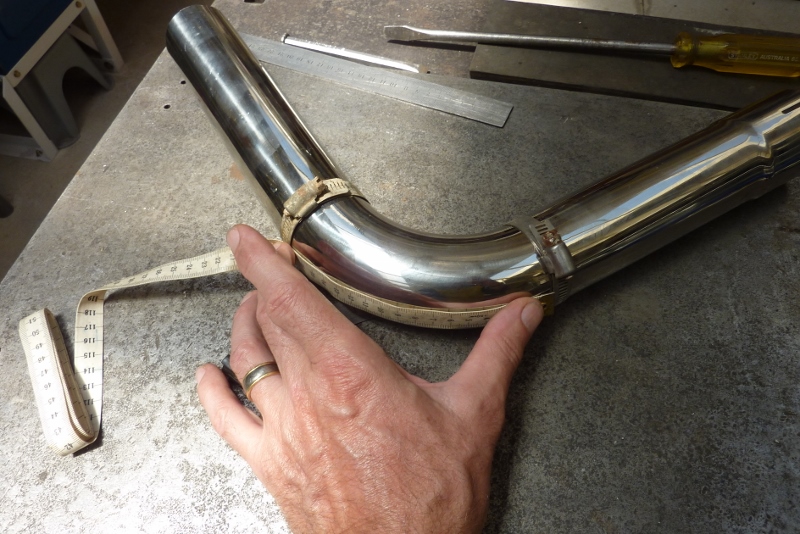
I want to cut this 90* bend exactly in half to get two 45* ones. Put the hose clamps at the start of the bend and measured the distance between them inside and out.
Then slid the clamps as close as I could to the centre and marked up between them.
Just cut it with a 5" thin cutoff wheel. They matched up without alteration. If you cut a 90* bend in half and put them together like this, you will get a drop of the tubes diameter. Cutting a 45* bend in half and doing the same, will give you a drop of half the tubes diameter. Like the factory one above, I needed to drop both my tubes from the crossmember down to the inlet of the muffler.
The drop also had to go over to meet the bigger offset on the dual inlets of the muffler.
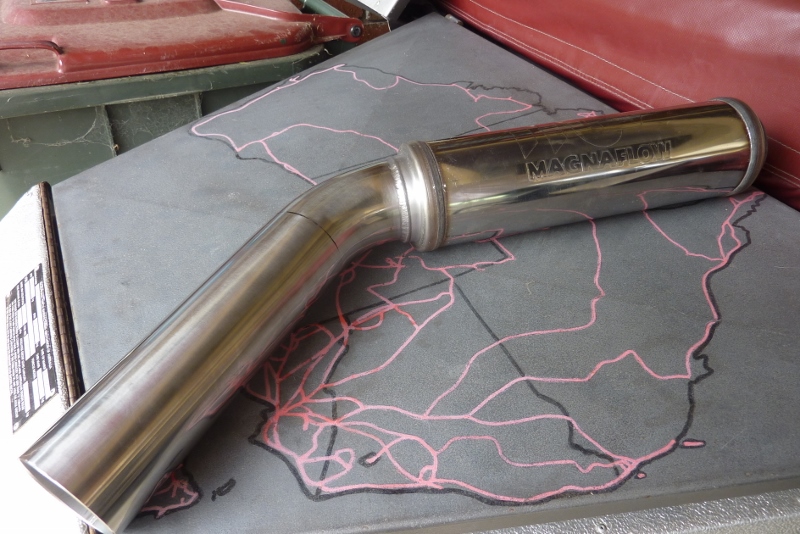
So here is the system so far until the end of the muffler tack up ready to weld. You can see the exhaust hanger I made as well to support both tubes and it fits into the factory support housing.
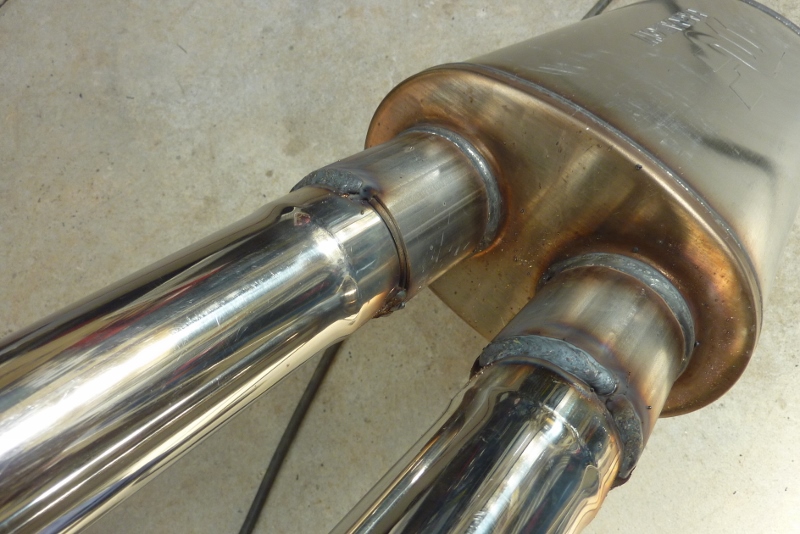
Because I had to step up my 2.25" tube into the 2.5" inlets, I slide some 2.5" tube inside the inlets a bit longer than them so I could weld all the tubes in one pass. I'm just MIG welding it with 316 stainless wire.
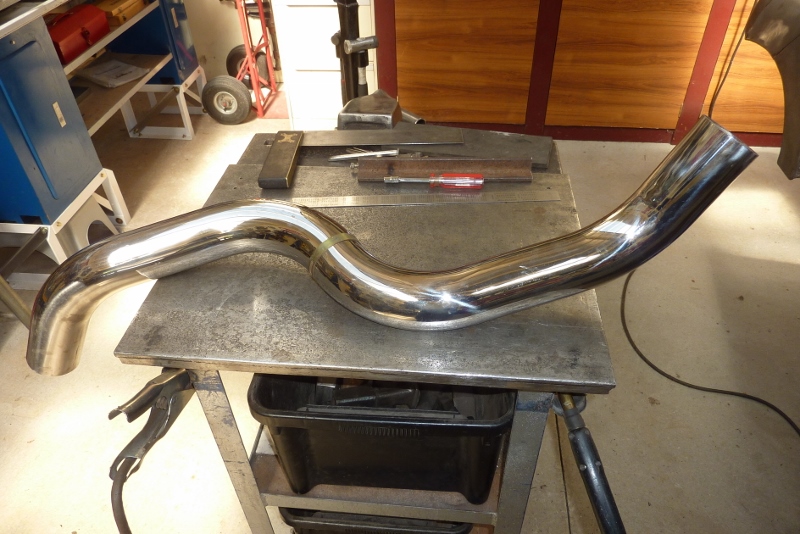
I have only cut everything away from the nudge bar tube. Hoping I can use a couple of bends in a row to save time. Might be lucky!
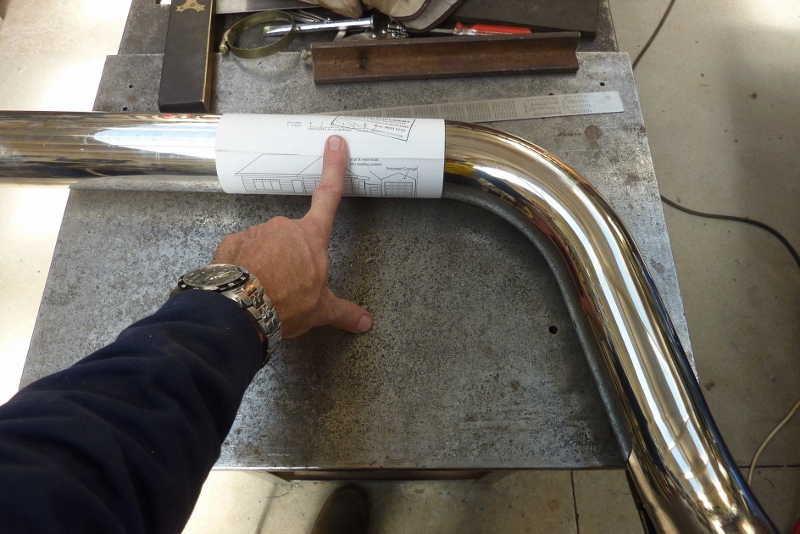
To mark bigger tube to cut, wrap some A4 paper around it. Make sure the overlap all lines up so you know it is square.
Can see the join fits well after cutting.
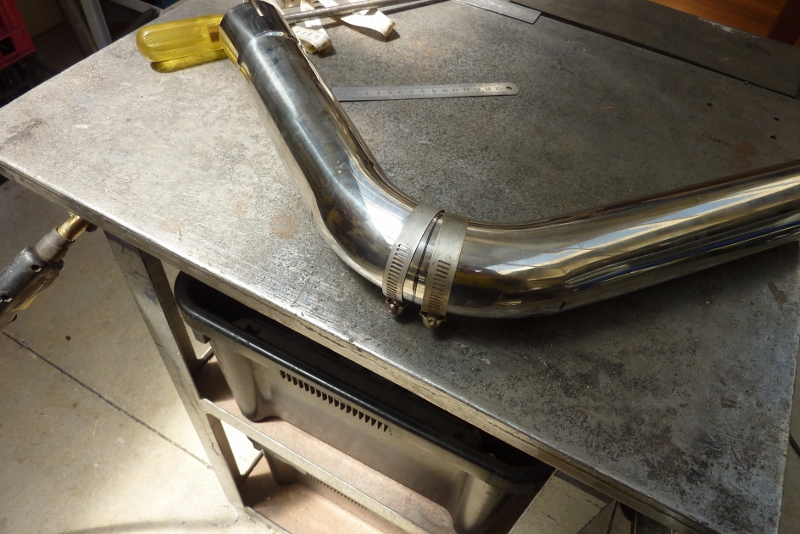
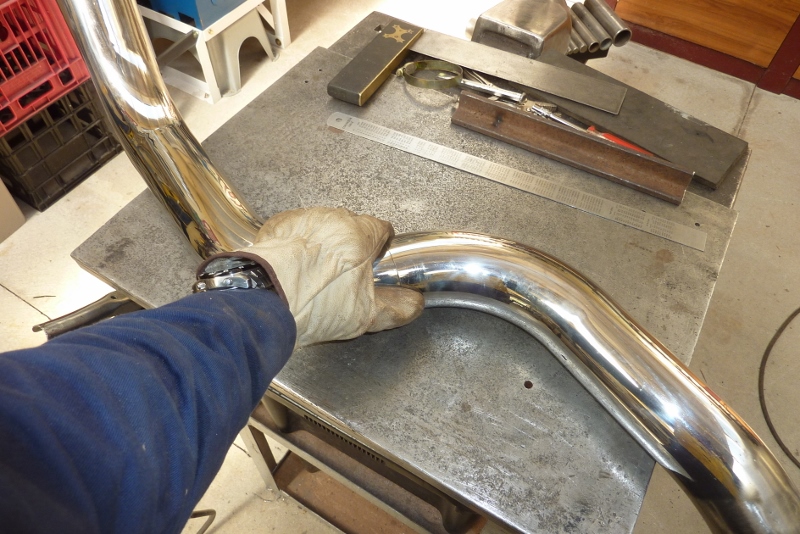
Using some hose clamps to see how it fits so I can easily rotate or shorten parts if needed.

Getting close but will need to add some between the last bends on the right as my muffler has a centre outlet.
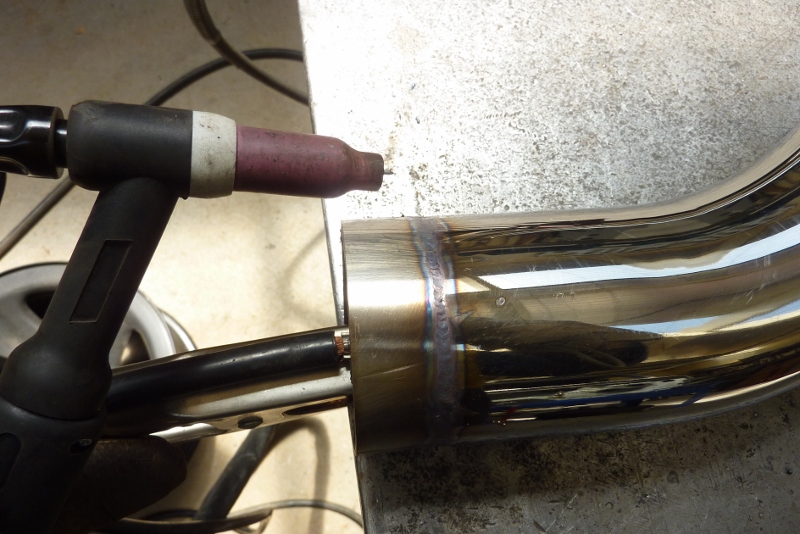
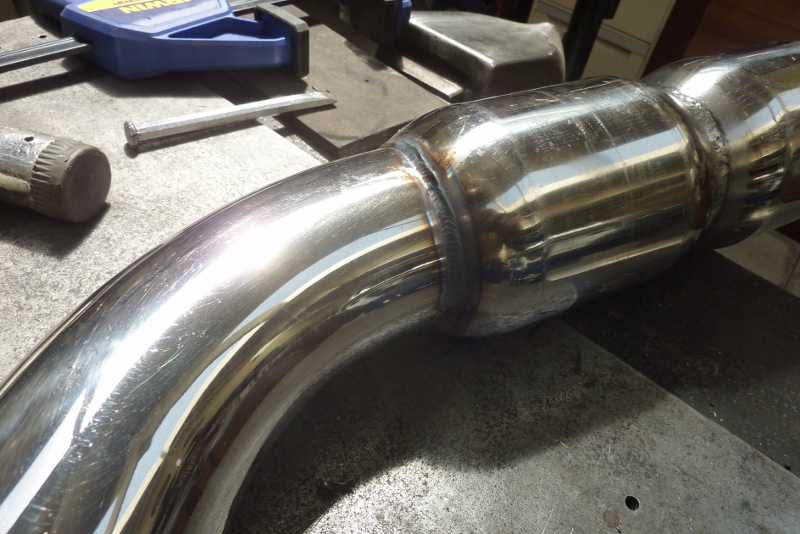
I haven't welded stainless before with a TIG and the MIG was playing up so thought I might as well give it a go. Secret to TIG welding thin material is to match the tungsten diameter to the thickness of the metal. Far more heat control over a smaller area, so less chance of blowing holes through it and and less distortion as well.
Came out better than I expected!
This is fuse welding only with no filler wire added at all. Nice small heat affected zone from using the small tungsten.
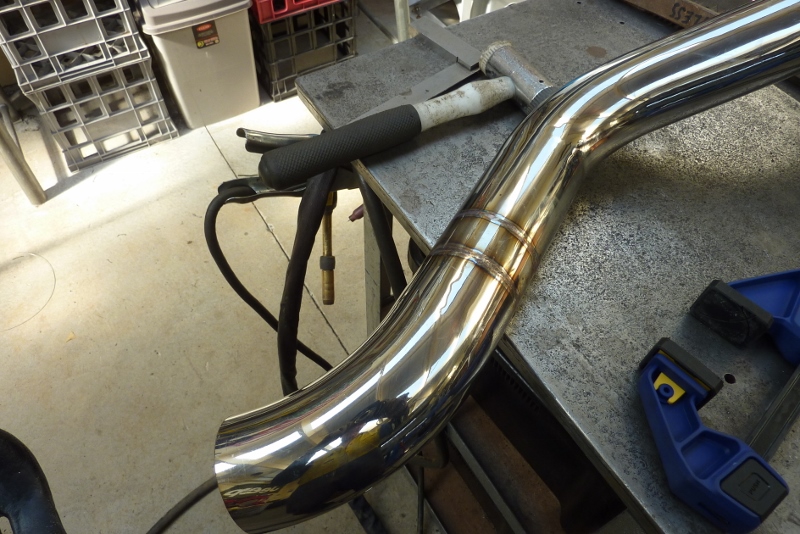
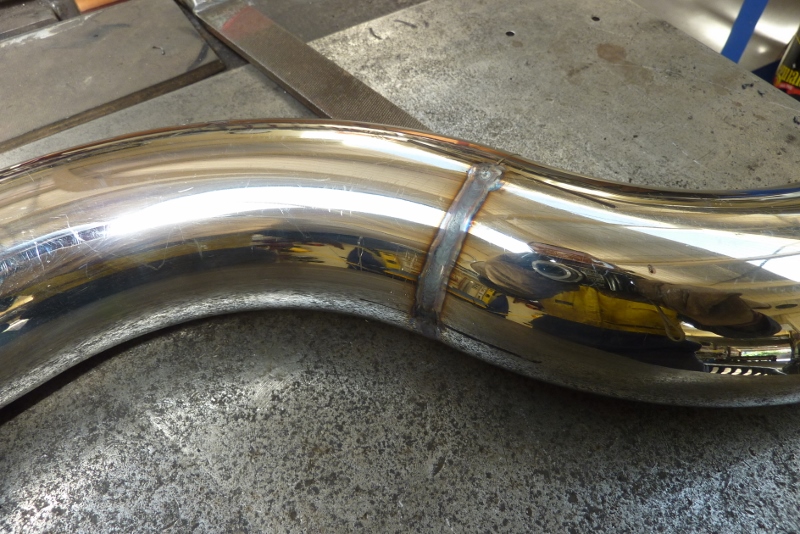
I had already MIG welded these together but wanted to improve the appearance to match the rest, so washed over the weld with the TIG.
Melted the original resonator TIG weld into the tubing.
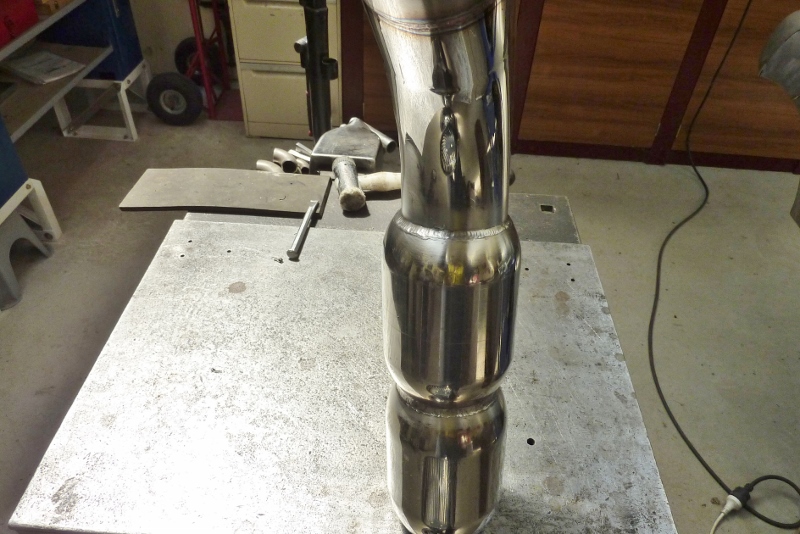
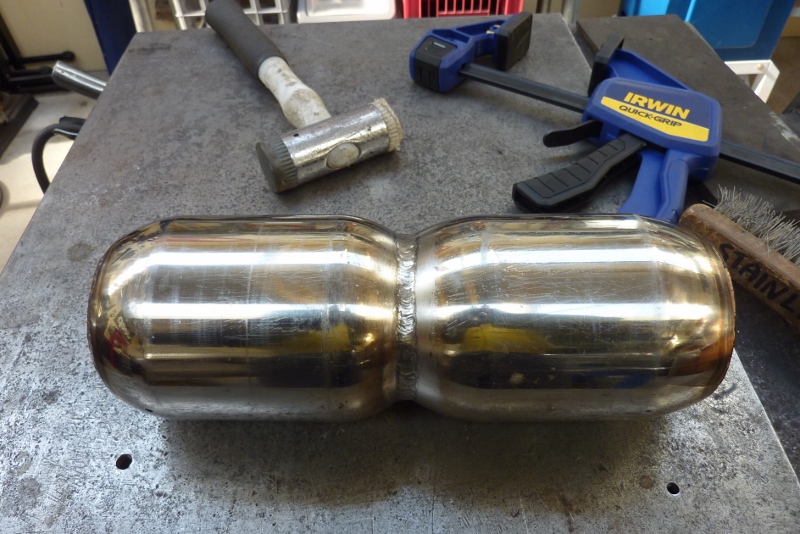
Used a stainless steel wire brush to clean it up some. Never use a steel one as will leave deposits that will rust later. I'm not sure how well these cheap resonators will work due to the lack of acoustic packing being only an inch bigger overall in diameter. Worth a shot anyway.
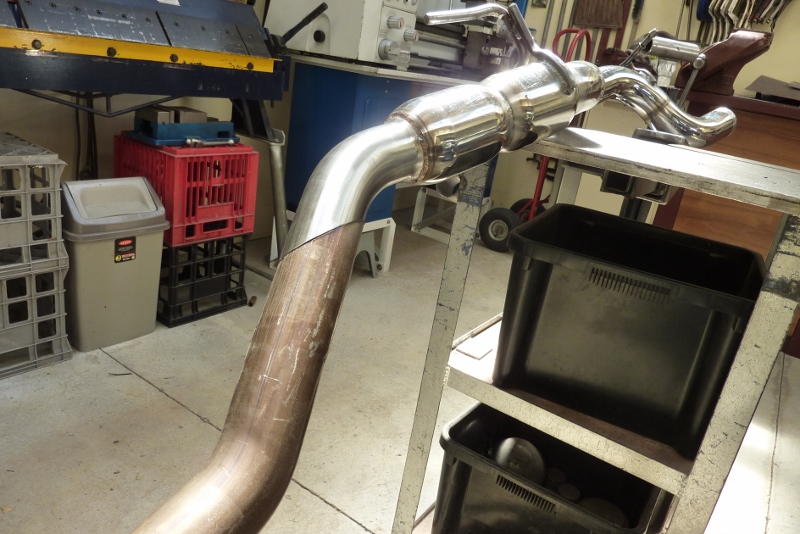
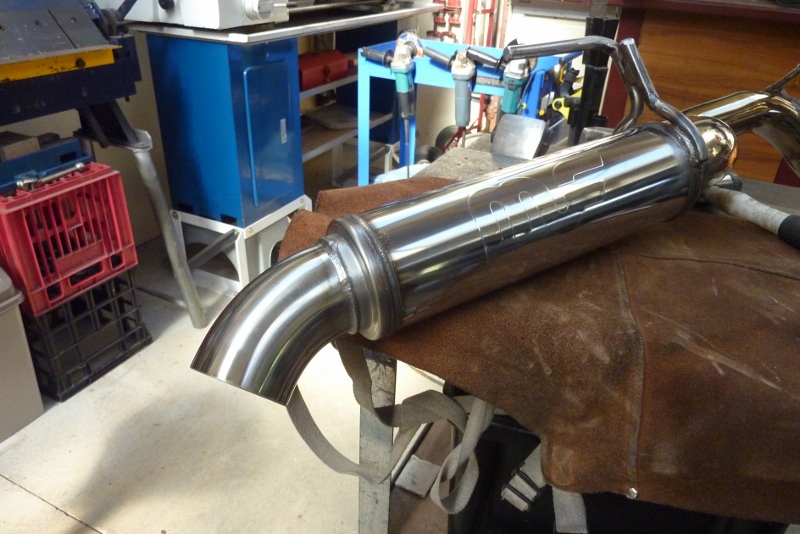
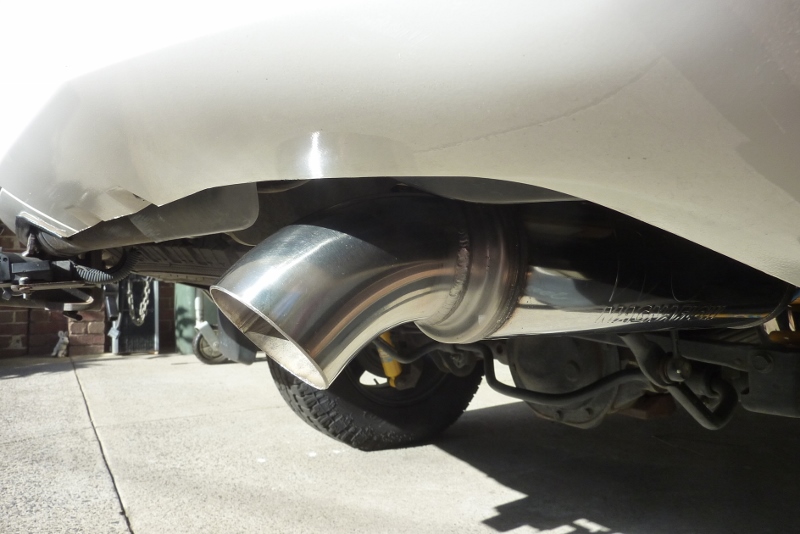
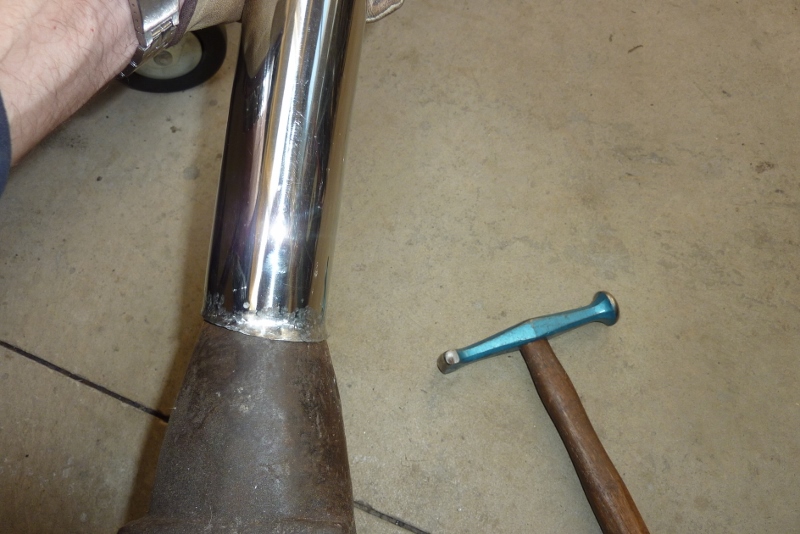
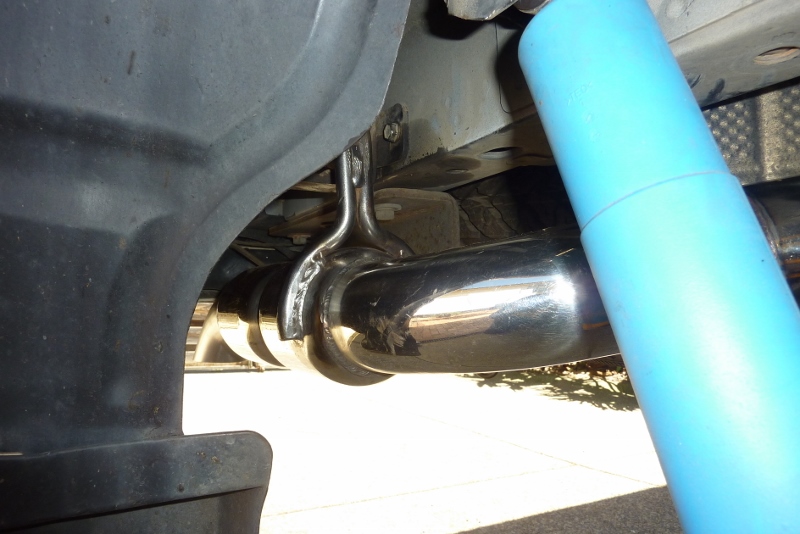
Just showing how I made the turn down tip from the 2.75" stainless exhaust tubing that was stock on my HEMI WH Grand Cherokee parts donor for my Willys Truck. It was the only bend I was short to make the whole tailpipe but it was lost when sent with the other bends during freight, and now the replacement has been lost too! So the best I could do to get the Jeep back on the road was to flare the end of it to match the 3" outlet of the resonator using the hammer and anvil. It is just tacked on there as I will replace it if I ever get my order!
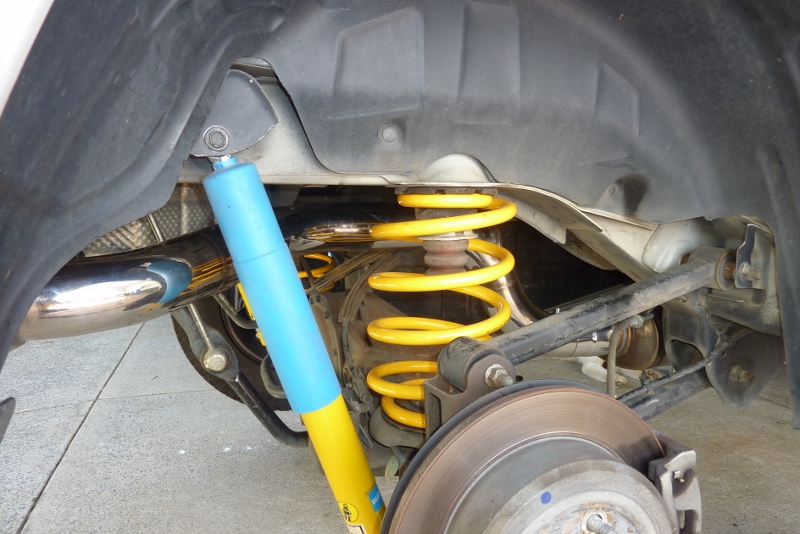
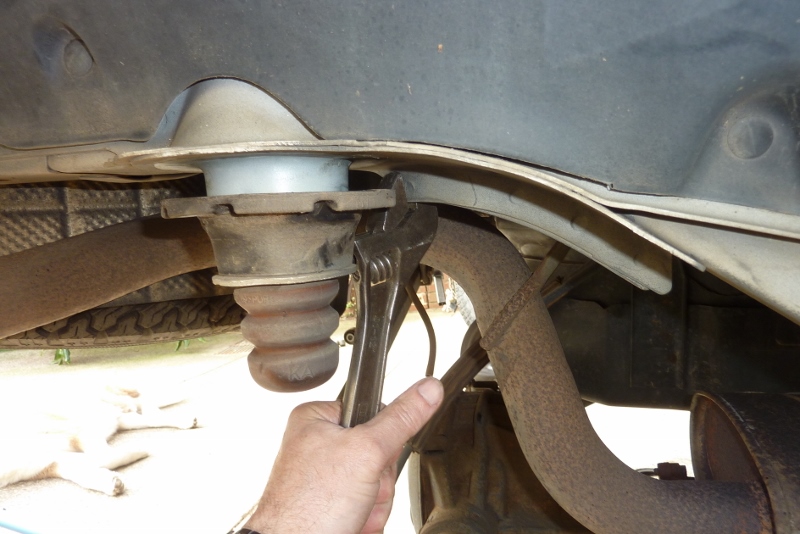
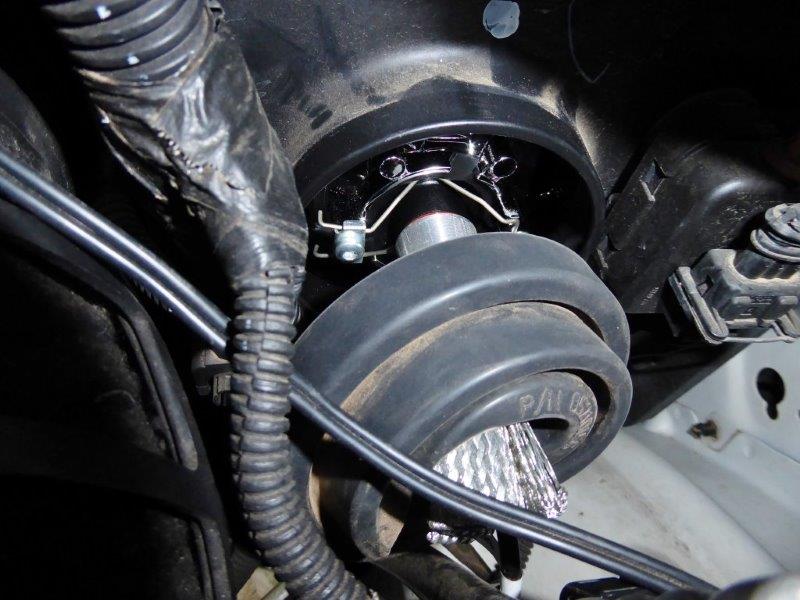
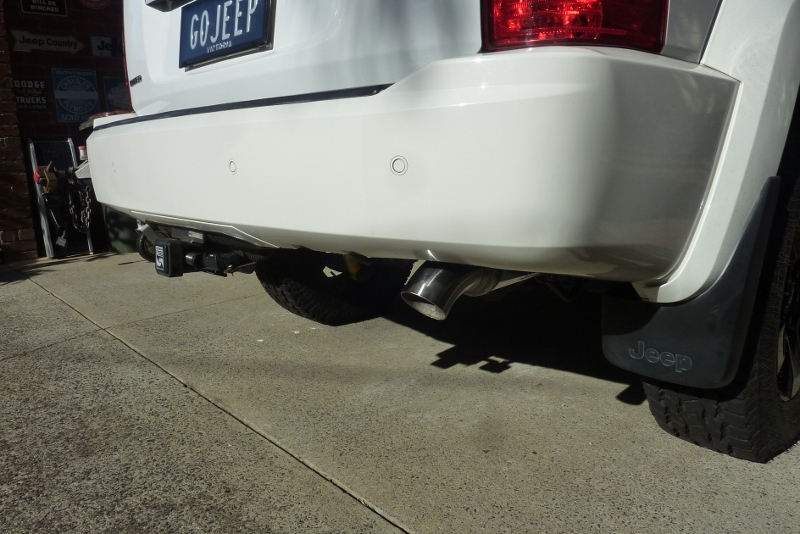
So it comes out of the muffler and up above the rear axle before turning and threading between the swaybar link and the shock absorber. Managed to get through there with one less bend than the factory.
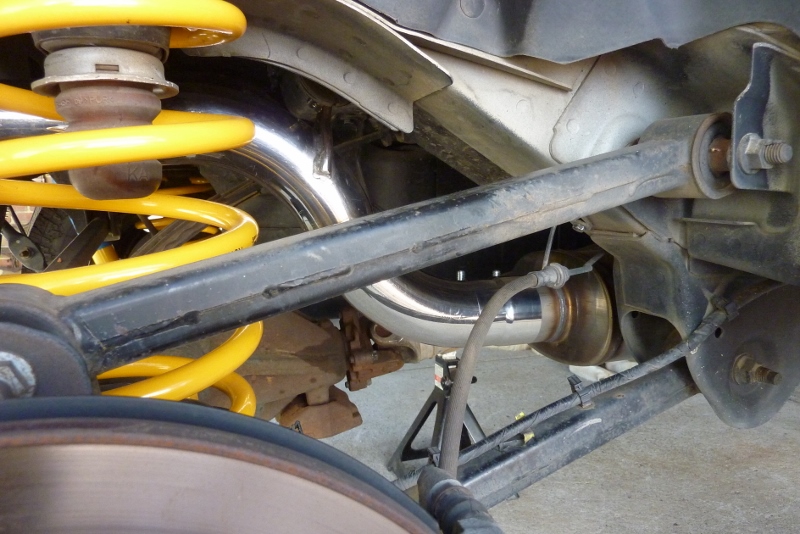
I used a stainless band clamp to hold it in place so it is easier to remove the system should I ever need too.
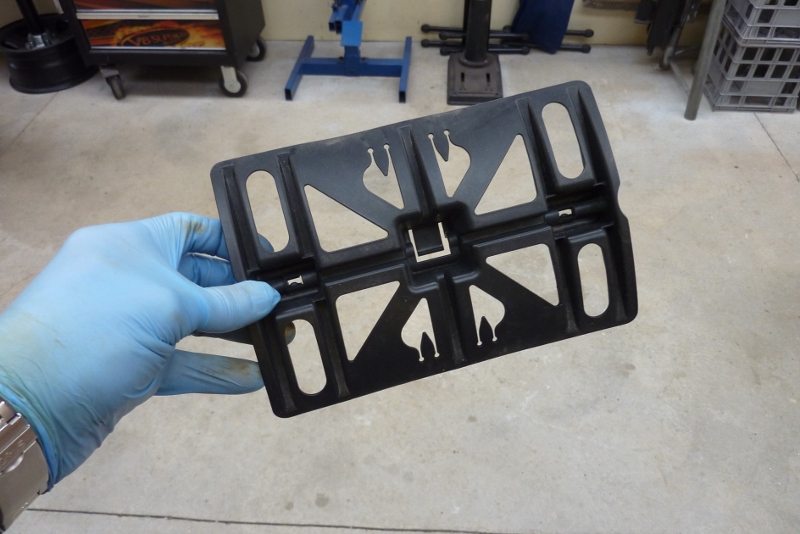
I modified the factory exhaust hanger to hold the resonators up.
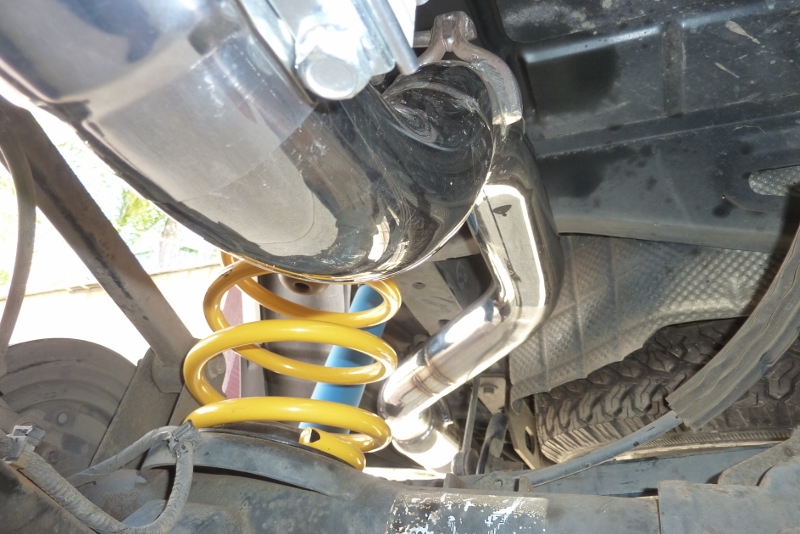
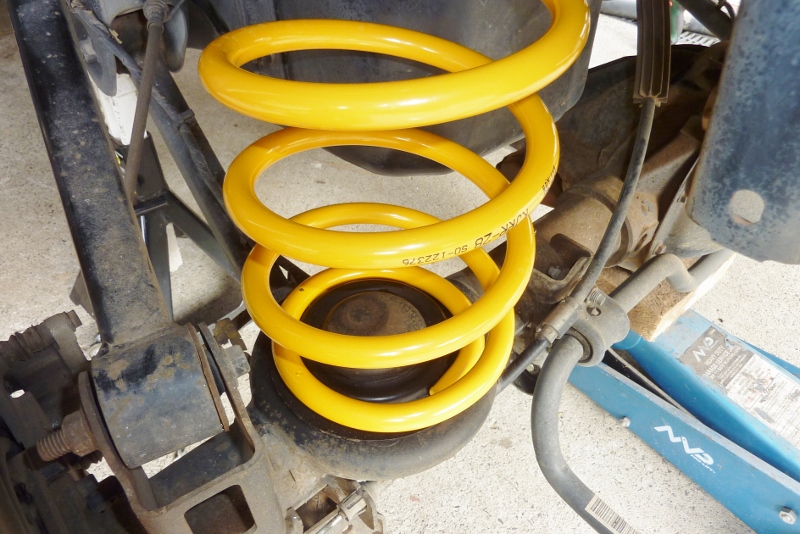
The mid one I also used the factory hanger mount and modified to suit. Can see I have plenty of clearance to the shock absorber as that is more critical to keep heat away from than the swaybar link.
https://www.youtube.com/watch?v=03qIL2rou3oI have put together a few clips during the construction to show the differences in sound. The road segment at the end is quieter than reality as the camera doesn't pick up sound over distance very well.