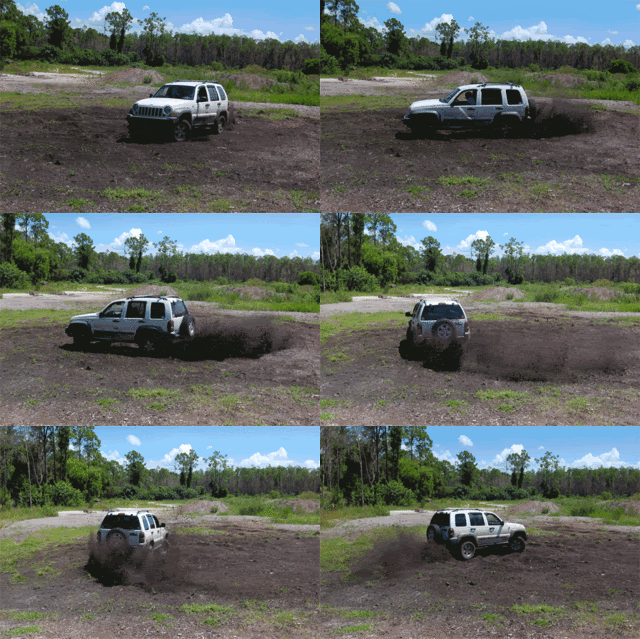
Please forgive me for the crappy mobile phone pics, my digi cam still not repaired...
After my off-road adventure in the Pyrenee mountains my rear end ( the KJ's that is ) started to make a strange thumping noise at de/accelerating, steering also seemed a bit unsure, car could not follow a strait line.
Checked it: rear ball joint totally destroyed, rolling the car back and forth in first gear the diff jumped 3" up and down. Rear control arms silent blocks also had a lot of play.
Replaced the rear ball joint today:
1) Jack up the car and place stands under the chassis. Leave jack under rear axle to be able to lower and lift it. Take of the wheels.
2) You need to take out the entire triangle, it's fitted with 2 large bolts in the front and one holding the ball joint in the diff bracket. (In this pic the new ball joint is already fitted)

Take out the two little bolts holding the emergency brake cables in place. On mine there was also a sensor cable fixed to the triangle, (if applicable ) just rip it out, its a plastic cable holder.
Remove the bolt holding the ball joint in the diff bracket.
Now jack up the axle until the triangle is in a horizontal position, making it easier to remove the front bolts. On the right hand ( passenger ) side you will need to lower the exhaust heat shield, don't bother taking off the nuts, there's just not enough space to take the bolt out. Bend the heat shield downward until you can take the bolt out. Do it with a little TLC and you can bend it back in place when you refitted the bolt.
To loosen the ball joint I used a chisel and a hammer, couple of bangs and it popped out of the bracket. Take out the triangle.
3) Taking out the old ball joint is a breeze, support the triangle with some pieces of wood and just hammer away.

Old one really worn out

4) Now comes the hard part...JEEP dealers have a special vice with appropriate bushings to press the new ball joint in the triangle. I do not...You cannot hammer away at the rear of the new ball joint because that's just a cap, not massive metal. So we need a bushing that will fit exactly around the cap to be able to press on the sturdy metal rim of the ball joint housing...And press it in with a hydraulic jack. Look for a good sturdy surface and something to press against. Place the triangle on some 2x4's or something woody. Be careful not to damage the ball joint's rubber sleeve. Press until ball joint housing rim is flush with the triangle. Needs a lot of pressure!
Fortunately I've got a rock wall in my garden so I could press against that with a small jack.

( that dark green thing is one of my wive's garden ornaments, an old water hand pump which I've cut to shreds with an angle grinder. So now it's a JEEP special tool

The outer rim size of the ball joint housing is 80mm or 3 1/4 inch more or less, I'm not that good in standard.. Pretty big though. Could not find anything else that would fit, so sorry honey...

)
5) Replace the triangle, leave front bolts a little loose. To place the ball joint you need to lift the diff with another jack so it's at the same angle as the ball joint. Tap on the triangle with a hammer and it will slide in. Place the bolt+nut. Tighten it to 90 Nm. Make sure the bolt doesn't rotate, I've placed a screwdriver under the bolt's welded on piece of metal so it doesn't touch the diff housing. Jack up the axle until the triangle is at a horizontal position. Tighten the front bolts at 100 Nm.
6) Replace the diff sensor cable holder ( if applicable ).Replace emergency brake cable supports. Replace the wheels, tighten nuts at 145 Nm.
7) You’re done
DIY rules!
Saludos, Tony

 Login
 Register
 FAQ
 Search