|
I noticed that there is a misconception going around in this thread. It's not the polyurethane spacer that makes the strut assembly longer, it is the upper strut plate that lowers the strut shaft mounting point down lower in relation to the surface where the plate mounts to the body.
I have done this several times now, and can disassemble and reassemble the 2.5" Daystar lifted front end on my CRD in about an hour per side now. I have a couple of tricks up my sleeve though which I have learned through experience with it....
My tricks are as follows:
Move the cam bolts out where the LCA arm mounts to the sub frame so that the whole LCA arm moves outward from the body.
I leave the lower ball joint connected, but separate the upper ball joint and disconnect the sway bar.
Here's the tricky part....When it comes time to get the clevis back into it's mounting point on the LCA, I get a fairly long and beefy cylindrical(smooth) #3 Phillips screw driver. Next insert it through the hole in the clevis and into the hole in the LCA, then pry the clevis into alignment with the LCA while inserting the screwdriver further into the hole in the LCA. You may find that it helps if you use your other hand to wiggle/push/pull/teak the clevis around as necessary.
Now, holing it here and maintaining pressure on the screwdriver and clevis with one hand, grab the lower clevis bolt with the other hand, and put it in through the opposite side of the clevis from the screwdriver. As you insert the bolt, pushing it through the clevis and LCA, you will be simultaneously pushing the screwdriver back out with the bolt as it progresses, but still prying to keep the other side of the clevis lined up to accept the bolt when it comes through. It may take several tries, but you will eventually get it. You may need to lightly tap the bolt through with a ball peen hammer to get it started, but toward the end, do it by hand so you can ease it into the clevis hole.
Although this job can be done alone (as I have), it helps if you have a friend underneath the vehicle helping by pulling inward on the clevis.
Now your clevis is assembled and the hardest part is done. Just don't forget in your excitement to put the nut back on the end of the lower clevis bolt.
If you have a CRD, you will need to be very adamant about protecting the inner CV boot when working on the drivers side. Move the LCA cam bolts out before you do anything else, even before taking the strut assembly out. Make sure you protect the boot with a pile of shop rags about a half inch thick; no joke, one or two rags will not be sufficient enough, you really need a nice cushion to protect the boot (trust me, I learned the hard way). You may even want to consider lightly greasing the outside of the boot before getting started.
As far as the rear end, I used both the Daystar spacer and the stock spring isolator, and it sits much more level. It's a piece of cake, just disconnect your sway bar and unbolt the shock. You can sit on the brake rotor and work behind your back to insert the spring, or you can have a friend stand on the rotor. Make sure your trailing arm bolts are still tight after all this tweaking. You may need to tighten them back up, or else you could get a progressively worsening popping in the rear end until it one day the whole rear end comes out from underneath the vehicle.
Hopefully my descriptions make sense and will help someone out in the future.
_________________ --Greg
2005 CRD Sport in white
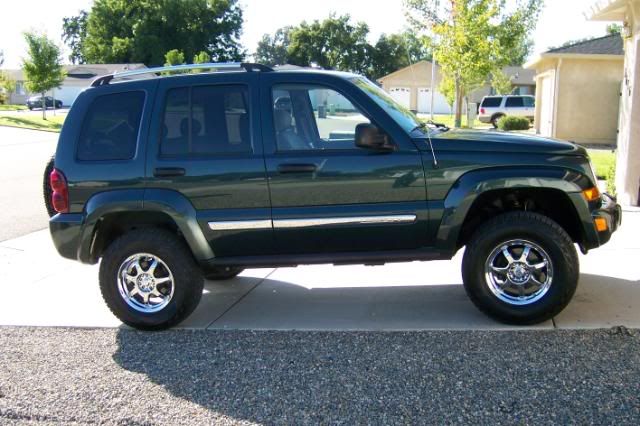
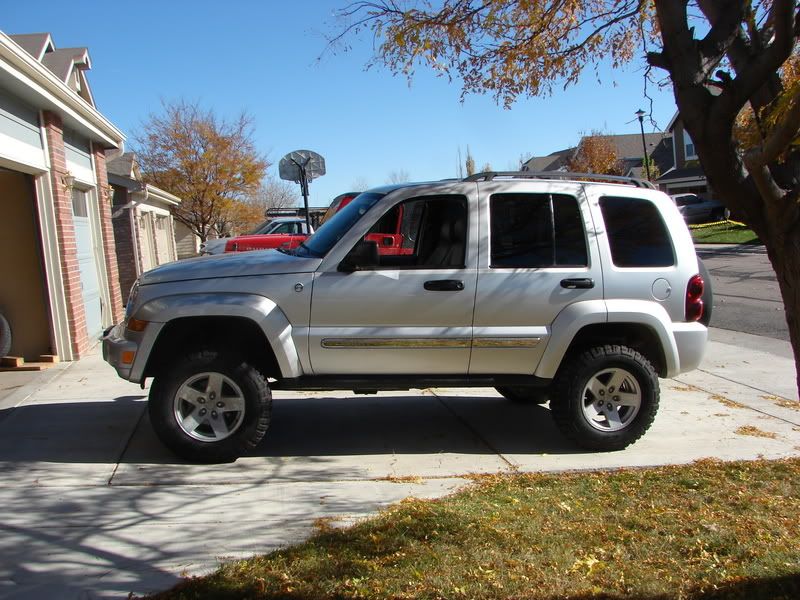
2.5" Daystar Lift Kit
245/75/16 Maxxis Buckshot Mudders
|