kapalczynski wrote:
Adding a gasket (spacing the block off part of thermostat higher away from port) actually makes cooling on the engine less efficient if that bypass port does not get blocked since some of the coolant can go back to the engine instead of to the radiator.
I agree, this is why I mentioned before not to use 1/8 in rubber on the old design. I still think that I will be okay with my paper gasket and probably with 1/16 in rubber gasket later. If you have nothing but time and money (who does?) then send me the updated parts. Just trying to save you some

.
kapalczynski wrote:
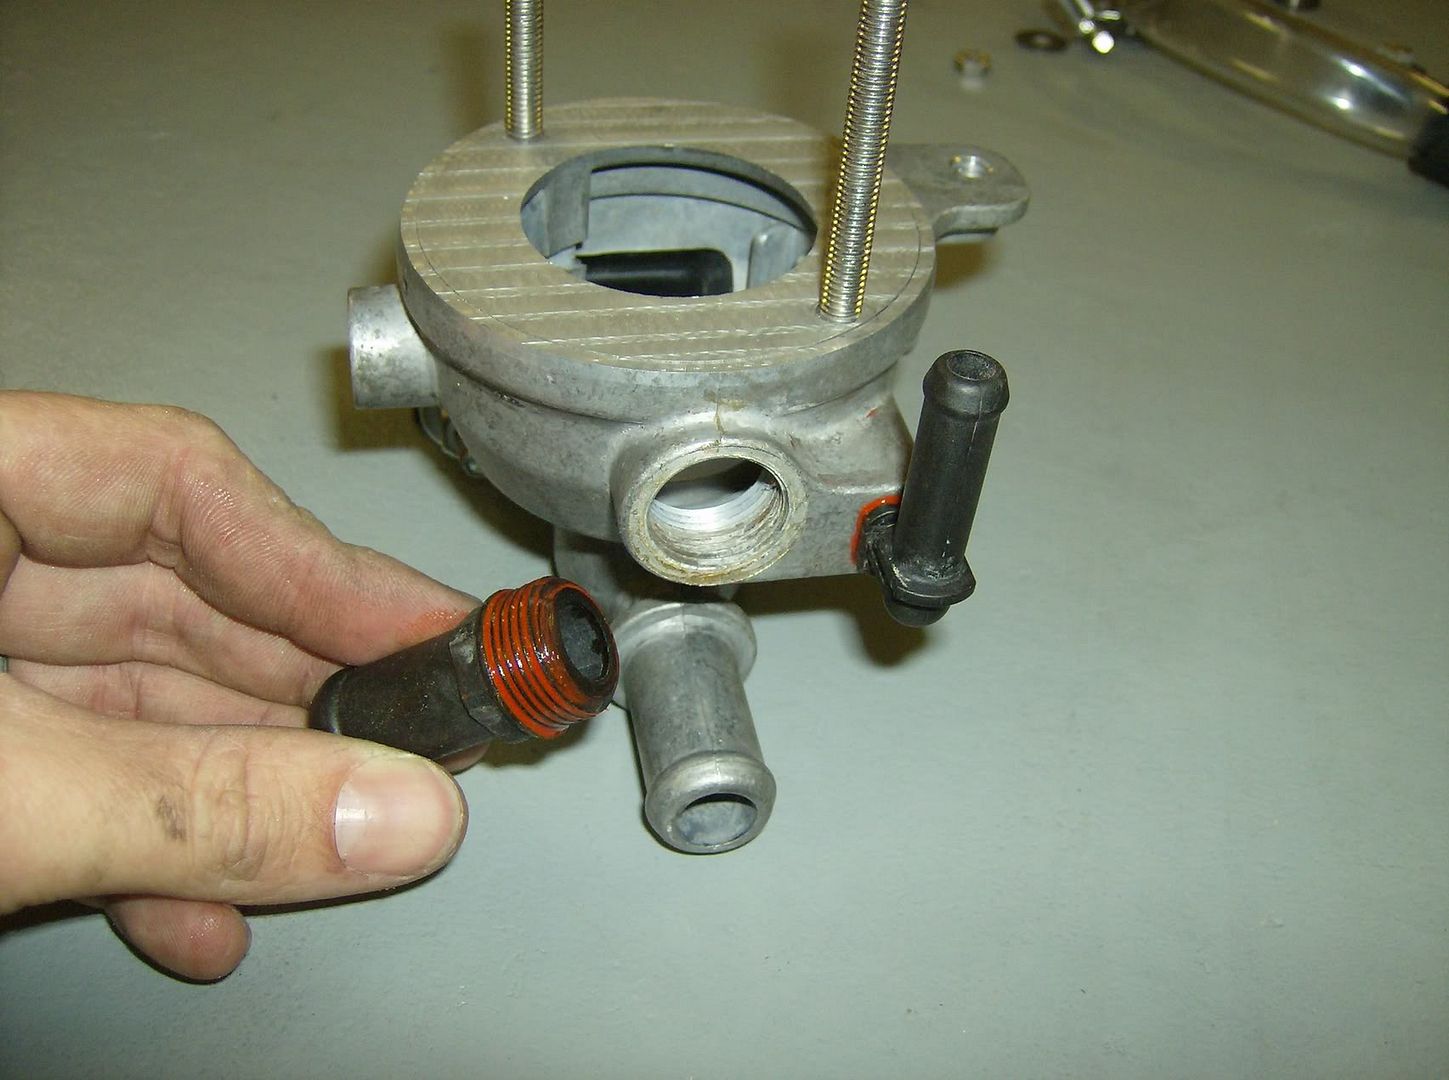
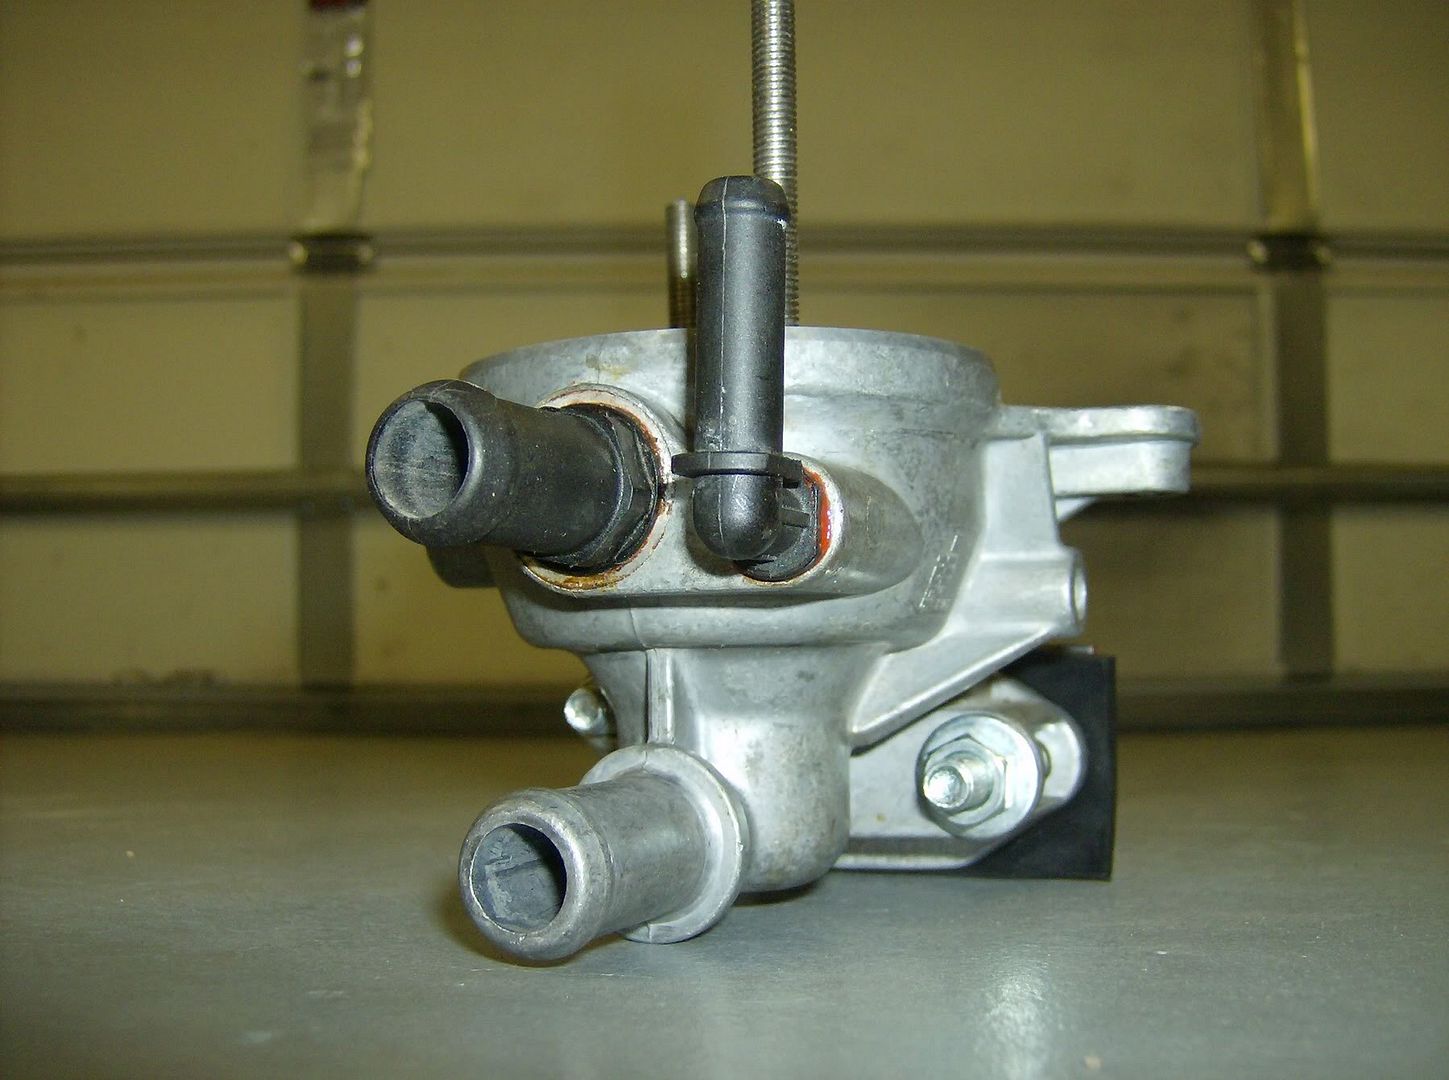
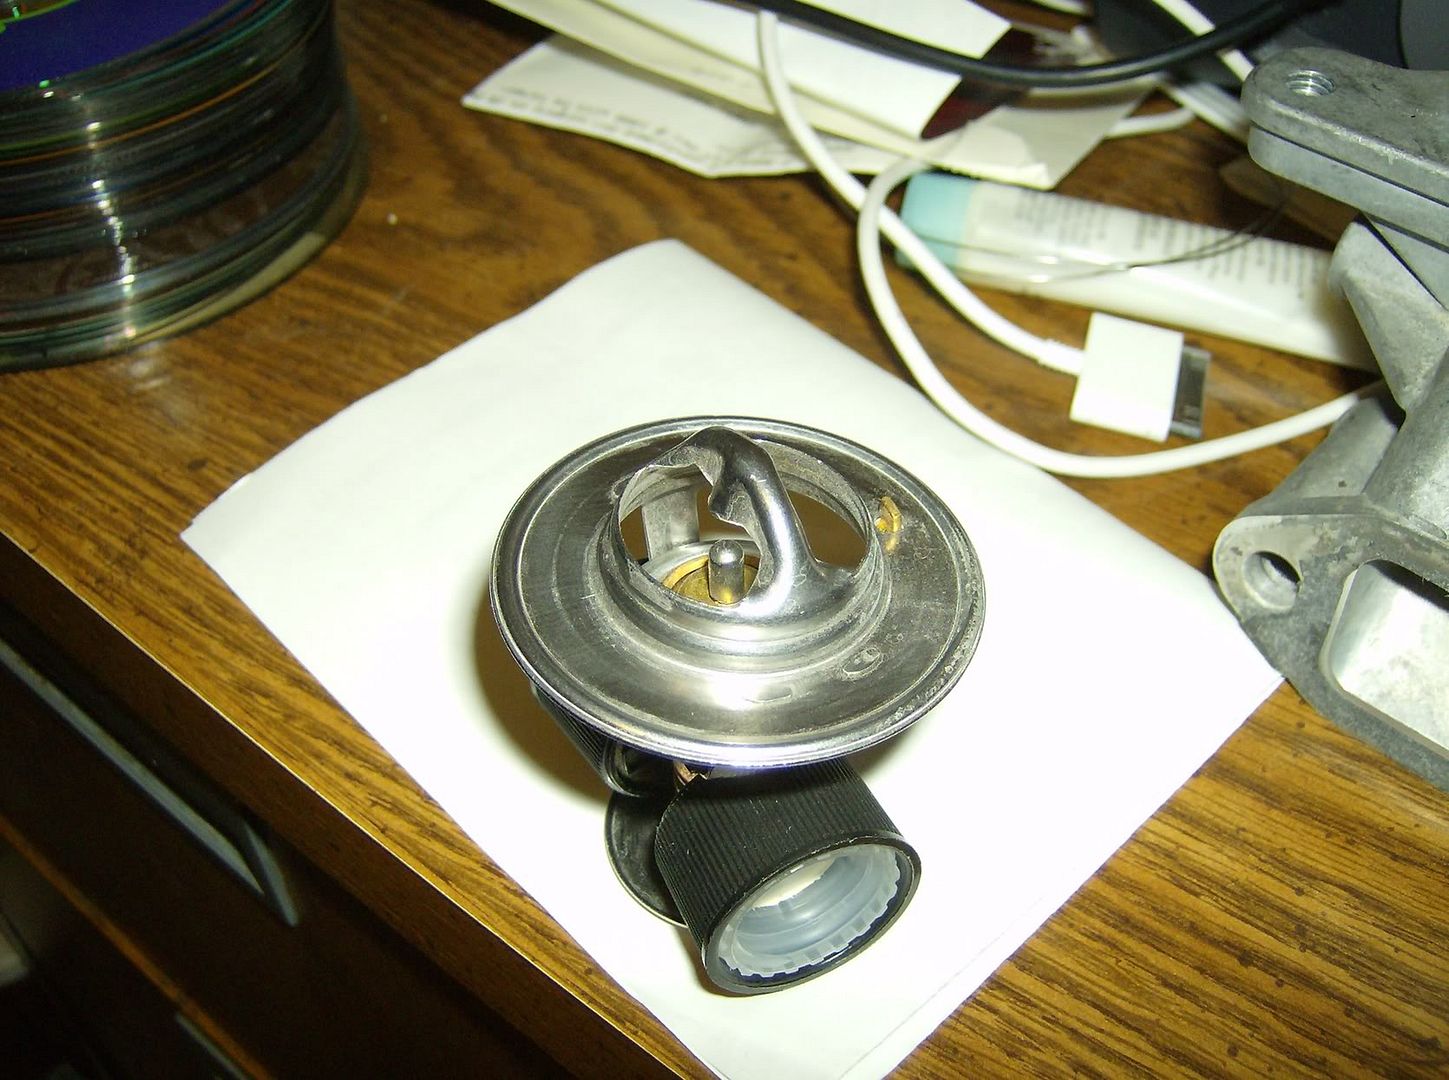
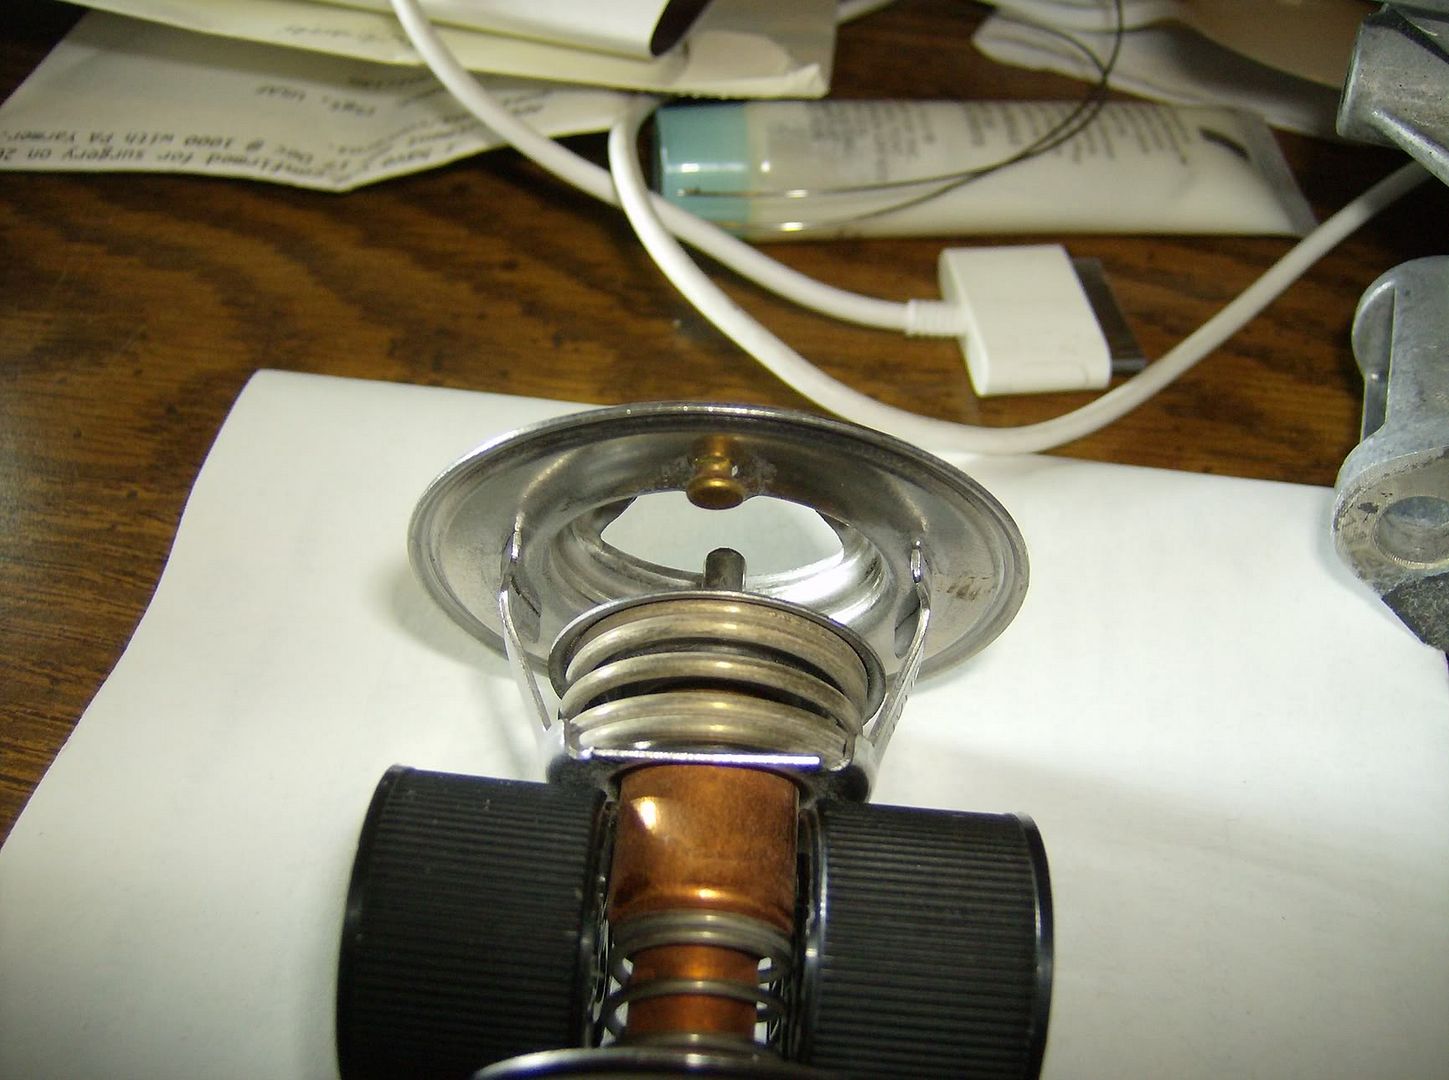
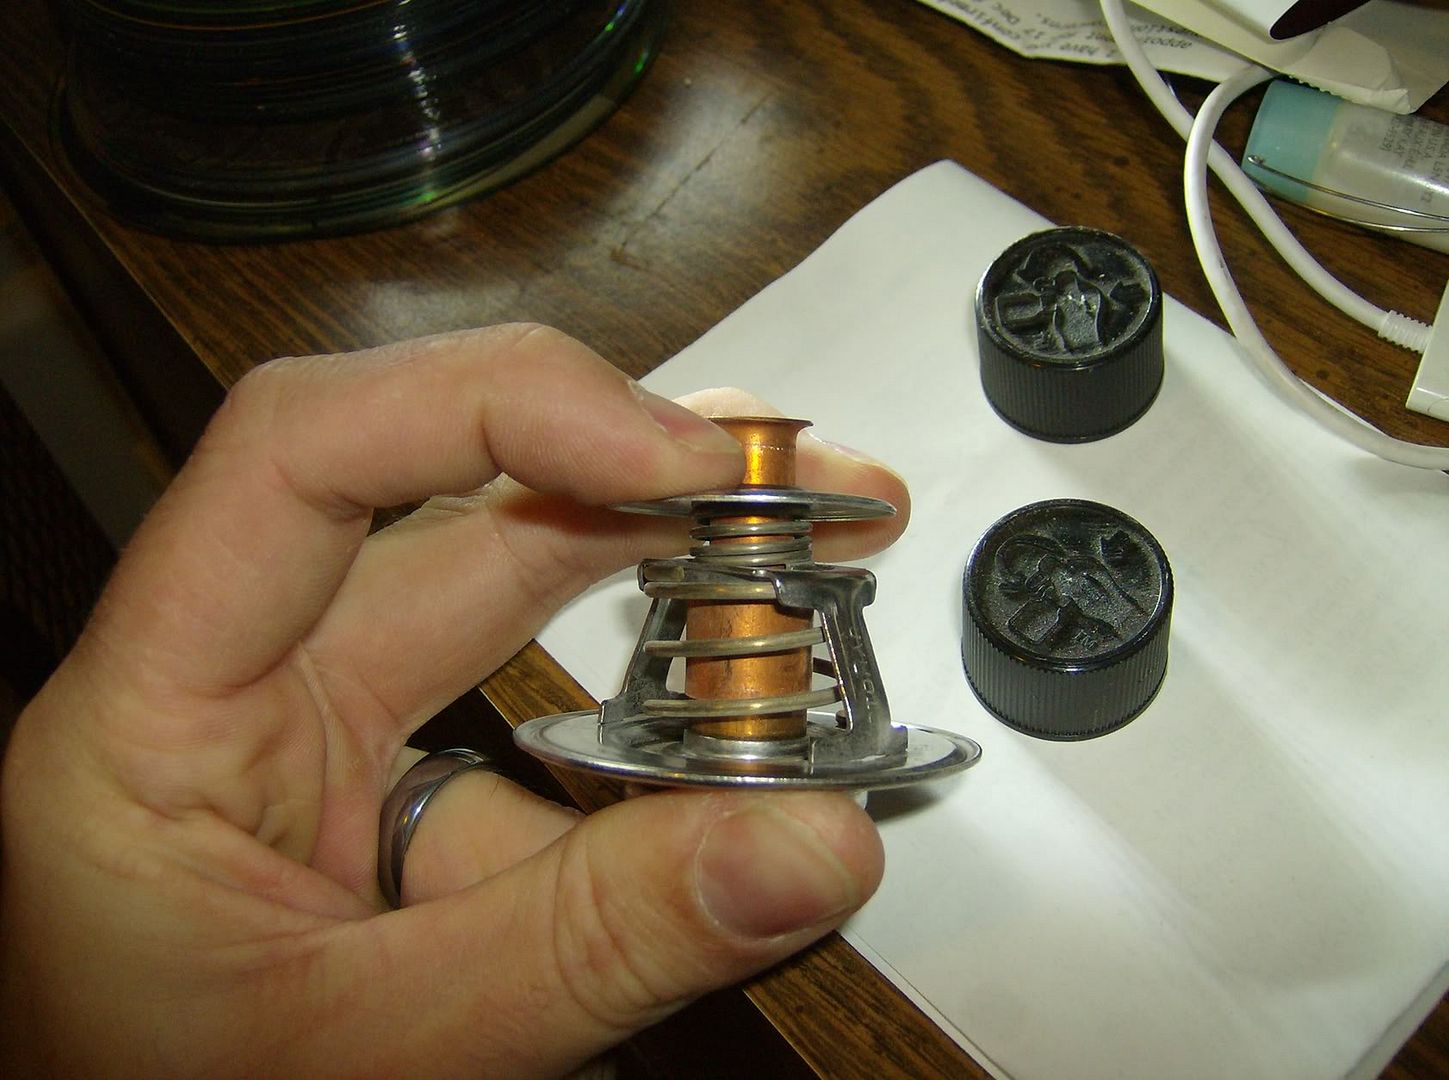
The thermostat block off port piece on the bottom of the thermostat is spring loaded so that when it makes contact and seals the bottom port off (the bypass port that recycles coolant to the engine) the top part of the thermostat can continue to open further to maximum opening width.
Oops, yes correct ... my mind is going.
But even so, there comes a point when curtain area exceeds port area that you see no more flow. I mean if you were to move the valve 4 inches away you would not increase flow because you reached maximum at about 1/4 inch (or so).
Some quick measurements:
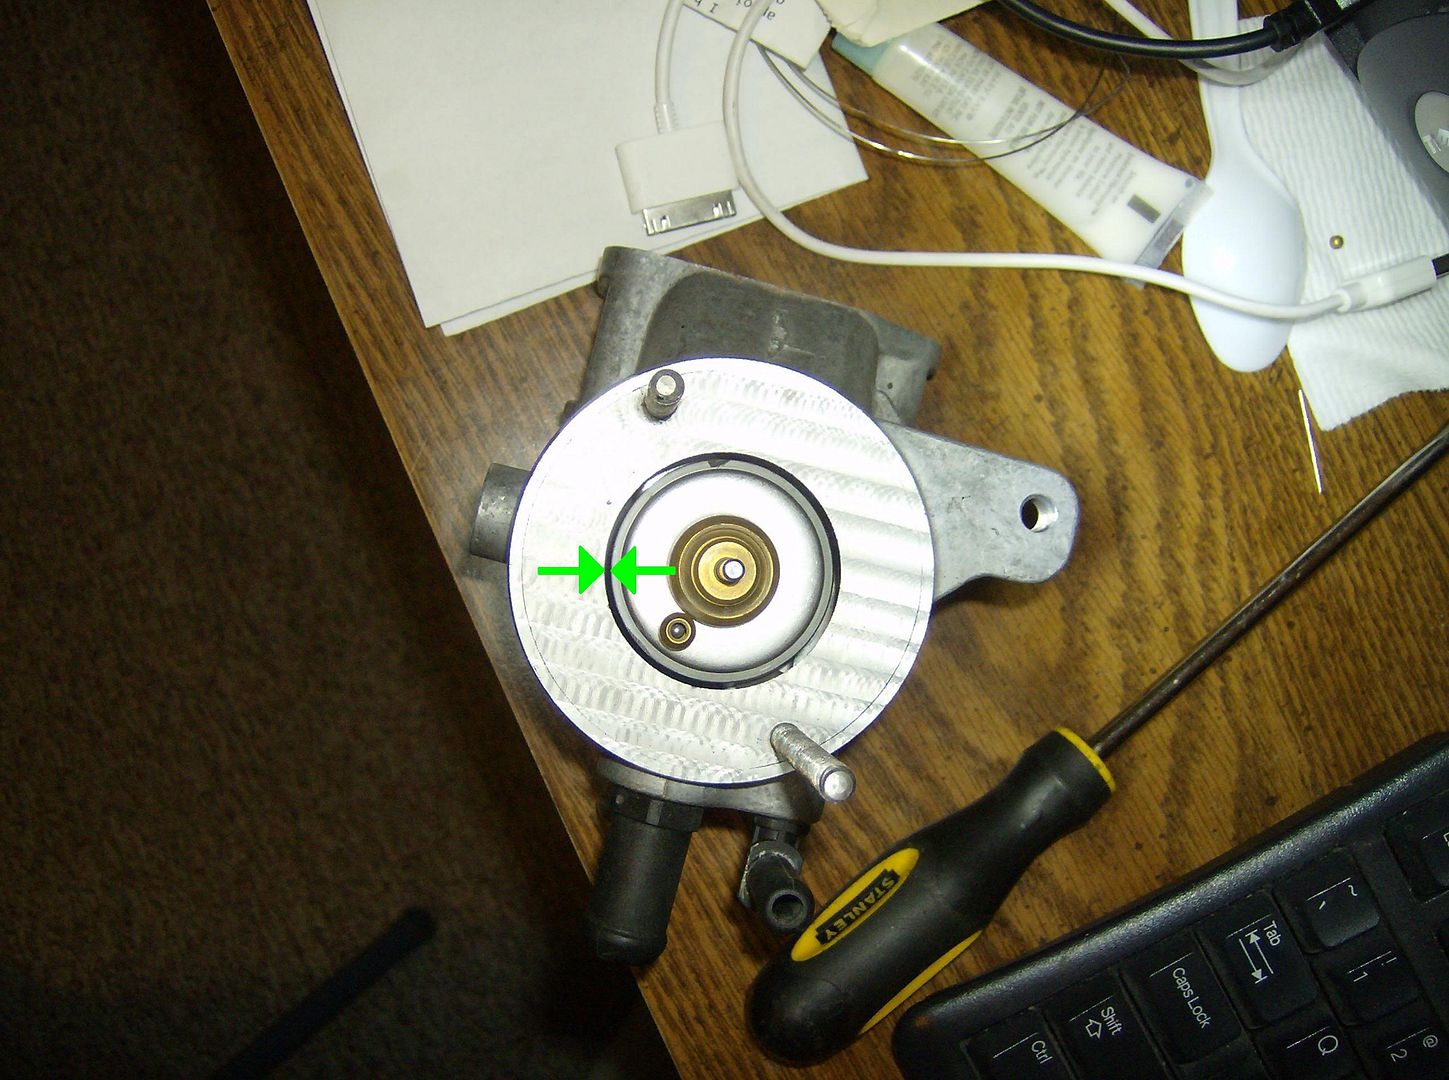
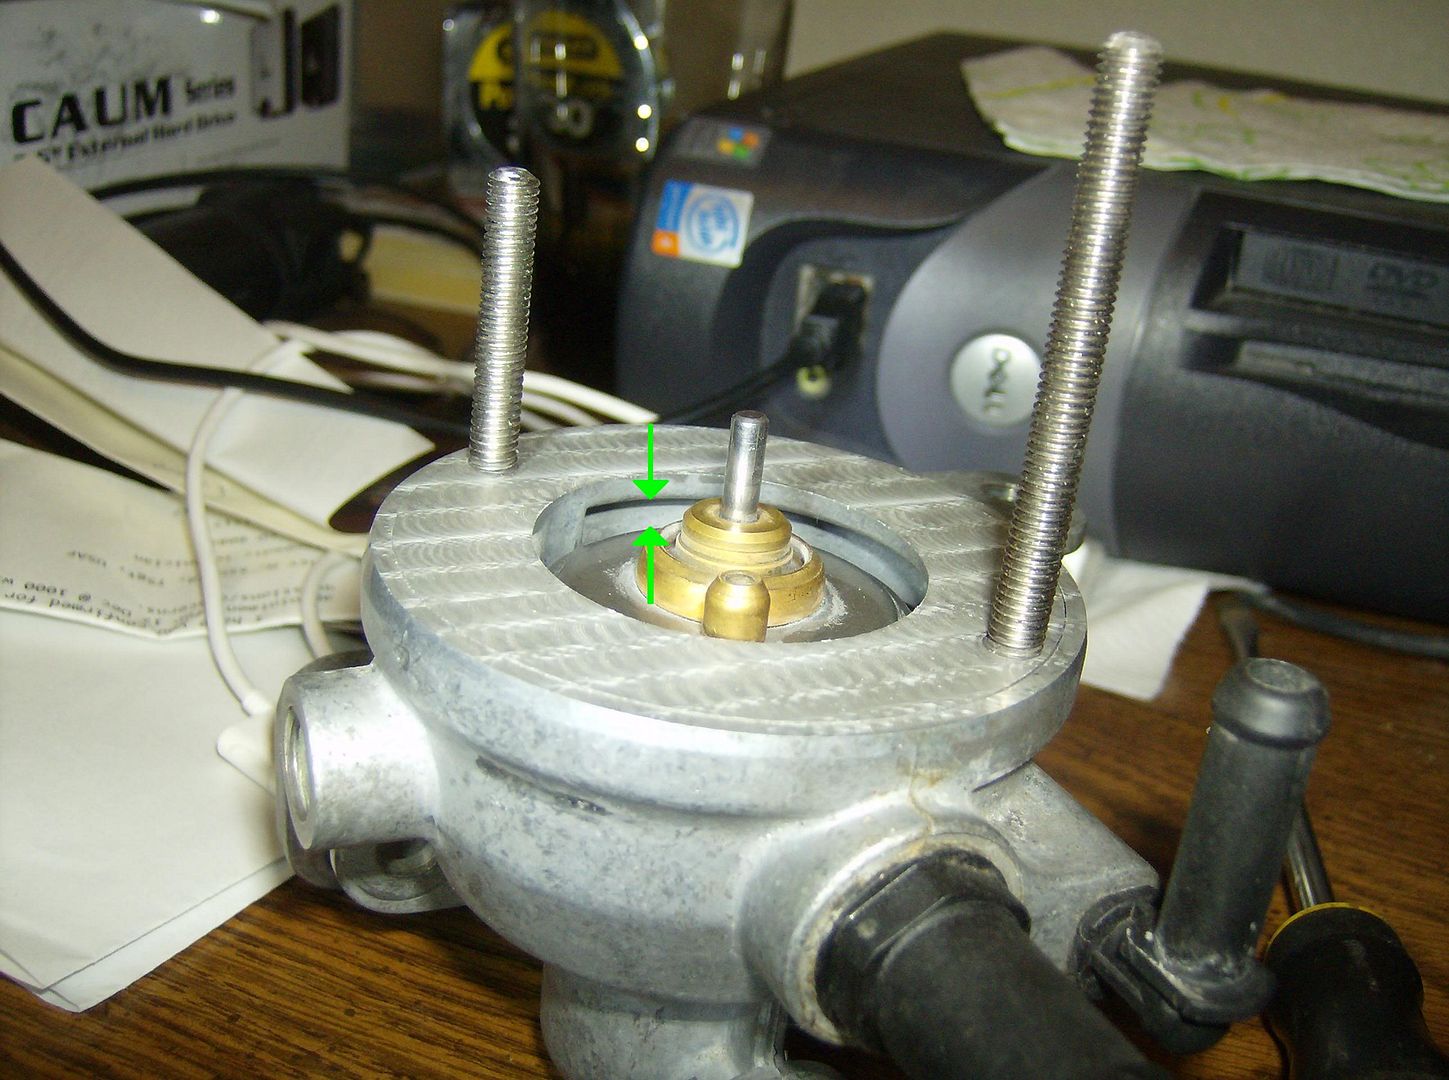
-original valve diameter is about 1.5 inch = 1.8 sq in area
-upper port diameter is about 1.3 inch = 1.3 sq in
-original valve movement for lower port
just sealed is about .4 inch = 1.9 sq in (curtain)
So the original thermostat, on a hot day, seals the lower section, moves the upper valve away so that the restriction is limited to the size of the valve seat which exceeds the upper port size (1.3 sq in).
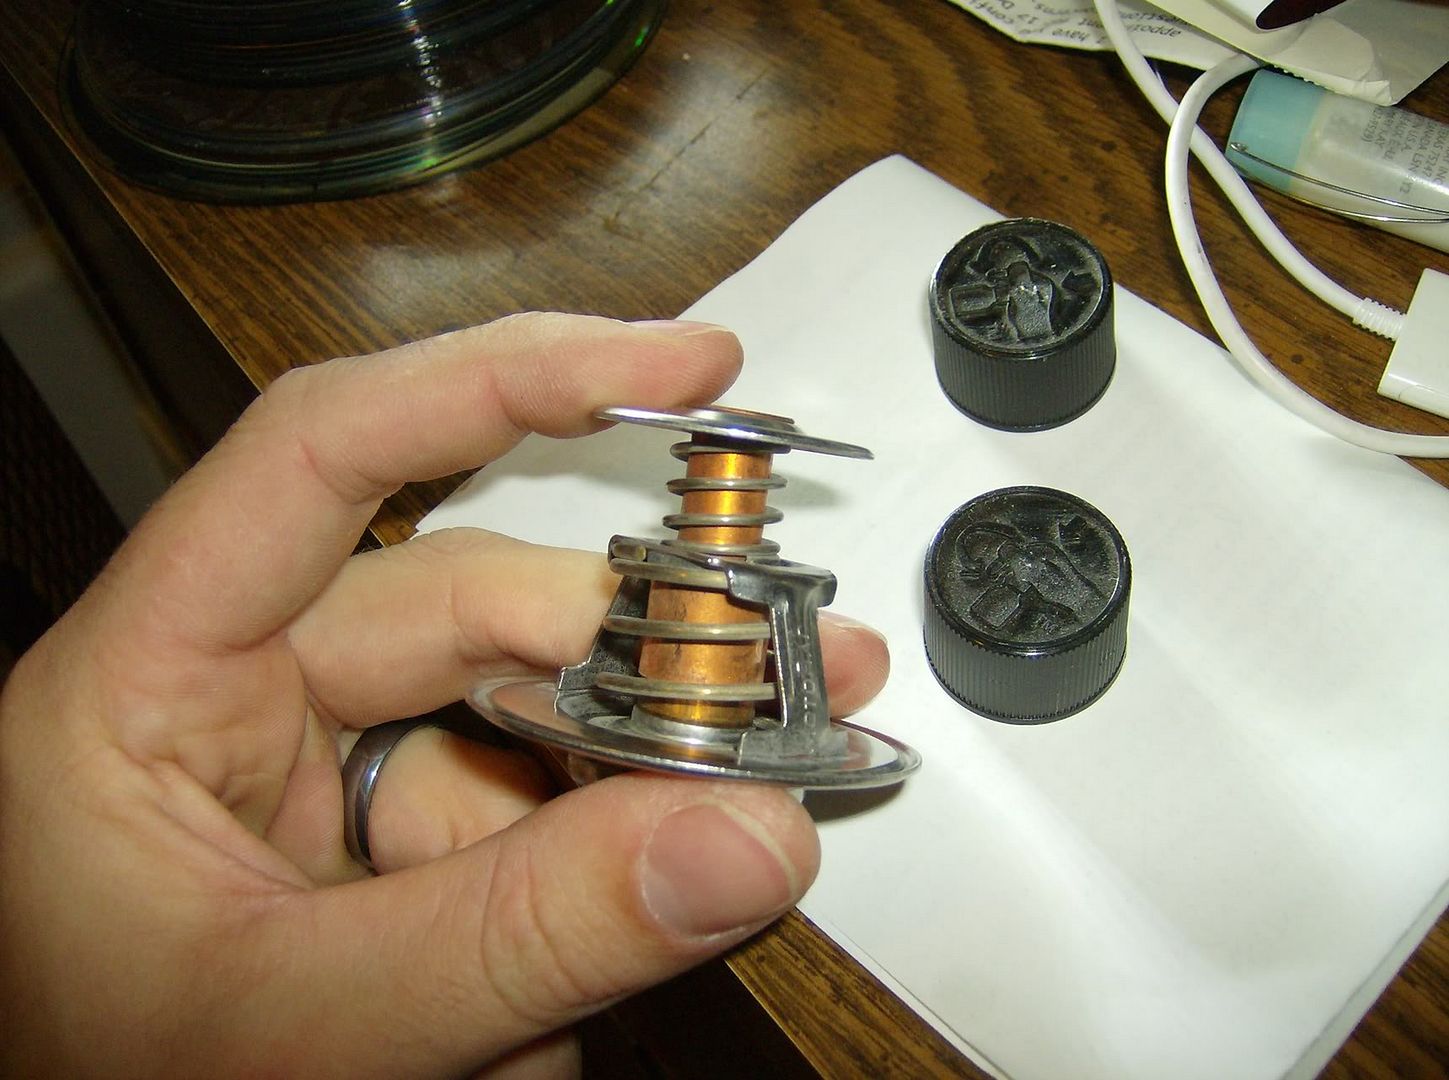
The new thermostat is about 1.15 in diameter = 1.0 sq in
The new thermostat is about 23% smaller than upper port size.
If the input port is smaller than this again then all should be ok as long as the heater ports are not stealing some of the flow. But who runs heat in the summer?
I don't know, it may be more complex than this but when the question was asked about flow, I thought that I should mention the smaller than port size thermostat. Sorry, again I stick fingers in.


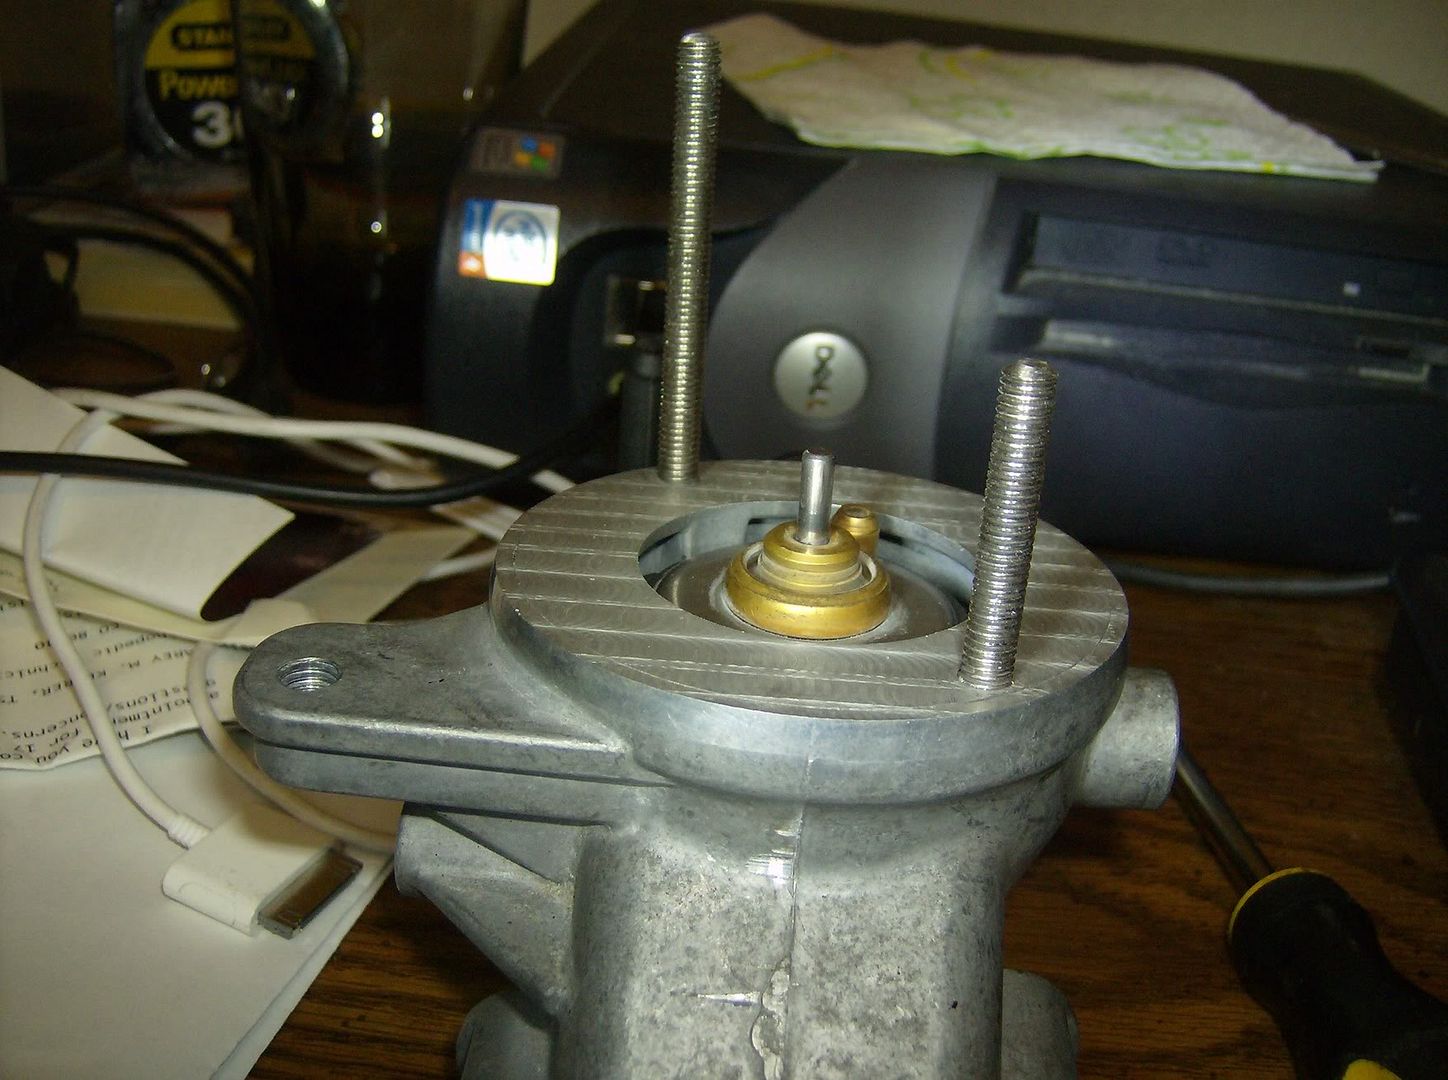

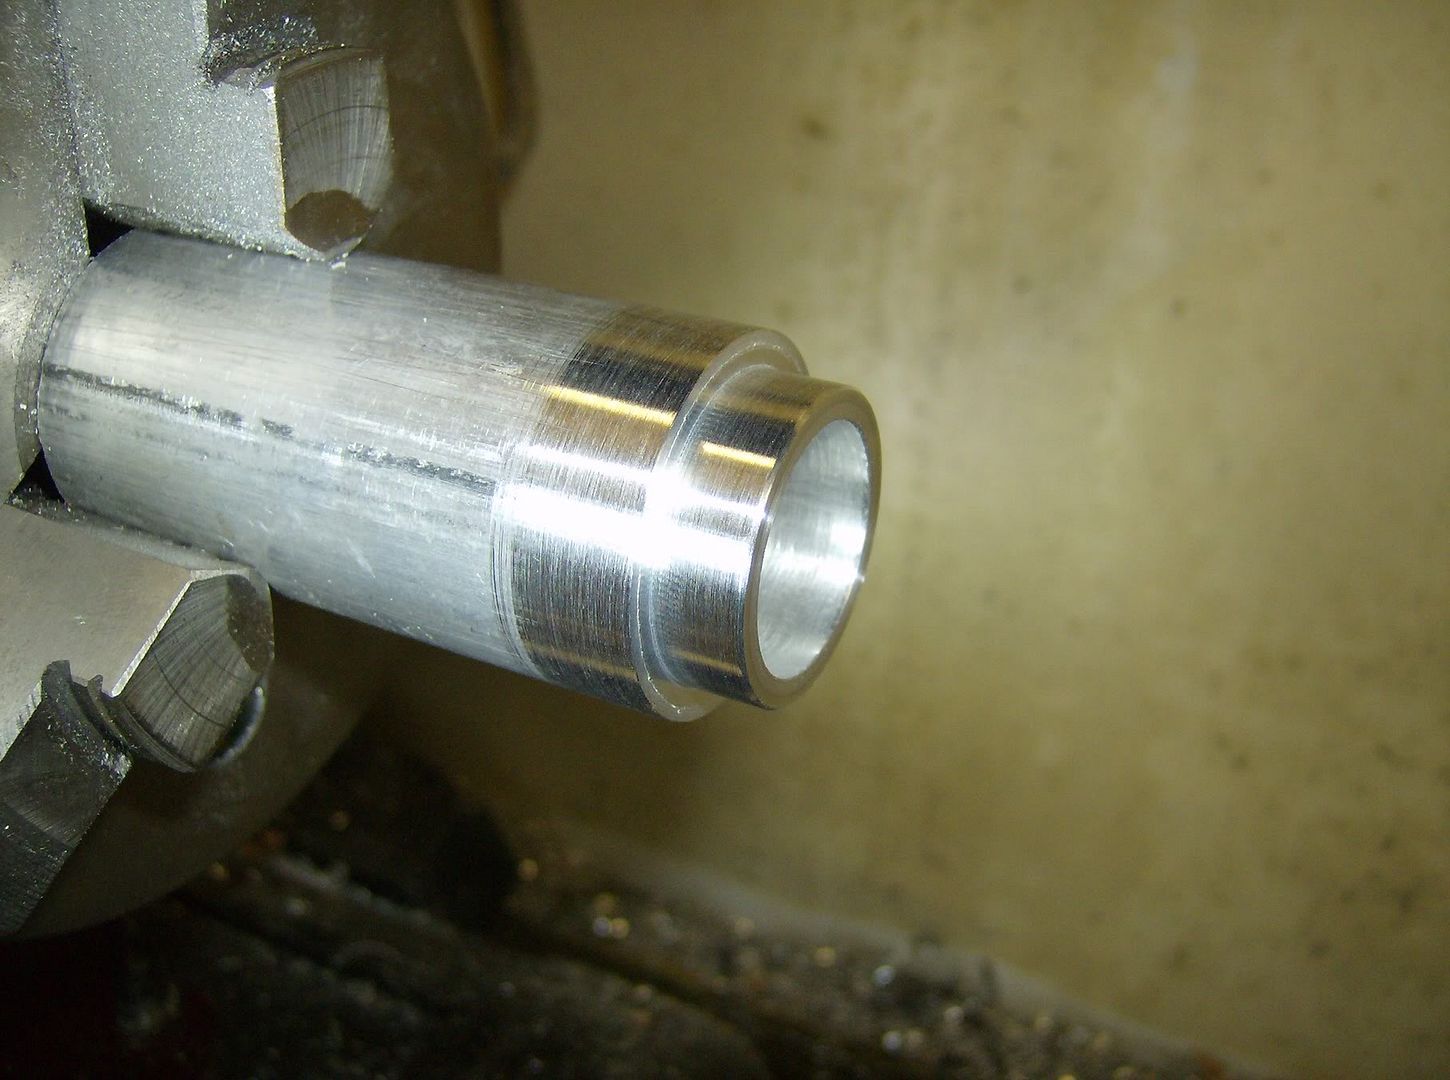
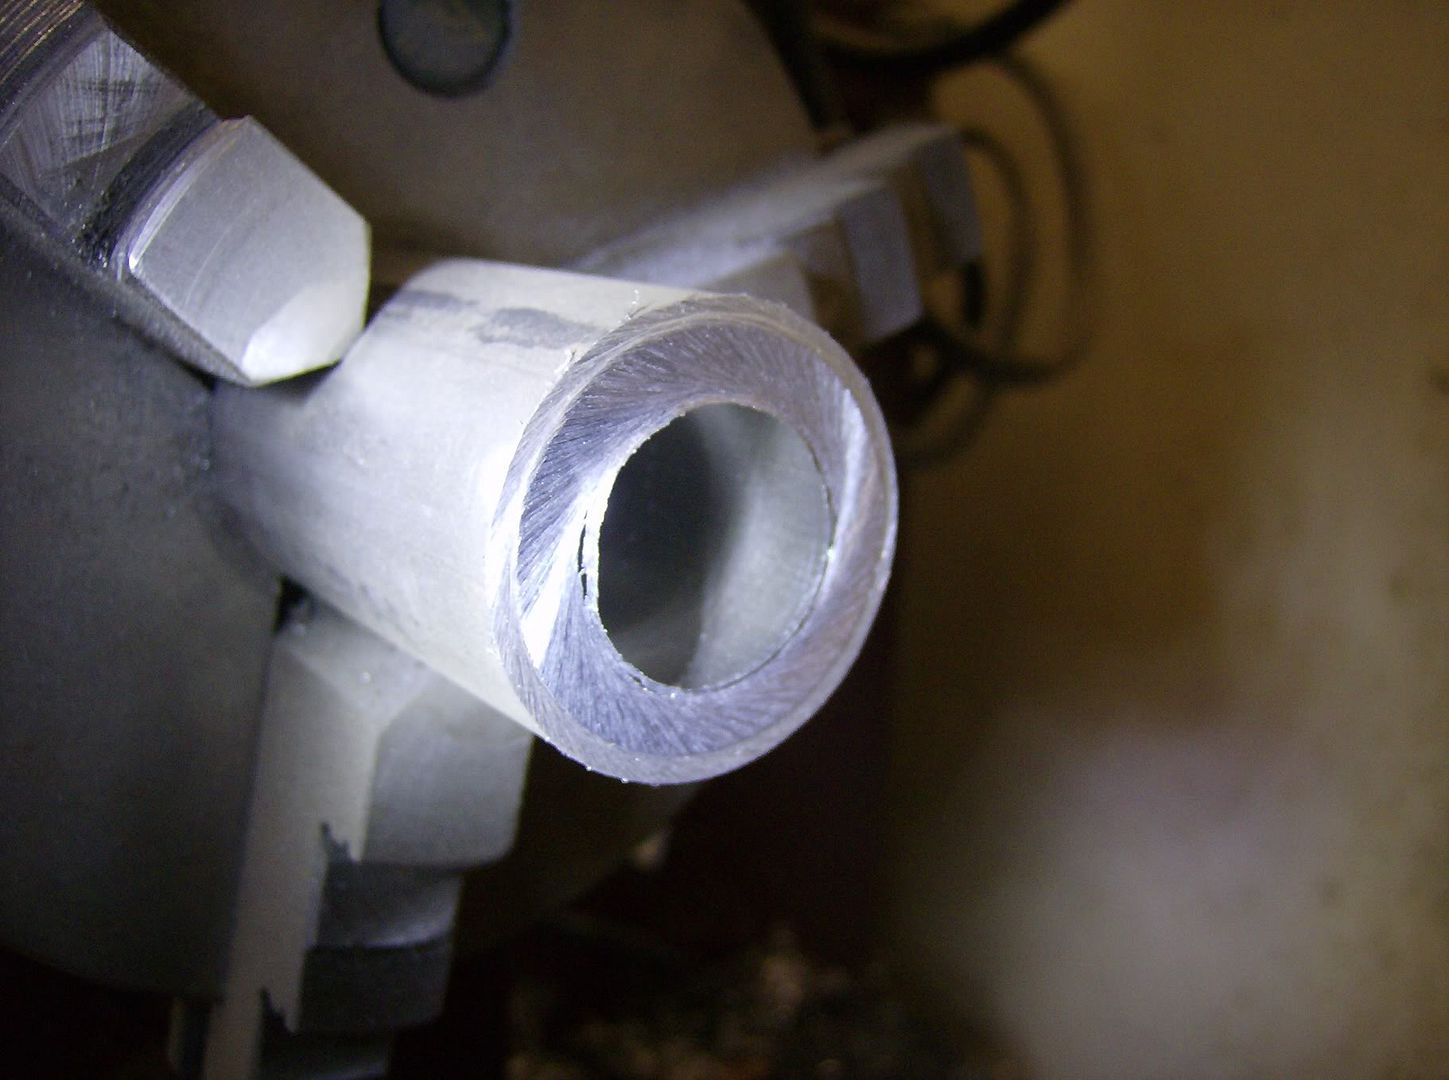
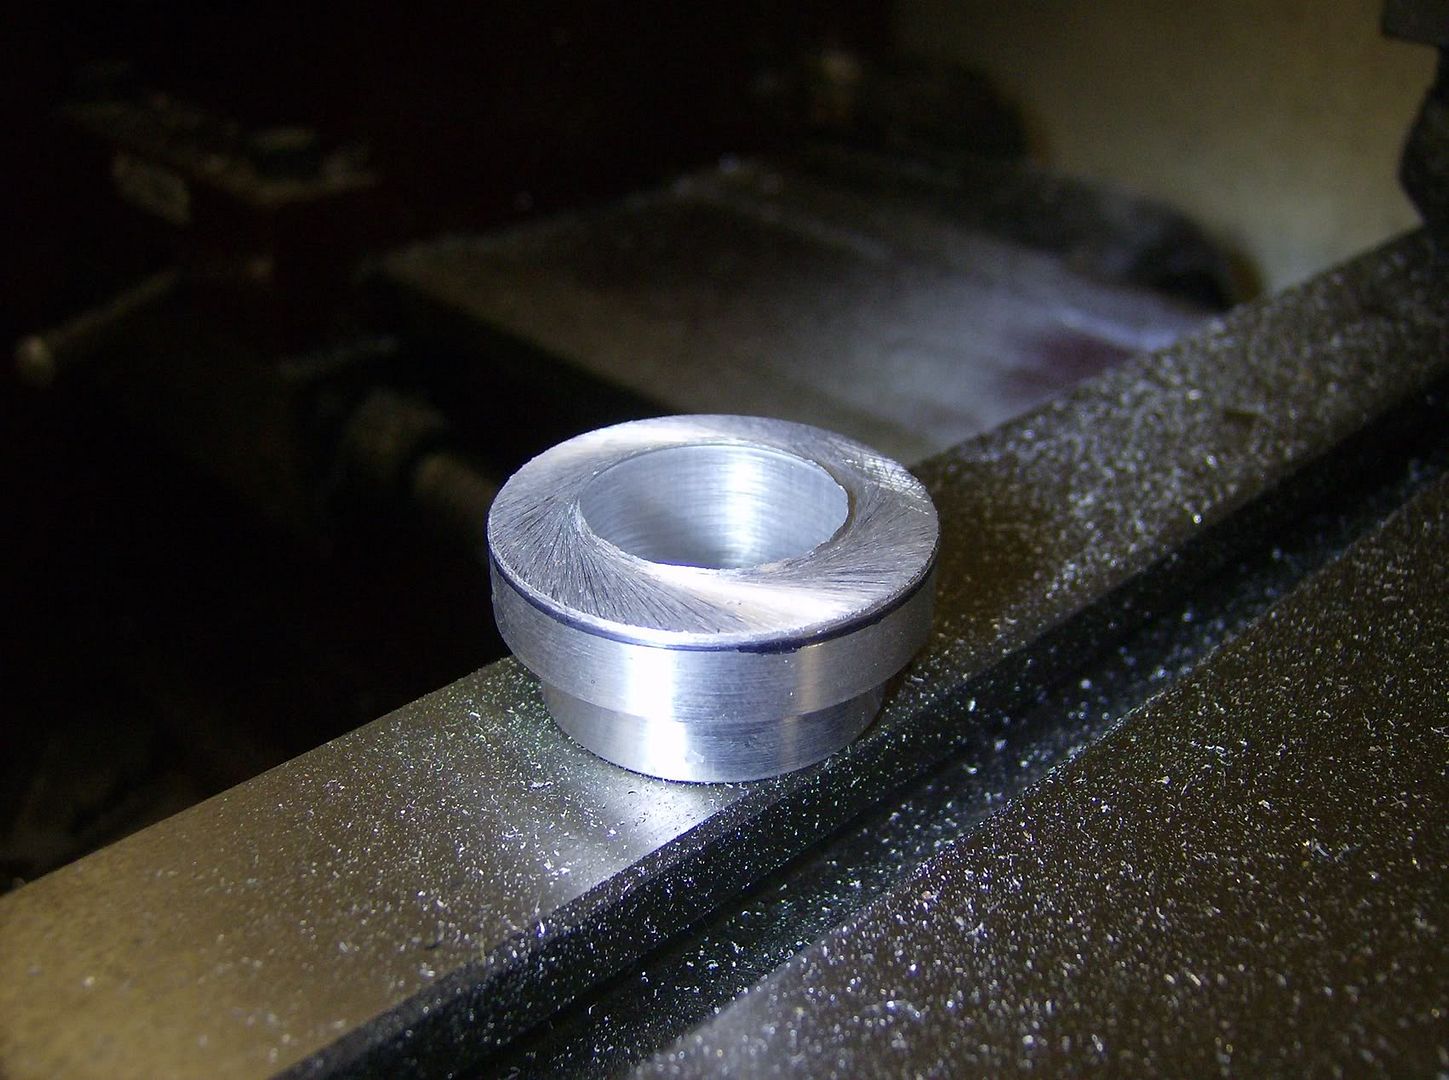
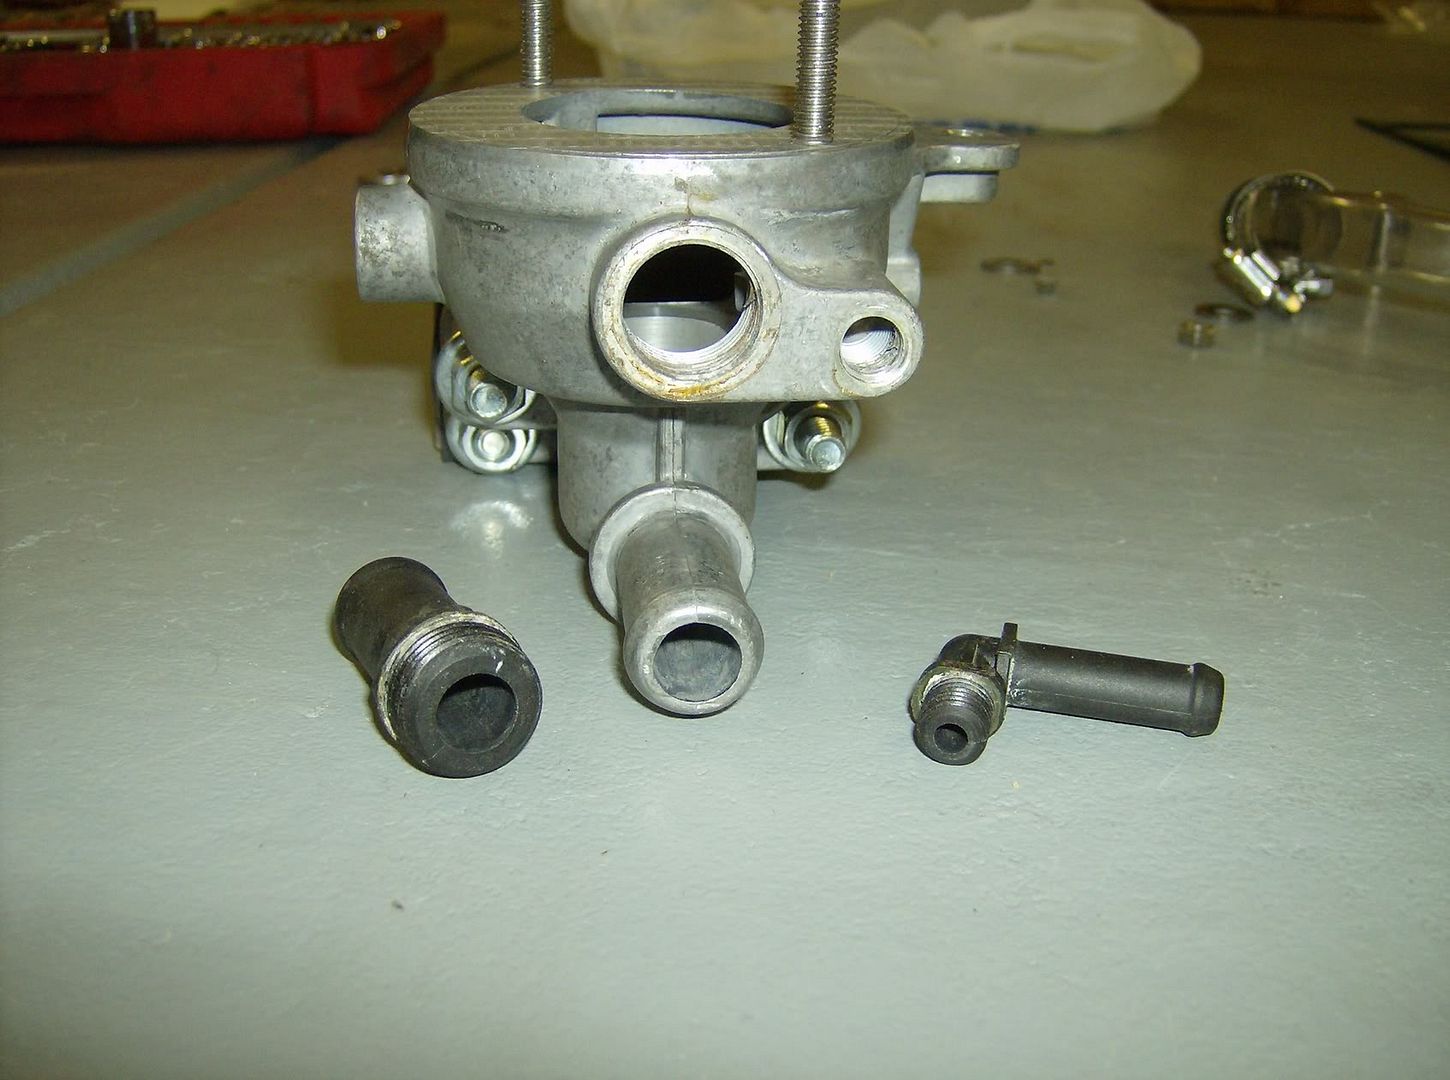
 Then It was all downhill from there. I resealed and screwed the plastic ports back in and it is curing right now. Also had time to machine 2 more bypass insert pieces and get them pressed in some units and cut one more gasket. Then since one of the units I am sending out is the 1st prototype I was using I had to remove the studs from that one since they would now be too short. I jammed 2 nuts against each other and then to my amazement and with a little bit of effort the studs backed out with no problems.