Hope this helps everybody. I forgot to take a few pics here and there but i believe my instructions are easy enough to follow. If anyone ever has questions feel free to post up or hit me up in a PM.
Purchase a Detours Backbone here...
http://www.detoursusa.com/kjbackbone.phpTheir install is here...
http://www.detoursusa.com/kjbackbone_install.php1: Start with painting your Backbone. I used a rattle can Duplicolor Truck bed Coating. Ive also used this on my sliders and rear diff cover. Using this there is no primer or prep work really required except for a good cleaning.
2: Remove the front bumper using Diggers post...
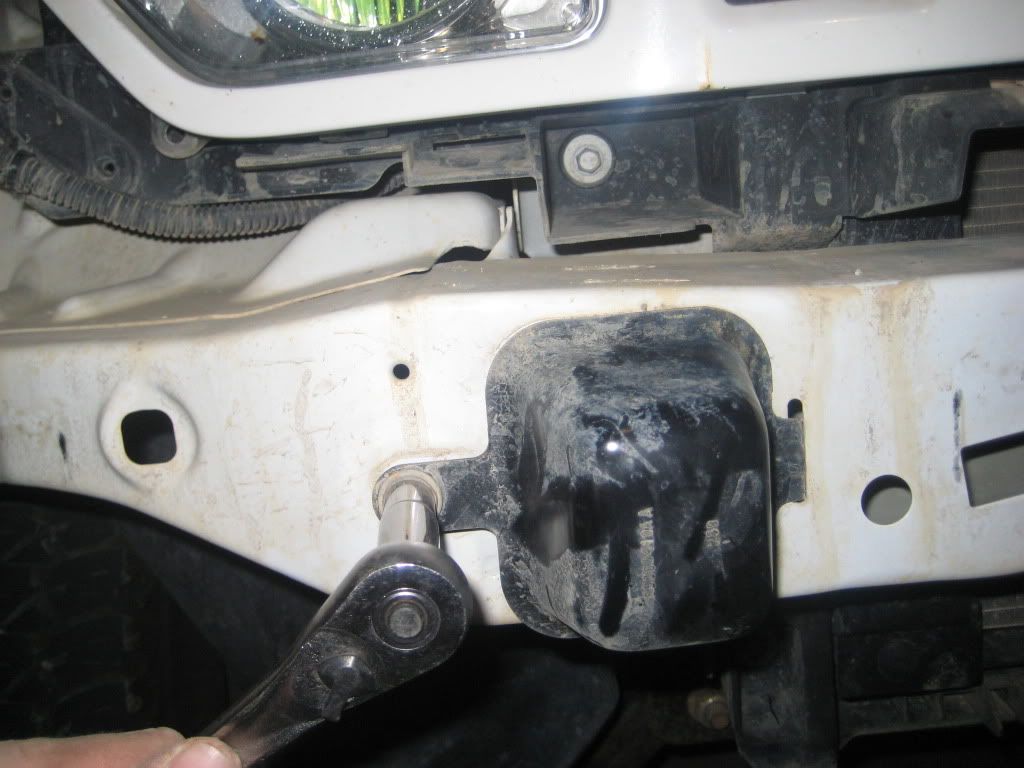
viewtopic.php?t=41683&highlight=NOTE: If you have the factory installed radiator skid plate it will need to be removed. If you want to reuse it you will need to find a way to modify the skid.3: Remove the crash caps. Detours says cut 2 7/8" up from the bottom of the front cross member, you could do this also. I just bent the top of the opening up with a pry bar enough to gain the clearance needed to install the L shaped mounting brackets.
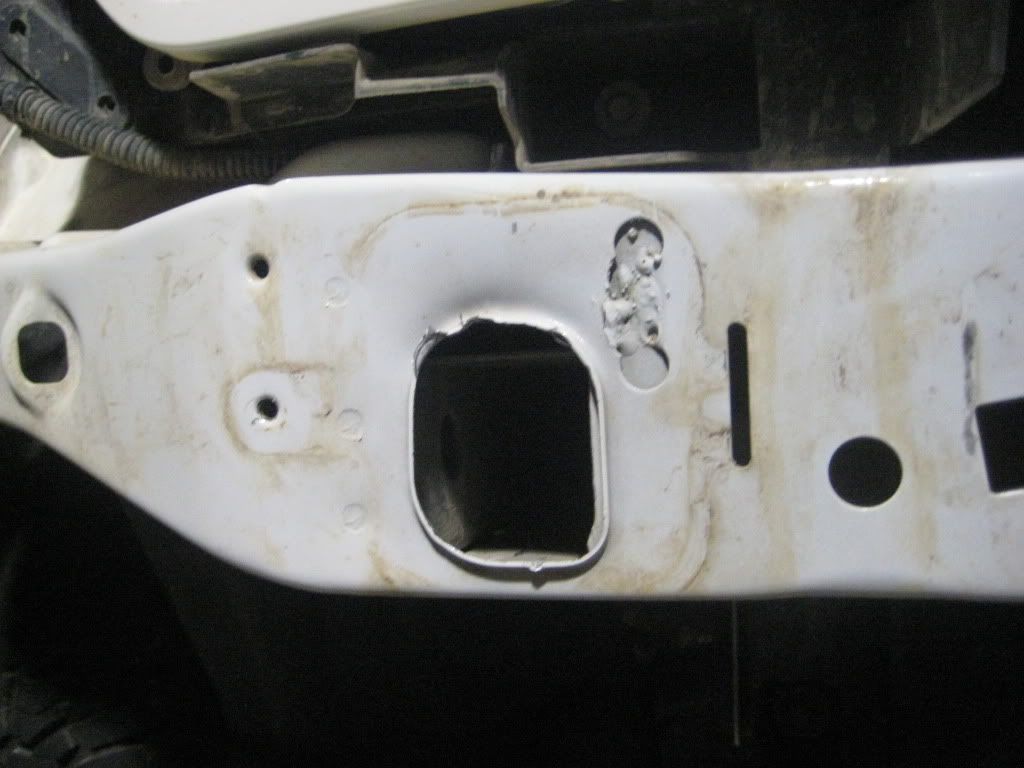
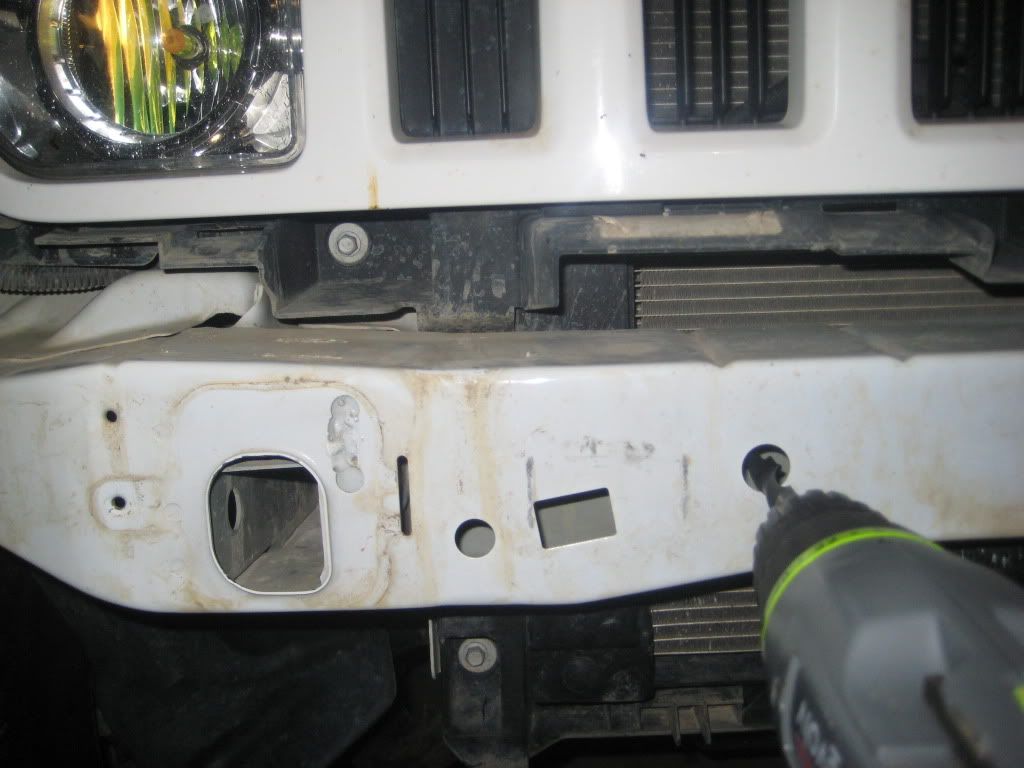
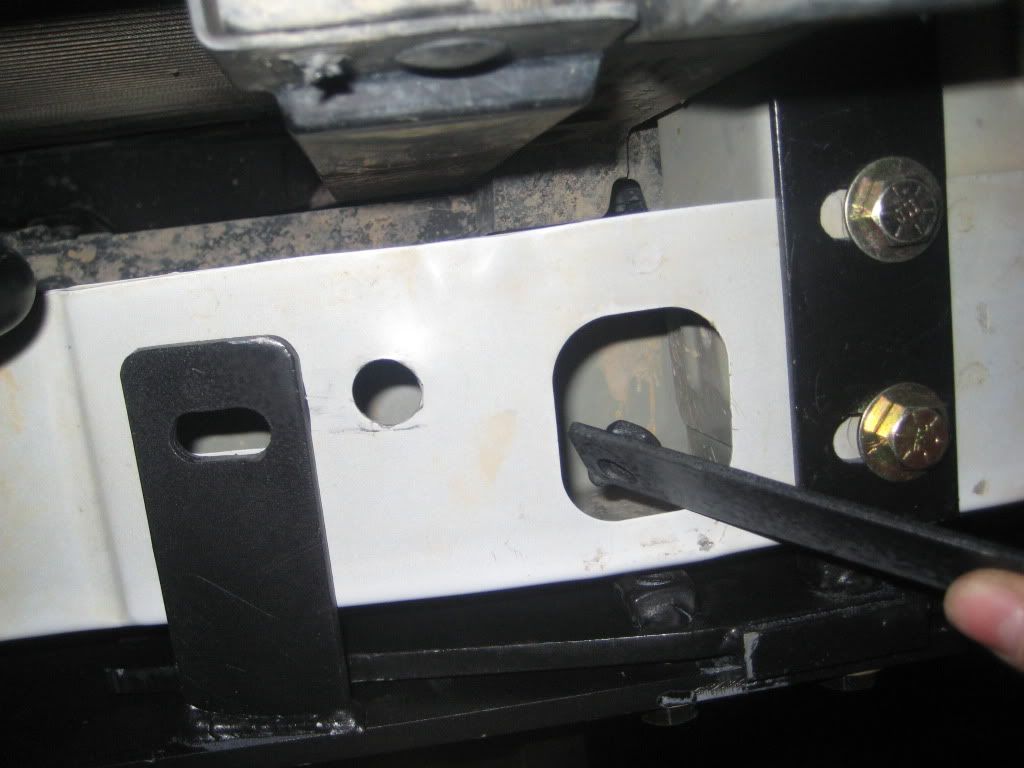
4: Insert your first mounting bracket into the opening. Align the bolt holes up on the bottom and hold the bottom plate in place. If necessary you could hold it in place with the bolts. Mark where you need the third hole drilled. My hole was right next to the factory hole for the radiator skid plate nutzert.
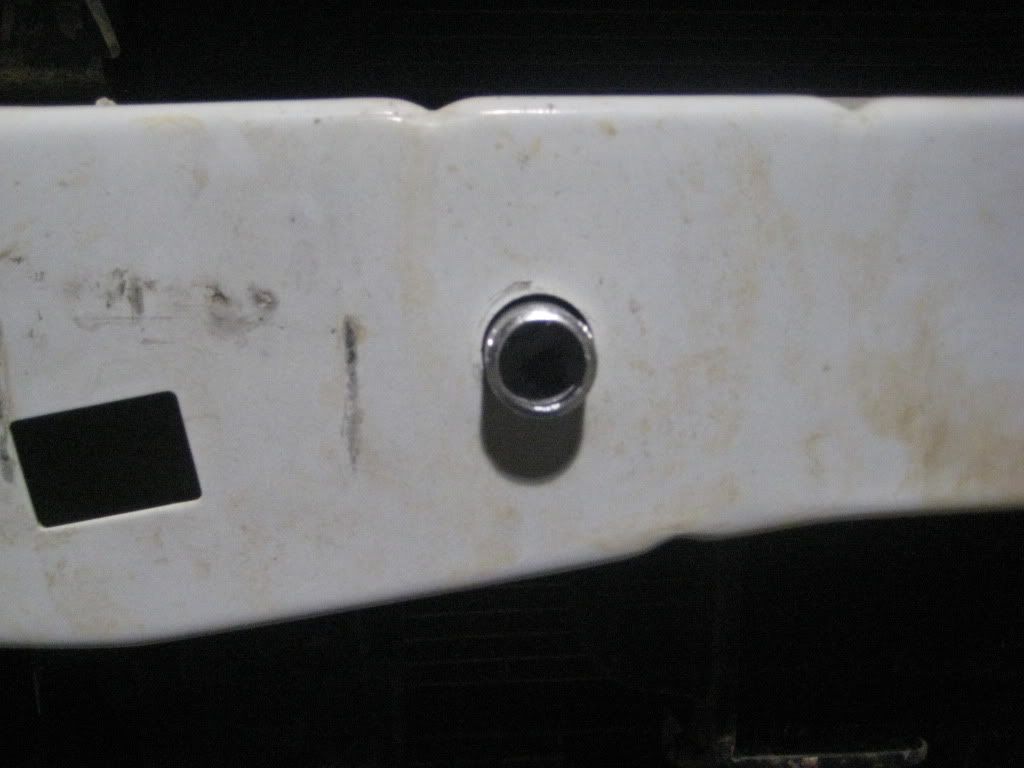
5: Remove the brackets to drill the holes. Start with the ones you just marked with a 1/2" drill bit. Then, through the existing hole on the front of the cross member drill the last two holes. With a 1/2" drill bit and as level and straight as possible drill through the backside of the cross member. Making sure that your drill bit isnt too long and going to go through your A/C condenser. Finish by inserting the spacer into the hole.
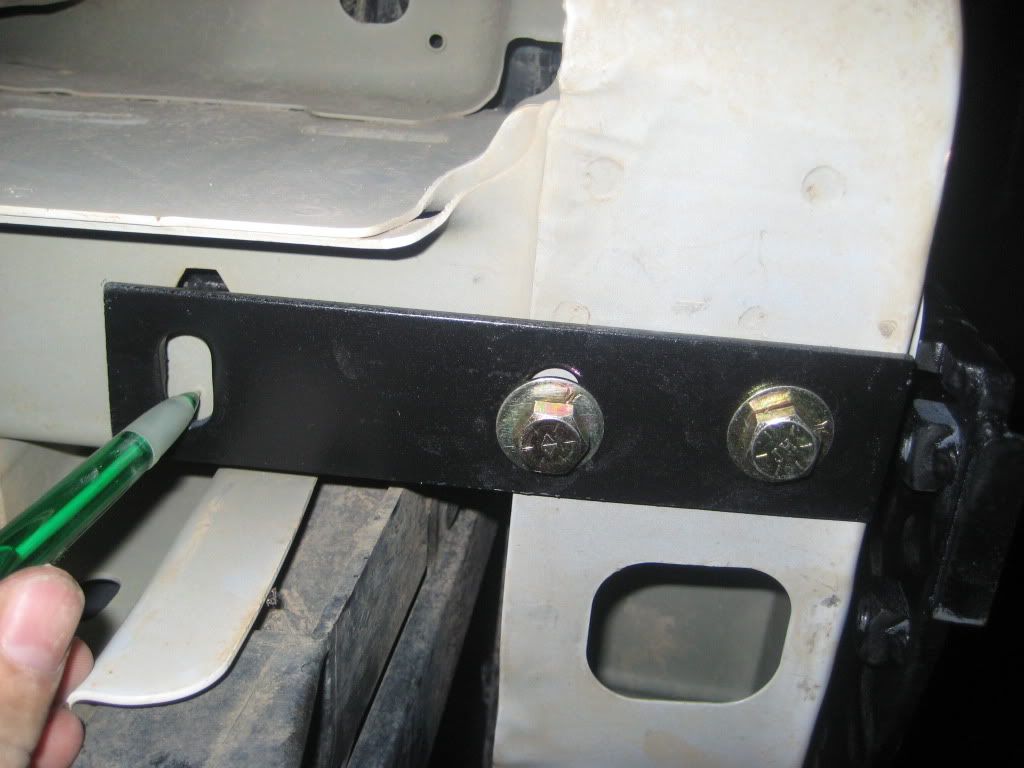
6: Reinstall the mounting brackets. Install the bottom three bolts loosely. The bolts only need to be tightened down enough to just hold in place. This will make it easier to wiggle all the other bolt holes into place while installing the other bolts.

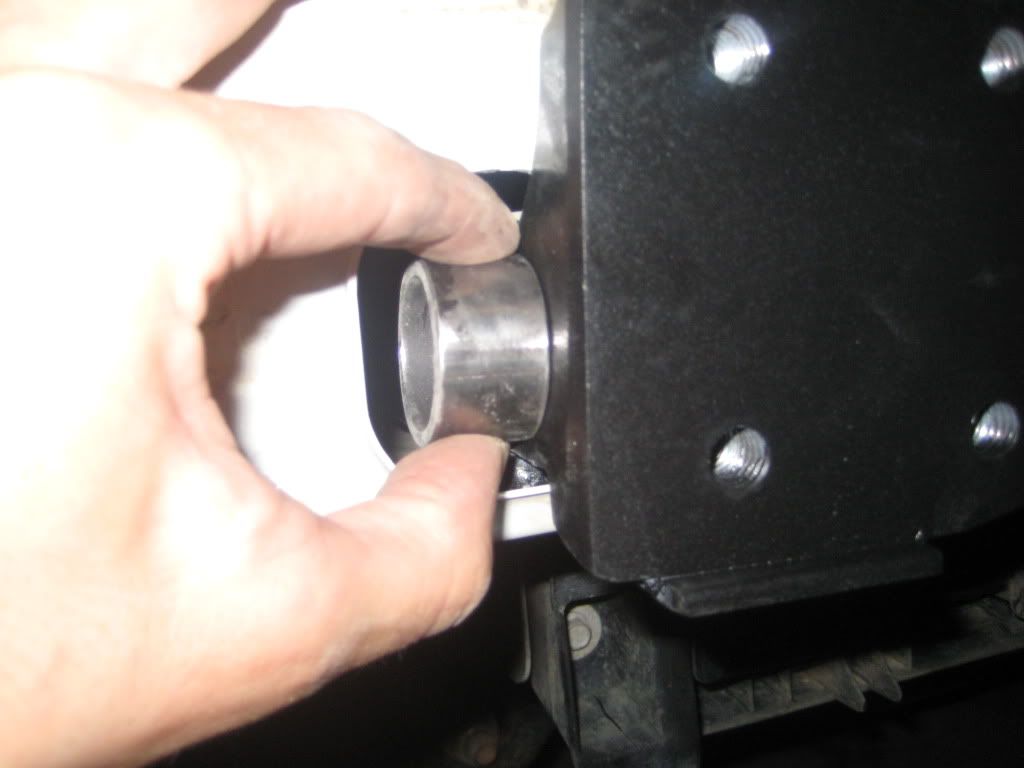
7: Then the small circular spacer needs to be slid into place. It goes between the bracket and the outside of the opening. The bolt will need to be slid in from the hole on the side from the back side of the cross member. Remember leave loose.
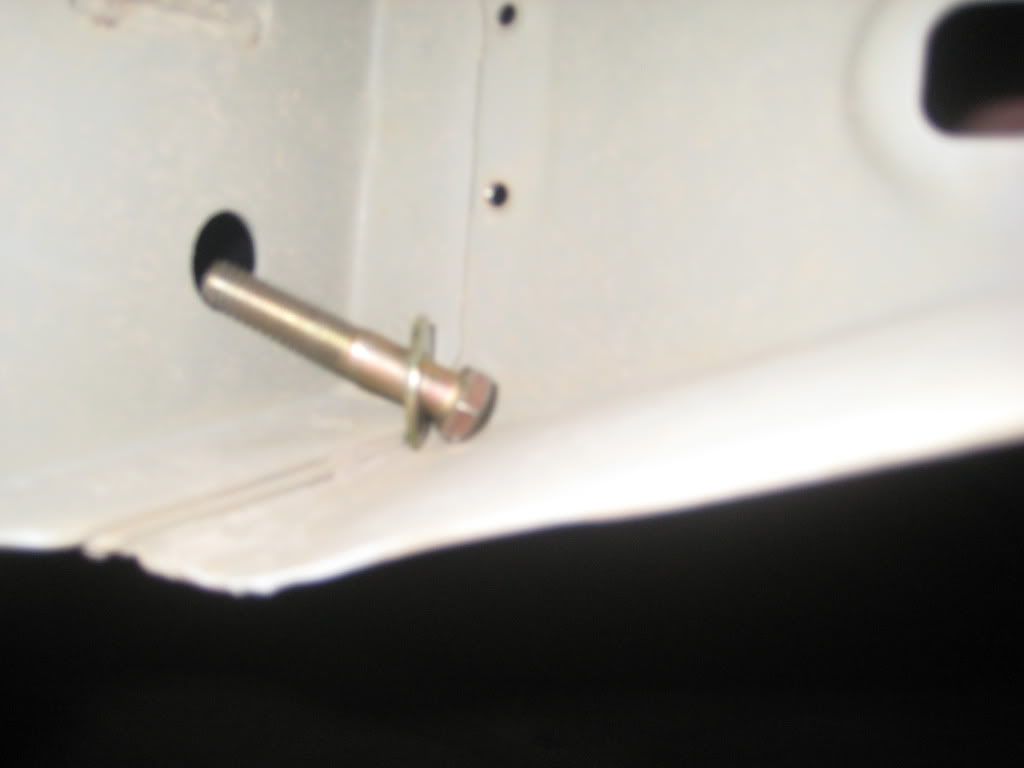
8: This next portion would be rather convenient to have a buddy hold the winch plate in place. Holding the plate in place start by inserting the long bolts through the plate, mounting brackets and through to the backside of the cross member. (Those spacers were still in the holes right?) Squeeze your hand up between the back of the cross member and put your square plate on the back and hold it in place with nut. Still leaving all these loose.
9: Install the rest of the bolts on the front of the plate into the mounting brackets.
10: On the bottom of your cross member install the inserts and secure it to the plate.
11: Now that you have everything in place, go around and start tightening them all down. I started with the bolts on the L mounting brackets, bottom bolts, long bolts and finished up with all the bolts on the front. Detours recommends torquing everything down to 45ft/lbs.
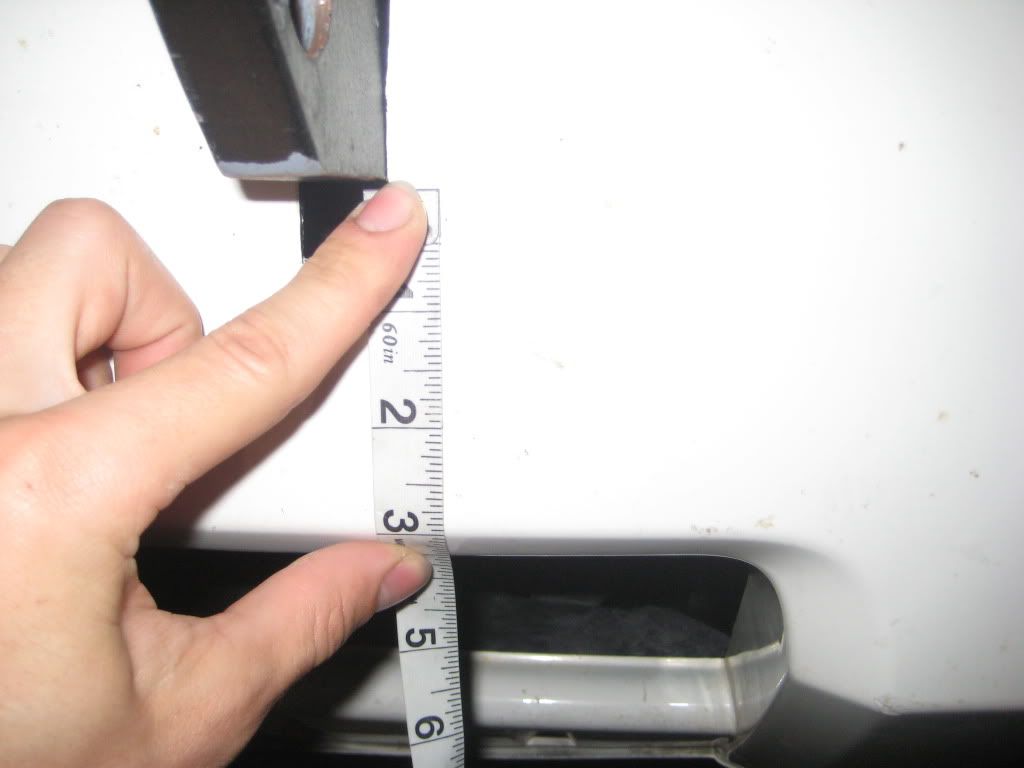
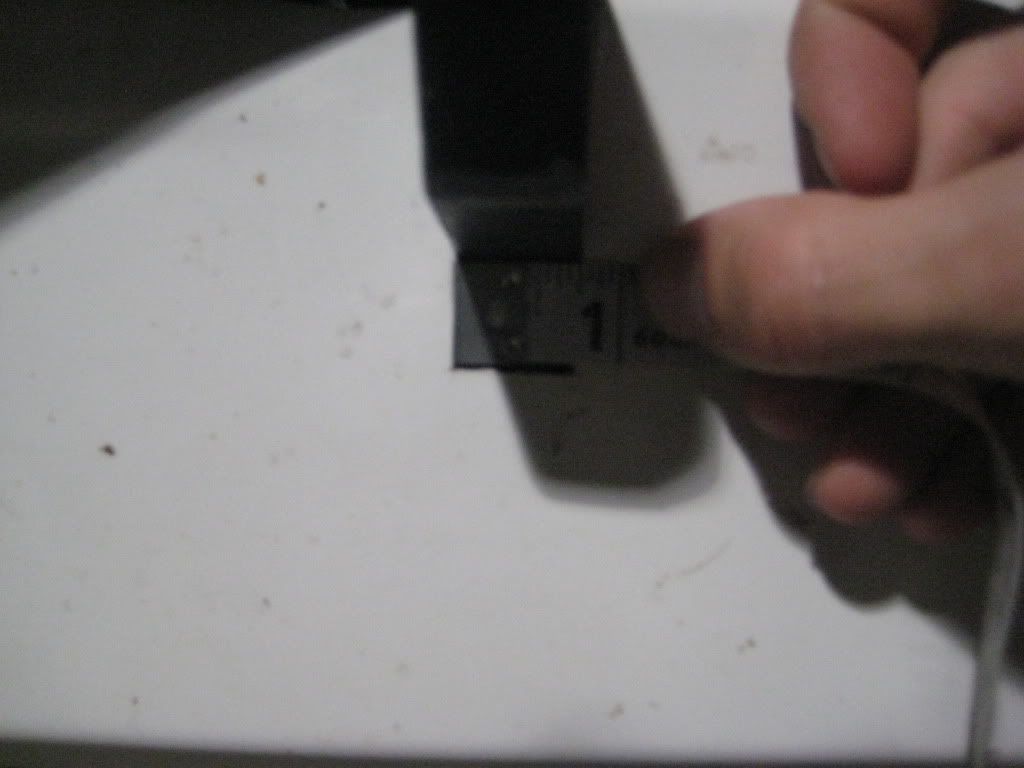
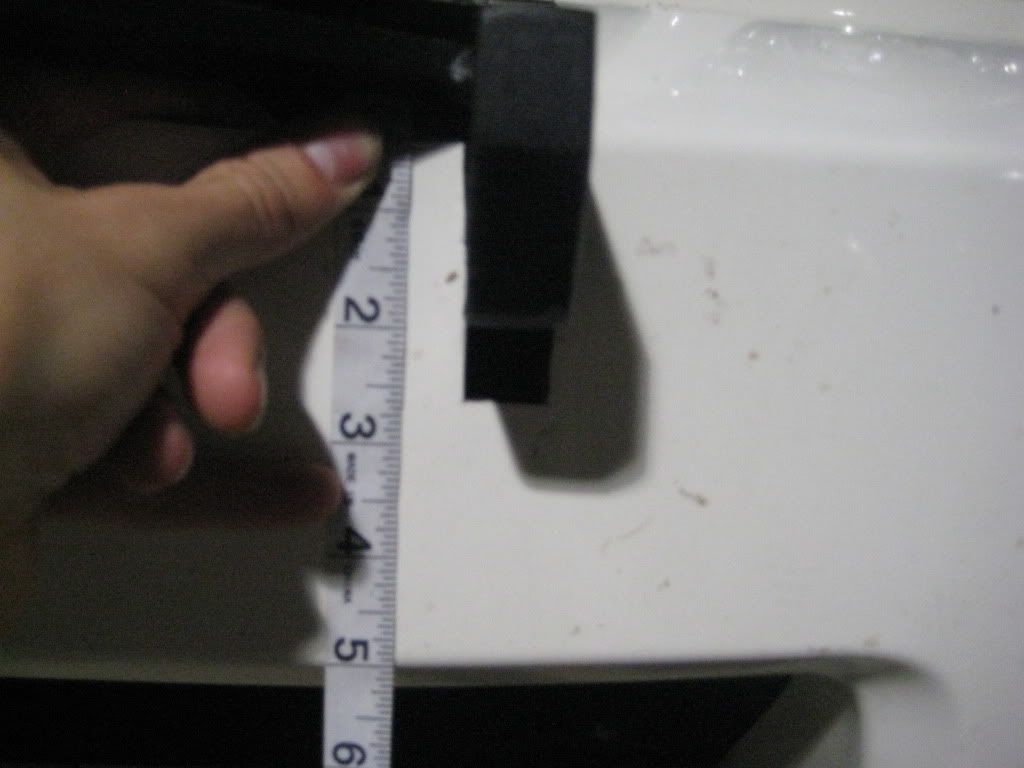
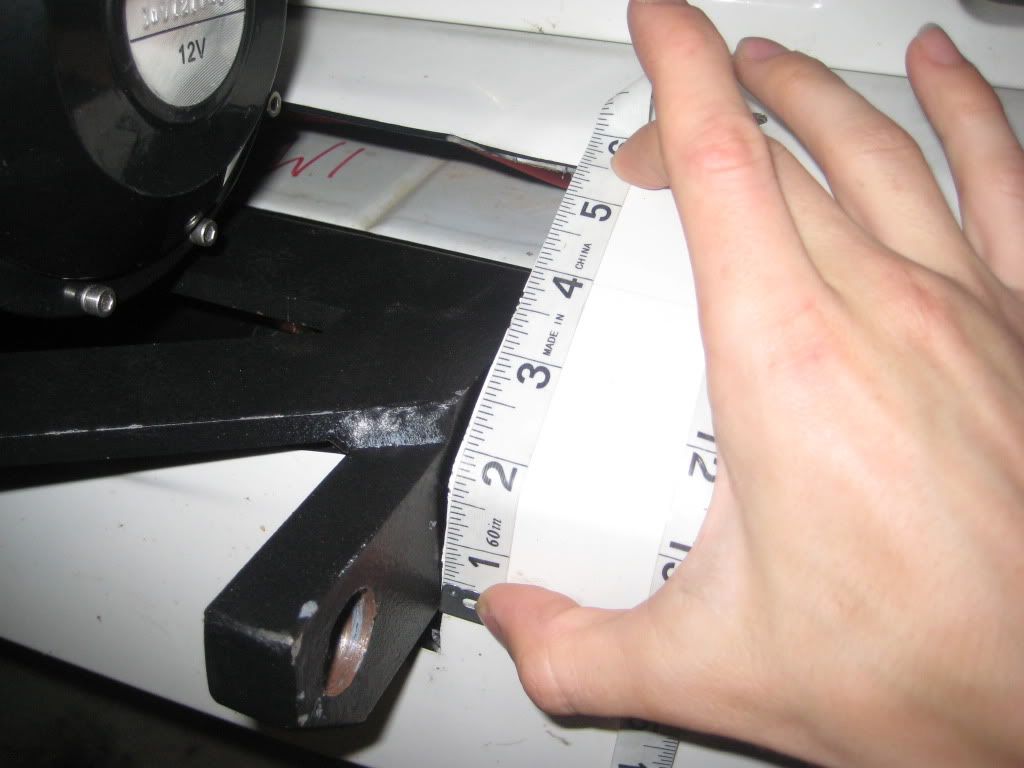
12: Now the fun part, cutting the bumper. Remember its easier to cut a little at a time then to add pieces of plastic back on. Make sure all of your measurements are centered onto the bumper. I dont have any pictures of the inside cuts but its easy to do when you got the bumper off and you're looking at it. Im going off memory here but you can use your own measurements to be sure. I cut the inside leaving as much of the mounting clips/tabs in place as I could. Pretty much any of the bulky pieces in the middle are coming out. The center needs to be cut about 33 1/2" across to make room for the entire Detours Backbone behind it. OK so the backside of the bumper is gone, big deal, now onto what needs to look pretty. From the front side the opening will be 24 1/4 across at the farthest point. 3" from the highest line from the opening in the bumper are where the slots for the tow points should be cut. These are 3/4" wide. On the inside of these tow points measure up 5" from the line, this should be flush with the bottom of the winch plate. Cut from the bottom of the tow point up 5 1/2".
Dont look at how terrible my cuts were, just go off my measurements. 
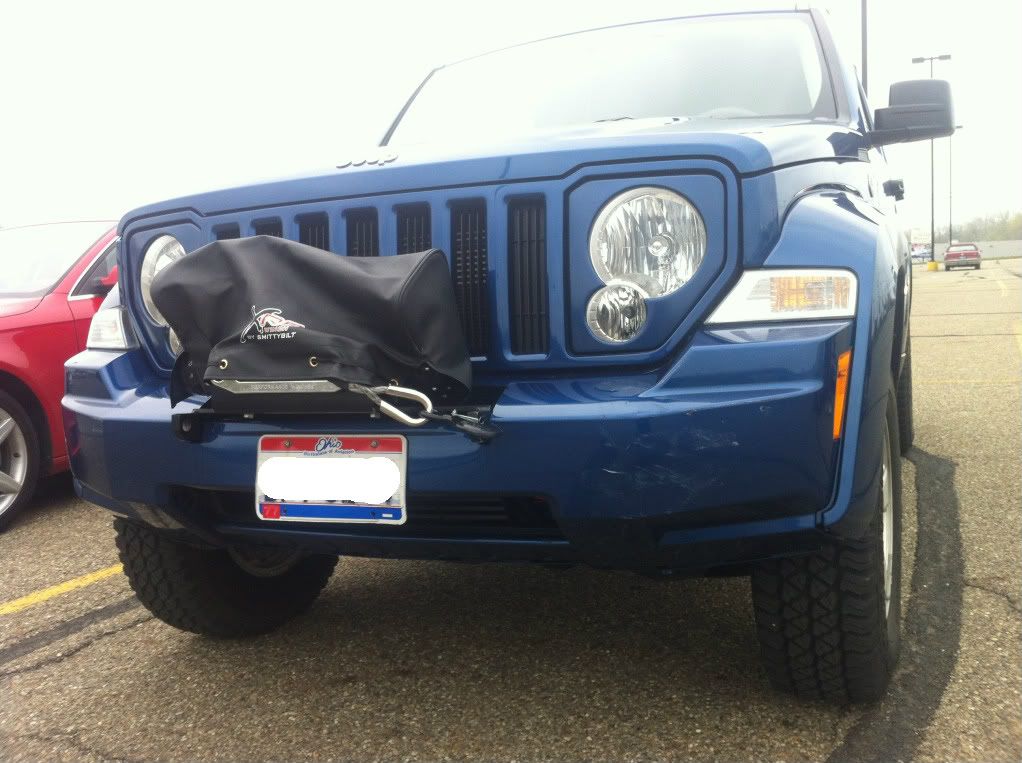
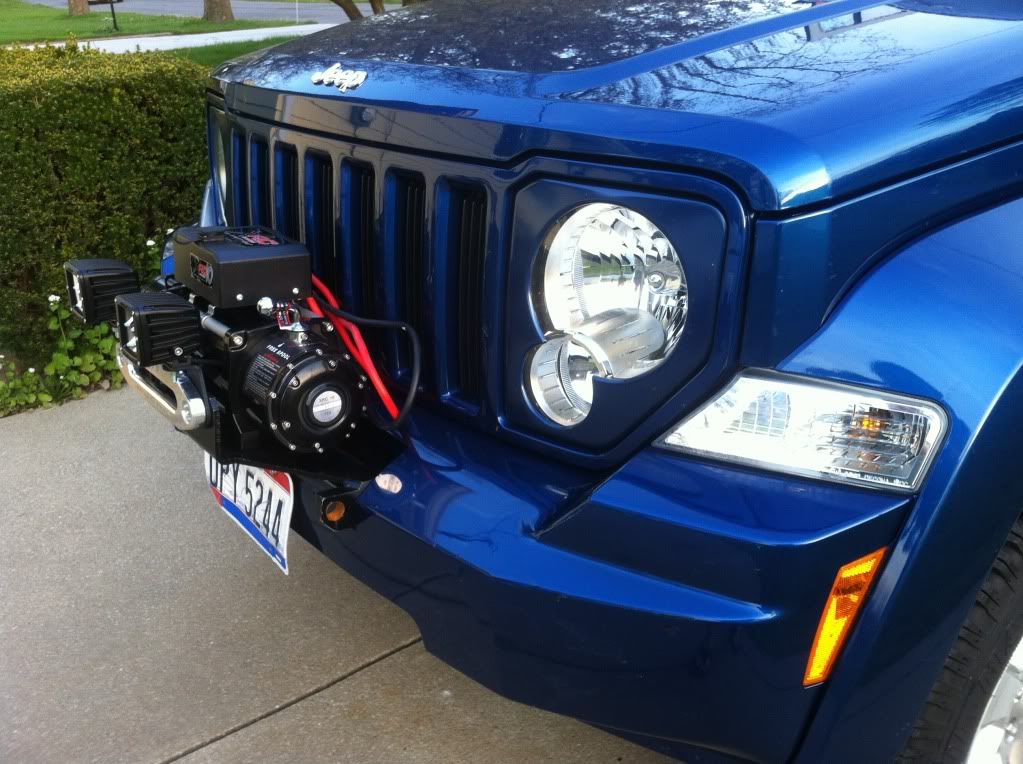
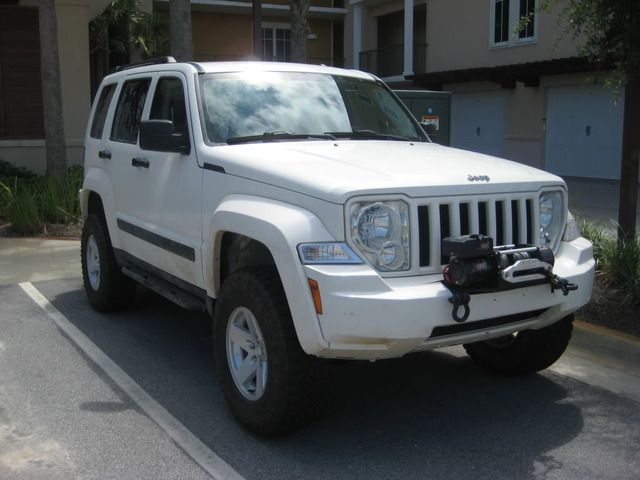
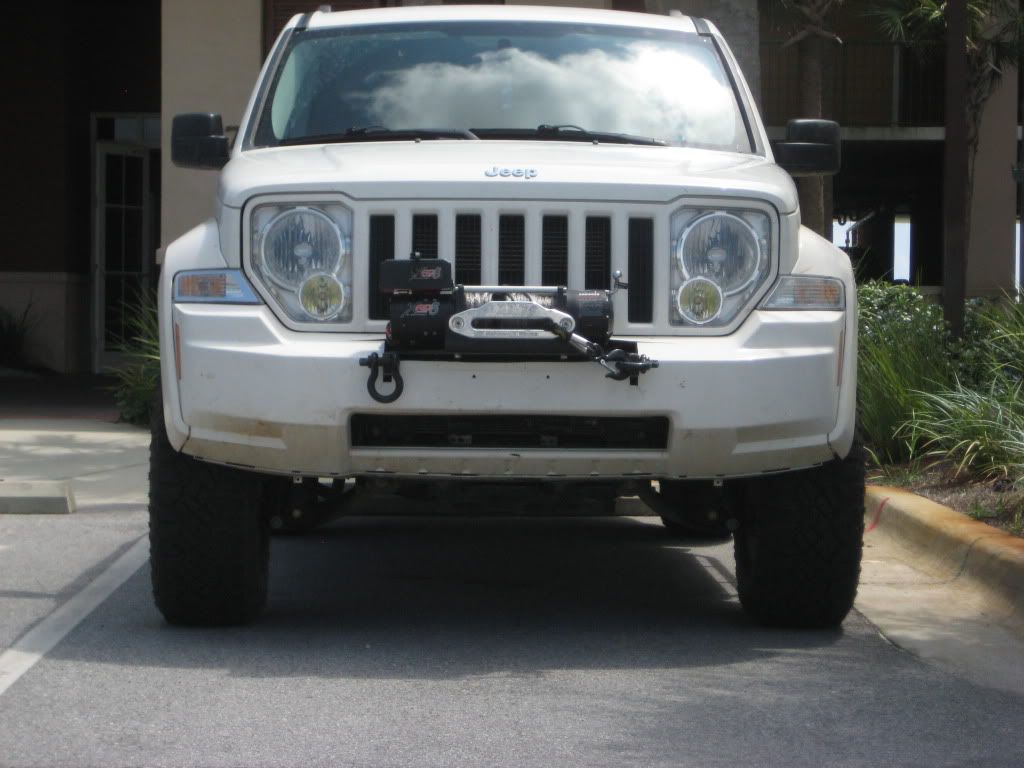
13: Once you got it all trimmed up reinstall the bumper and admire your work. To clean up the look of your cuts you can purchase some of the door molding trim and fit it around the opening. Make sure and touch up any paint flaws made during install.
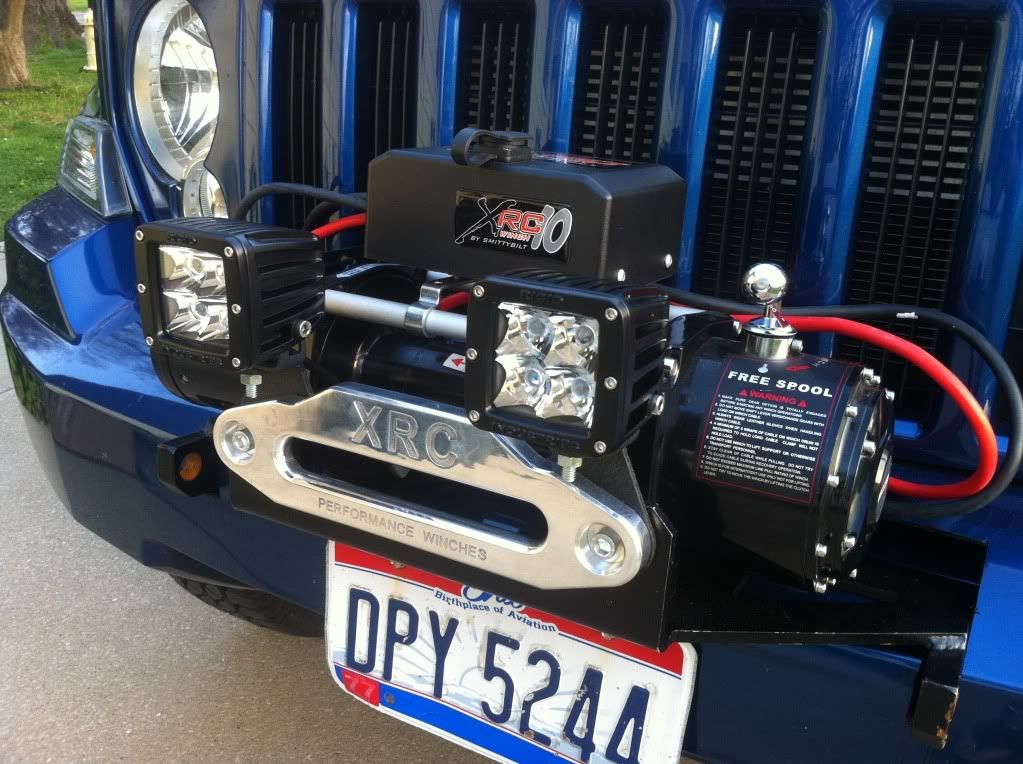
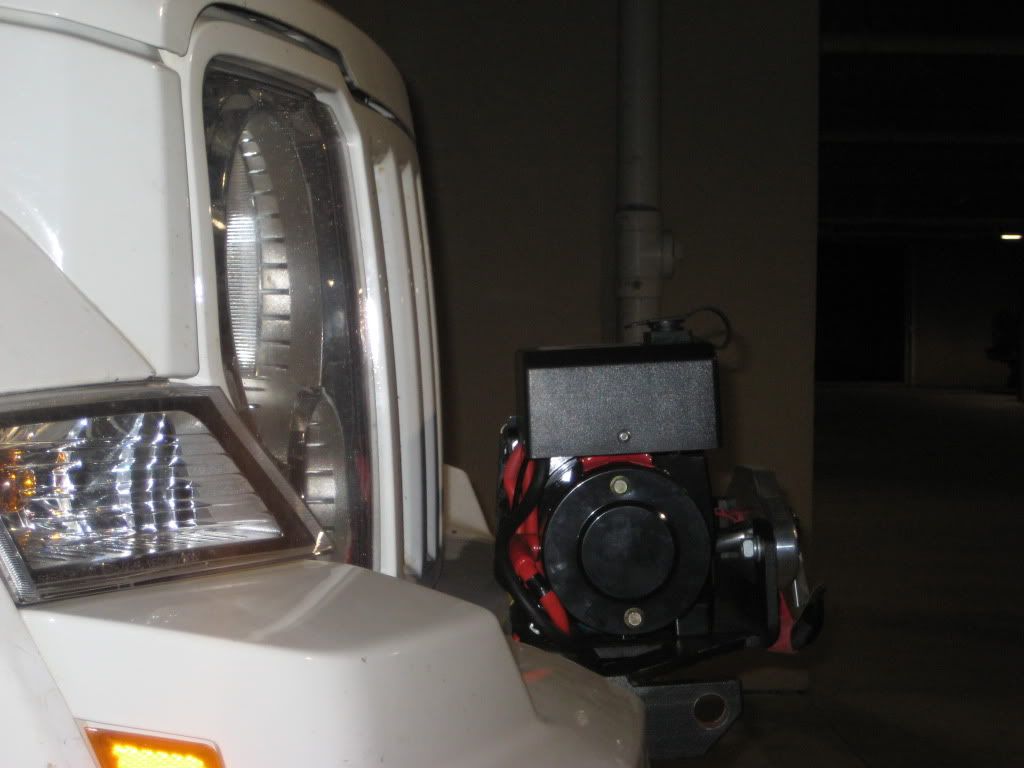
14: Install your winch, tow shackles and fairlead and your Detours Backbone Winch Plate is ready for use.
 UPDATE!! The mopar radiator skid will fit with minor modification. All that needs to be done is to elongate the two mounting holes at the top and i also bent the two sides inward a hair from the top with my hi-lift jack. Use the hardware that comes in the Backbone kit. Pic to come.
You can see here all i did was drill a hole next to the existing hole. you will need to do this for both sides. Yes its dirty and yes thats my foot.