 |
| It is currently Sun Oct 12, 2025 11:41 am |
 |
|
All times are UTC - 5 hours [ DST ] |
Moderators: oldnavy, KJs Moderators
 
|
Page 2 of 3 |
[ 43 posts ] | Go to page Previous 1, 2, 3 Next |
|
| Author | Message | |||||
|---|---|---|---|---|---|---|
| geordi |
|
|||||
Joined: Thu Sep 06, 2007 9:51 pm Posts: 6302 Location: Somewhere between Heaven and Hell... But it is really hot here on Earth... |
|
|||||
| Top | ||||||
| Mike92104 |
|
||||
Joined: Sat Jun 29, 2013 4:42 pm Posts: 405 Location: San Diego, CA |
|
||||
| Top | |||||
| Mountainman |
|
|||||
Joined: Sat Nov 23, 2013 8:57 pm Posts: 2663 Location: Boise, Idaho |
|
|||||
| Top | ||||||
| Mike92104 |
|
||||
Joined: Sat Jun 29, 2013 4:42 pm Posts: 405 Location: San Diego, CA |
|
||||
| Top | |||||
| Mountainman |
|
|||||
Joined: Sat Nov 23, 2013 8:57 pm Posts: 2663 Location: Boise, Idaho |
|
|||||
| Top | ||||||
| lacabrera |
|
||||
Joined: Wed Apr 25, 2012 4:12 pm Posts: 447 Location: United Kingdom |
|
||||
| Top | |||||
| Mountainman |
|
|||||
Joined: Sat Nov 23, 2013 8:57 pm Posts: 2663 Location: Boise, Idaho |
|
|||||
| Top | ||||||
| flash7210 |
|
||||
Joined: Fri Jun 22, 2007 11:43 am Posts: 4962 Location: Green Cove Springs FL |
|
||||
| Top | |||||
| geordi |
|
|||||
Joined: Thu Sep 06, 2007 9:51 pm Posts: 6302 Location: Somewhere between Heaven and Hell... But it is really hot here on Earth... |
|
|||||
| Top | ||||||
| Mike92104 |
|
||||
Joined: Sat Jun 29, 2013 4:42 pm Posts: 405 Location: San Diego, CA |
|
||||
| Top | |||||
| Mountainman |
|
|||||
Joined: Sat Nov 23, 2013 8:57 pm Posts: 2663 Location: Boise, Idaho |
|
|||||
| Top | ||||||
| flash7210 |
|
||||
Joined: Fri Jun 22, 2007 11:43 am Posts: 4962 Location: Green Cove Springs FL |
|
||||
| Top | |||||
| geordi |
|
|||||
Joined: Thu Sep 06, 2007 9:51 pm Posts: 6302 Location: Somewhere between Heaven and Hell... But it is really hot here on Earth... |
|
|||||
| Top | ||||||
| Mike92104 |
|
||||
Joined: Sat Jun 29, 2013 4:42 pm Posts: 405 Location: San Diego, CA |
|
||||
| Top | |||||
| lacabrera |
|
||||
Joined: Wed Apr 25, 2012 4:12 pm Posts: 447 Location: United Kingdom |
|
||||
| Top | |||||
| Mountainman |
|
|||||
Joined: Sat Nov 23, 2013 8:57 pm Posts: 2663 Location: Boise, Idaho |
|
|||||
| Top | ||||||
| turblediesel |
|
||||
Joined: Thu Feb 18, 2010 12:12 am Posts: 231 Location: Alaska |
|
||||
| Top | |||||
| lacabrera |
|
||||
Joined: Wed Apr 25, 2012 4:12 pm Posts: 447 Location: United Kingdom |
|
||||
| Top | |||||
| LMWatBullRun |
|
||||
Joined: Sun Dec 18, 2011 1:15 pm Posts: 776 Location: Eastern US |
|
||||
| Top | |||||
| LMWatBullRun |
|
||||
Joined: Sun Dec 18, 2011 1:15 pm Posts: 776 Location: Eastern US |
|
||||
| Top | |||||
|
|
Page 2 of 3 |
[ 43 posts ] | Go to page Previous 1, 2, 3 Next |
|
|
All times are UTC - 5 hours [ DST ] |
Who is online |
Users browsing this forum: No registered users and 40 guests |
| You cannot post new topics in this forum You cannot reply to topics in this forum You cannot edit your posts in this forum You cannot delete your posts in this forum |
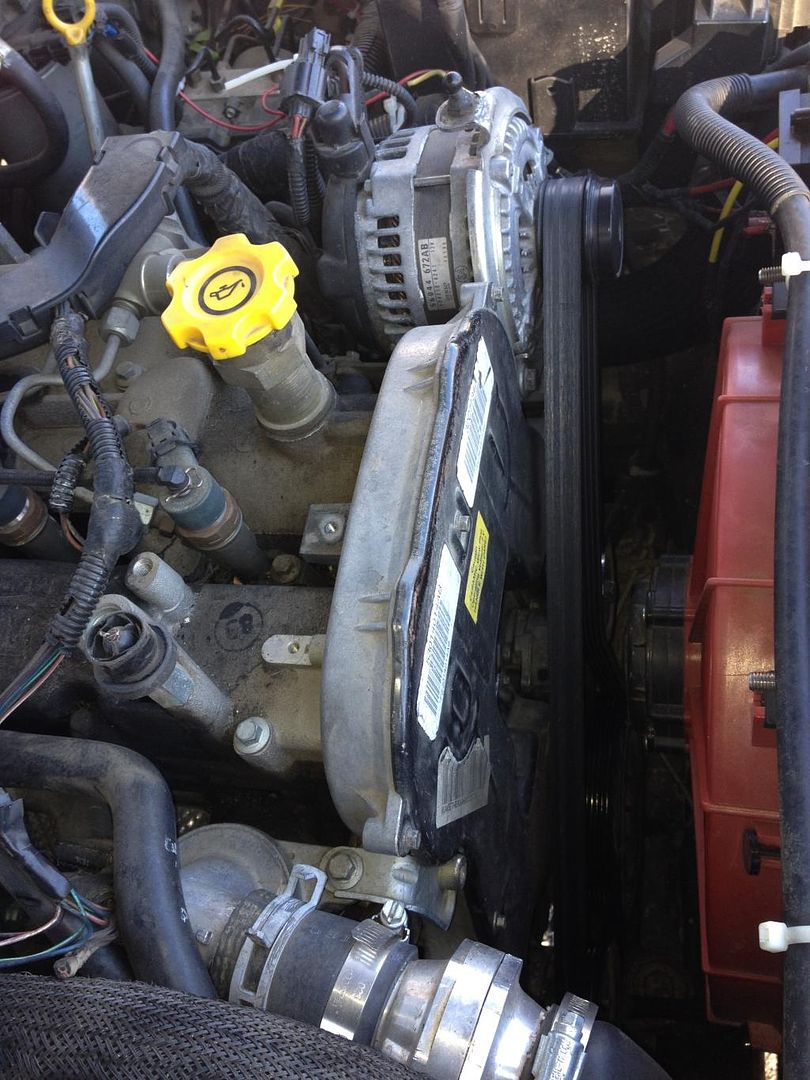


 that's what I'm talking about. I do worry that if they were a little on the loose side that they may eventually back-out though.
  Maybe in a year or two?